DIY Yellow Tulip Wreath for Spring
Happy Spring, friends! If you have been here for a while you may know that I love making wreaths. I like the welcoming tone they set for guests and homeowners alike, and I also love how inexpensive they are to make versus buy. With Spring in full bloom, today I thought I would combine my love for making wreaths with one of my favorite Springtime flowers to create a whimsical and cheerful Tulip Wreath.
For today’s tulip wreath I wanted to create something that was a little whimsical and cheerful. The end result is a very messy and happy tulip wreath that reminds me of the natural movement of flowers.
The beauty in this project is that it only requires a couple of items, and is a wonderful transitional wreath to put up in between Easter and Summer decorations.
For your convenience, I created a step-by-step video so you can see how I put the wreath together. Then continue below to follow the step-by-step images to make your own DIY Yellow Tulip Wreath for Spring.
Enjoy the video below then follow along for the step-by-step tutorial to make your own tulip wreath!
Continue below for the step-by-step pictorial to make your own yellow tulip wreath just in time for Spring.
*This post contains affiliate links. Thank you for helping to support this blog. For more information, please see my disclosure page here.
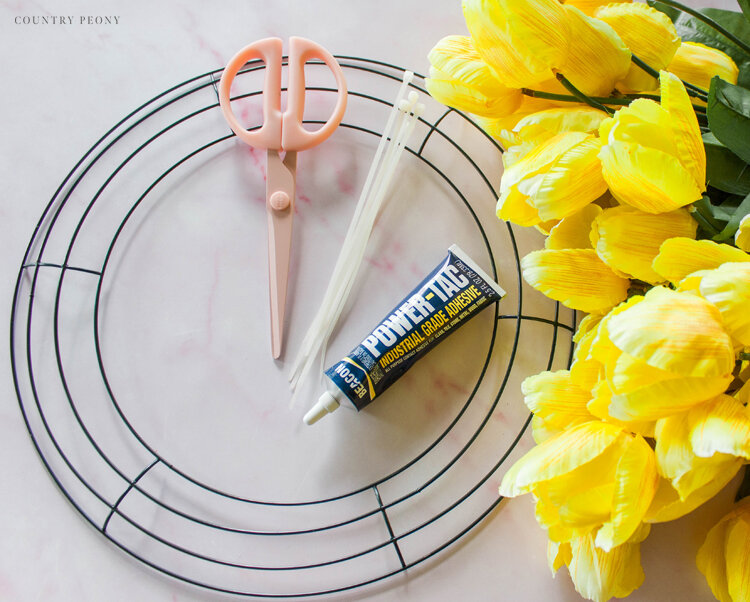
To make your own tulip wreath, you will need:
Step 1: Bend the faux tulip bunch to match the natural circular movement of the wreath form.
Step 2: Attach the tulip bunch to the wreath with a zip tie.
Step 3: Trim the zip tie with scissors.
*For added stability, I recommend adding 3 zip ties to each tulip bunch. One just below the leaves, one near the blooms, and one at the bottom of the stem.
Step 4: Repeat steps 1-3 until you add enough tulip bunches to cover the wreath. For the 14 inch wreath, I used 6 tulip bunches and 18 zip ties.
Overlap the flowers from one tulip bunch on top of the stems of the nearest tulip bunch so the entire wreath is covered.
Step 5: Now it is time to fine tune.
Make adjustments to the placement of the tulips by securing the tulips with Beacon’s Power-Tac to the wreath and to each other.
Step 6: You can create a wreath hanger with a zip tie on the back of the wreath form, or you can use the exposed wire on the back to act as a wreath hanger like I did.
Step 7: Enjoy your cheerful and custom tulip wreath this Spring!
I love the pop of color that this wreath brings to my farmhouse! I hope you enjoy yours just as much!
I believe crafting is more fun when we share our projects. Please email me at elizabeth@countrypeony.com, or please tag me @thecountrypeony or #countrypeony to show me your beautiful, custom creations!
Thank you so much for following along!


