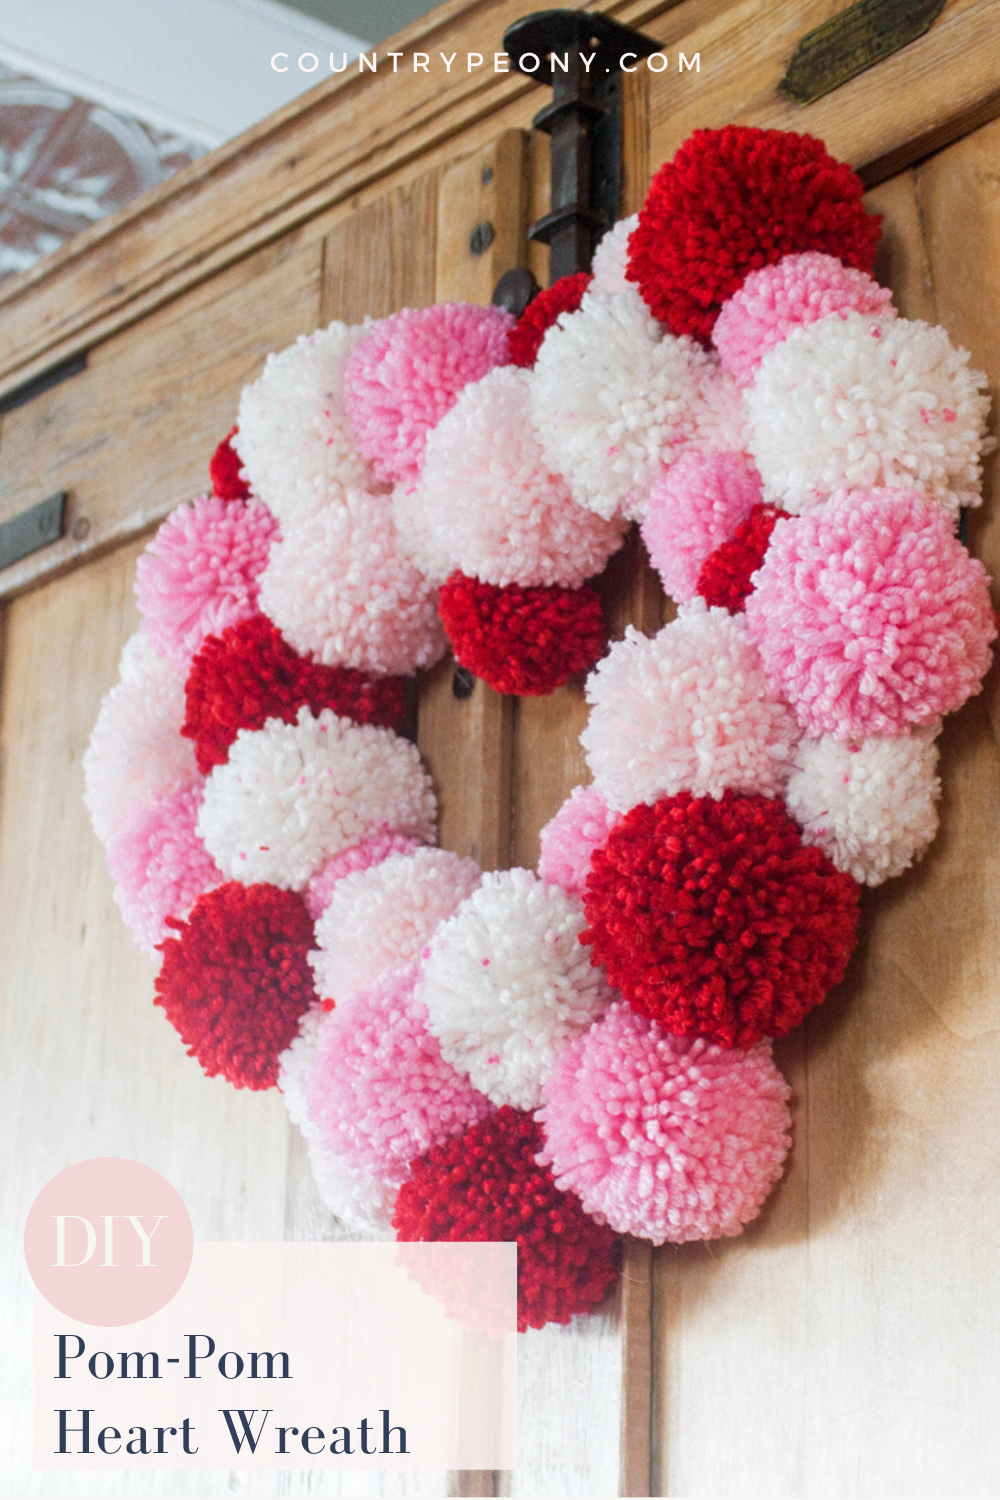
DIY Pom-Pom Heart Wreath with Clover
*This post was created through a paid partnership with Clover. However, all opinions are honest and 100% my own.
*This post contains affiliate links. For more information, please see my disclosure page here.
Pom-poms are such a fun and whimsical decor item for the holidays. Case in point with the DIY Colorful Pom-Pom Christmas Tree from December. I had so much fun creating the pom-poms with Clover’s pom-pom maker for my Christmas tree, that I wanted to create a Valentine’s Day decoration using the pom-pom makers again. When I spotted this 12 inch heart wreath form at Dollar Tree, I knew it would be the perfect backdrop for a Valentine’s Day pom-pom heart wreath using Clover’s pom-pom makers once again, and varying tints of red and pink yarn.
For your convenience, I have created a step-by-step video so you can see how I made the pom-poms using Clover’s pom-pom makers, and then put the heart wreath together. Then continue to follow the step-by-step images to make your own DIY Pom-Pom Heart Wreath just in time for Valentine’s Day.
Please enjoy this video of an episode of Coffee & Crafting where I made the Pom Pom Heart Wreath in real time
And, enjoy the video below then follow along for the step-by-step tutorial to make your own pom-pom heart wreath just in time for Valentine’s Day!
To make your own pom-pom heart wreath you will need:
Step 1: Make the pom-poms. For this project I used the 2 & 1/2” and the 1 & 3/4” pom-pom makers (both can be found in this set on Amazon). I made 21 - 2 & 1/2” pom-poms, and 16 - 1 & 3/4” pom-poms to fit the 12 inch heart wreath form.
Follow the video above, and the step-by-step tutorial in the DIY Colorful Pom-Pom Christmas Tree to make your own pom-poms using the Clover pom-pom makers.
Step 2: Double knot the pom-poms to the wreath form.
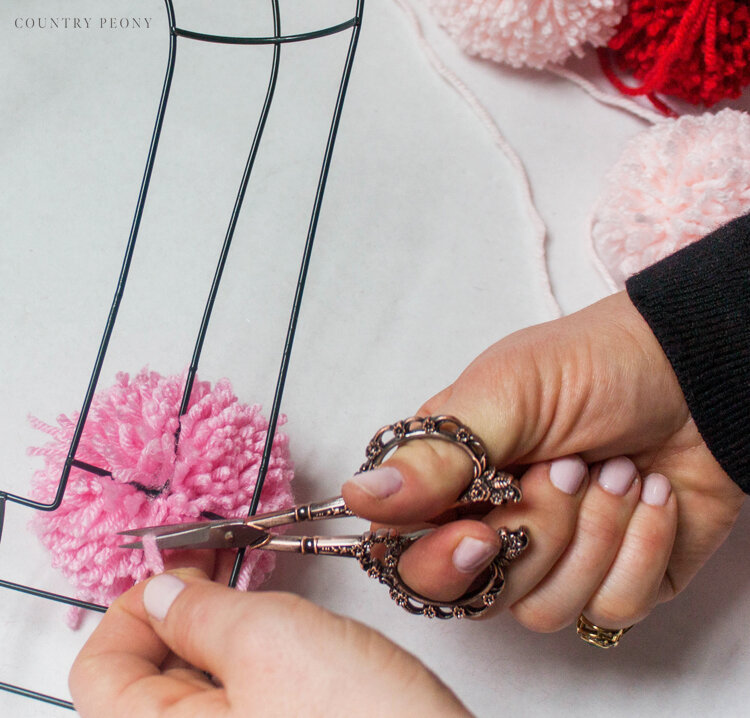
Step 3: Trim the extra yarn.
Step 4: For added stability, hot glue the pom-pom yarn to the heart wreath form.
Step 5: One at a time and right next to each other (so there are no gaps) continue to tie the pom-poms to the wreath form. Vary the sizes and the colors to create movement and dimension.
Step 6: Add hot glue to the pom-pom and the wreath form. Also, hot glue the pom-poms to each other.
Take your time to ensure you fill your gaps, and create interest and movement with your pom-poms without losing the integrity of the heart shape.
Step 7: Once you add all of your pom-poms and fill in all of the gaps, take a step back and see if you need to trim any of your pom-poms. Then, do so!
Step 8: Tie some leftover yarn in two sections to form a loop at the top (backside) of the wreath form to act as a hanger.
Step 9: Hang your wreath and enjoy your custom Valentine’s Day creation!
I love the color and whimsical flair this pom-pom heart wreath adds to our home. I believe I will keep it up even after Valentine’s Day, because it makes me so happy.
I hope you enjoy making your own heart wreath just as much as I did. Happy crafting!


