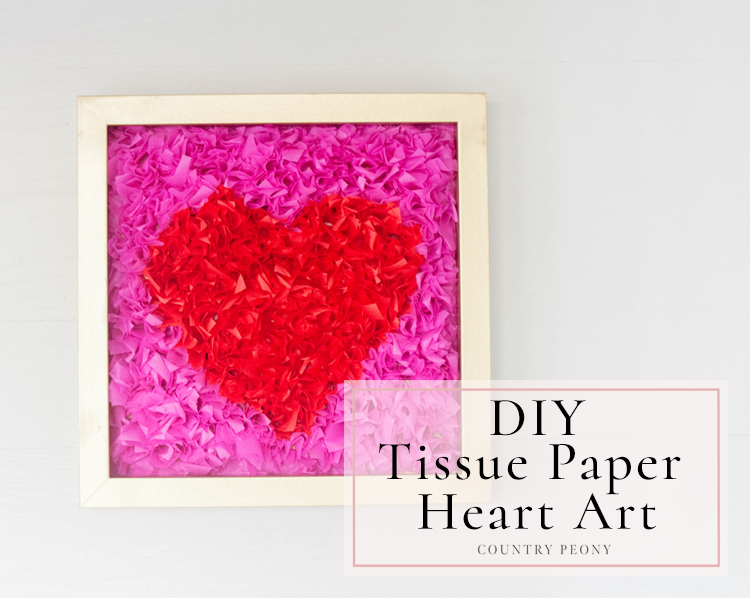
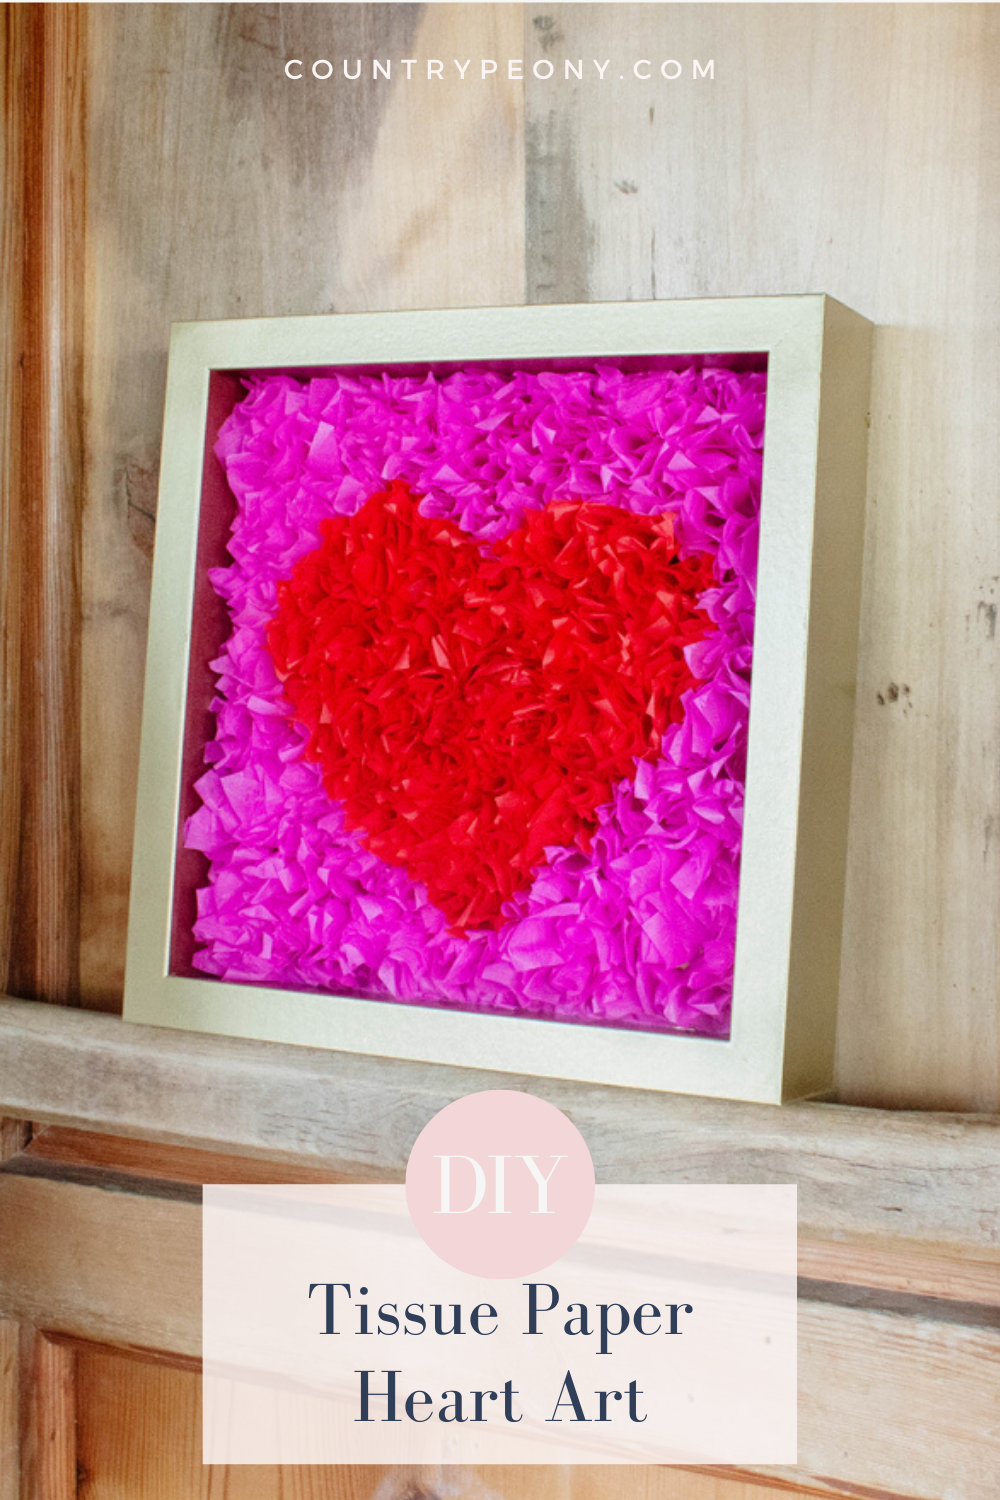
DIY Tissue Paper Heart Art for Valentine's Day
*Paper Mart graciously provided the tissue paper for this post. However, all opinions are honest and 100% my own.
In elementary school one of my most vivid memories in art class was in second grade when we made an Easter Lily out of tissue paper, white glue, and the back of a pencil. At such an early age, I was in awe that some very simple, everyday products could work beautifully together to create a one-of-a kind art piece.
I was inspired by this same technique that I learned in elementary school for today’s blog post just in time for Valentine’s Day. I am so thankful that Paper Mart provided their beautiful, high quality tissue paper for this project. The quality of their tissue paper, and vibrancy and variety of colors made this art piece stand out! Thank you, Paper Mart!
I wanted to create a simple and whimsical art piece for Valentine’s Day that also stood out! I am so happy with how this fun crafternoon project turned out. Like most of my DIYs it is very inexpensive to make (at about $10 total), it is customizable, and very easy to make. You can even get your older children involved, or enjoy a quiet evening making it as you watch your favorite movie. It took me about 3 hours total to make.
For your convenience, I created a video tutorial below that can also be found on my YouTube channel, along with my step-by-step tutorial in pictures below. I hope you enjoy!
Watch the video below then follow along for the step-by-step tutorial to make your own heart art just in time for Valentine’s Day using tissue paper and white glue!
*This post contains affiliate links. For more information, please see my disclosure page here.
To make your own DIY Tissue Paper Heart Art you will need:
Step 1: Create the heart shape. Determine the size of your heart based on your picture frame size. (My heart is 6 inches wide, because my shadow box frame is 9 inches square.) Then, find a template online for your heart with the size you want or resize it in your favorite program (I used photoshop). Print out the heart stencil and cut out the heart. Then, glue the heart to the back of the picture frame backing.
Or, keep it simple and freehand the heart onto the back of the picture frame backing.
*As a sidenote, I used an old shadow box frame, and I spray painted mine gold so that it would play nicely with the bold red and pink colors that I chose. The goal is to repurpose a frame you already own. You can also use an old picture frame and take out the glass, instead of a shadow box.
Step 2: Use the ruler and your scissors to cut out 2 inch by 2 inch squares from the tissue paper.
For this project I used about 10 sheets of 20”X26” red tissue paper and 10 sheets of the 20”X26” pink tissue paper from Paper Mart.
*Once I cut out the first square, I used it as a template to cut out the rest of the squares.
Step 3: Take your tissue square and wrap it around the end of the pencil (ensure the pencil end is flat).
Step 4: Dip your wrapped tissue paper end gently into the white glue. Then gently press the glued tissue paper onto the heart stencil on the picture frame back.
*I cut and trimmed down the disposable cup so that the white glue was easier to get to.
Continue to add the first color of tissue paper to the entire heart stencil surface.
Some things to keep in mind:
This project doesn’t have to be perfect. You can fill in gaps as you go.
Place the tissue paper right next to each other so that you get a nice, full effect.
Don’t apply too much pressure to the surface so that you don’t tear the tissue paper.
It is important to keep your pencil eraser clean so that the tissue paper doesn’t stick to it after each application.
Albeit fun, this project is a bit tedious. So set up a nice work station and enjoy a movie as you create your one-of-a-kind piece.
Step 5: Once you fill in your heart with the first color, then outline the heart with your other colored tissue paper. Start with the heart outline so that you maintain a nice heart shape.
Then continue to glue the tissue paper around the rest of picture frame backing.
Step 6: Once you glue all of your tissue paper and fill in all of the gaps on the picture frame backing, let your art piece rest until it dries. This should only take a couple of hours.
Step 7: Once your piece is dry, place it inside your shadow box frame or inside your picture frame without the glass. Then, enjoy your beautiful, Valentine’s creation!
I love the pop of color this art piece brings to my kitchen. I even think this piece could stand alone as a sweet art piece year round.
As always, I would love to see your creations. Please feel free to email me at elizabeth@countrypeony.com or tag #countrypeony.
I hope you enjoy making your art piece as much as I did. Thanks for following along today!


