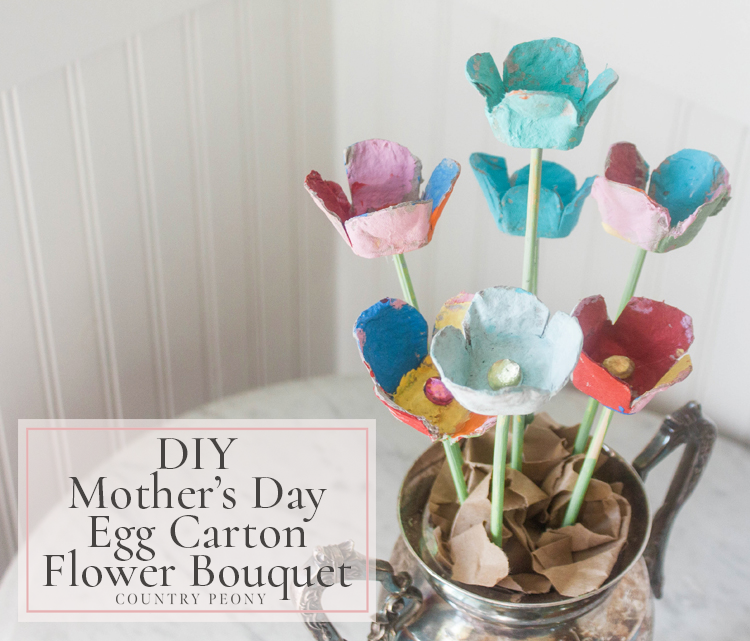
DIY Mother's Day Egg Carton Flower Bouquet
I have always cherished handmade gifts, and I believe Mother’s Day is the perfect holiday to make all of the gifts for the mothers and motherly figures in your life. Every year, I try to make something special for my mother and mother-in-law for Mother’s Day with my children’s help. Last year we made keychains, and the year before that my children helped me make totes for their grandmothers.
Honestly, I can’t take credit for the original egg carton turned flower idea in today’s post, because I have seen it floating around Pinterest for years. However, I wanted my children to make a flower arrangement for their grandmothers this year, and I knew this technique would make the perfect DIY bouquet to include my children in.
The beauty in this craft is that you probably have the majority of the tools already in your kitchen and house. It is simple and inexpensive, and encourages you to think outside of the box when you are creating!
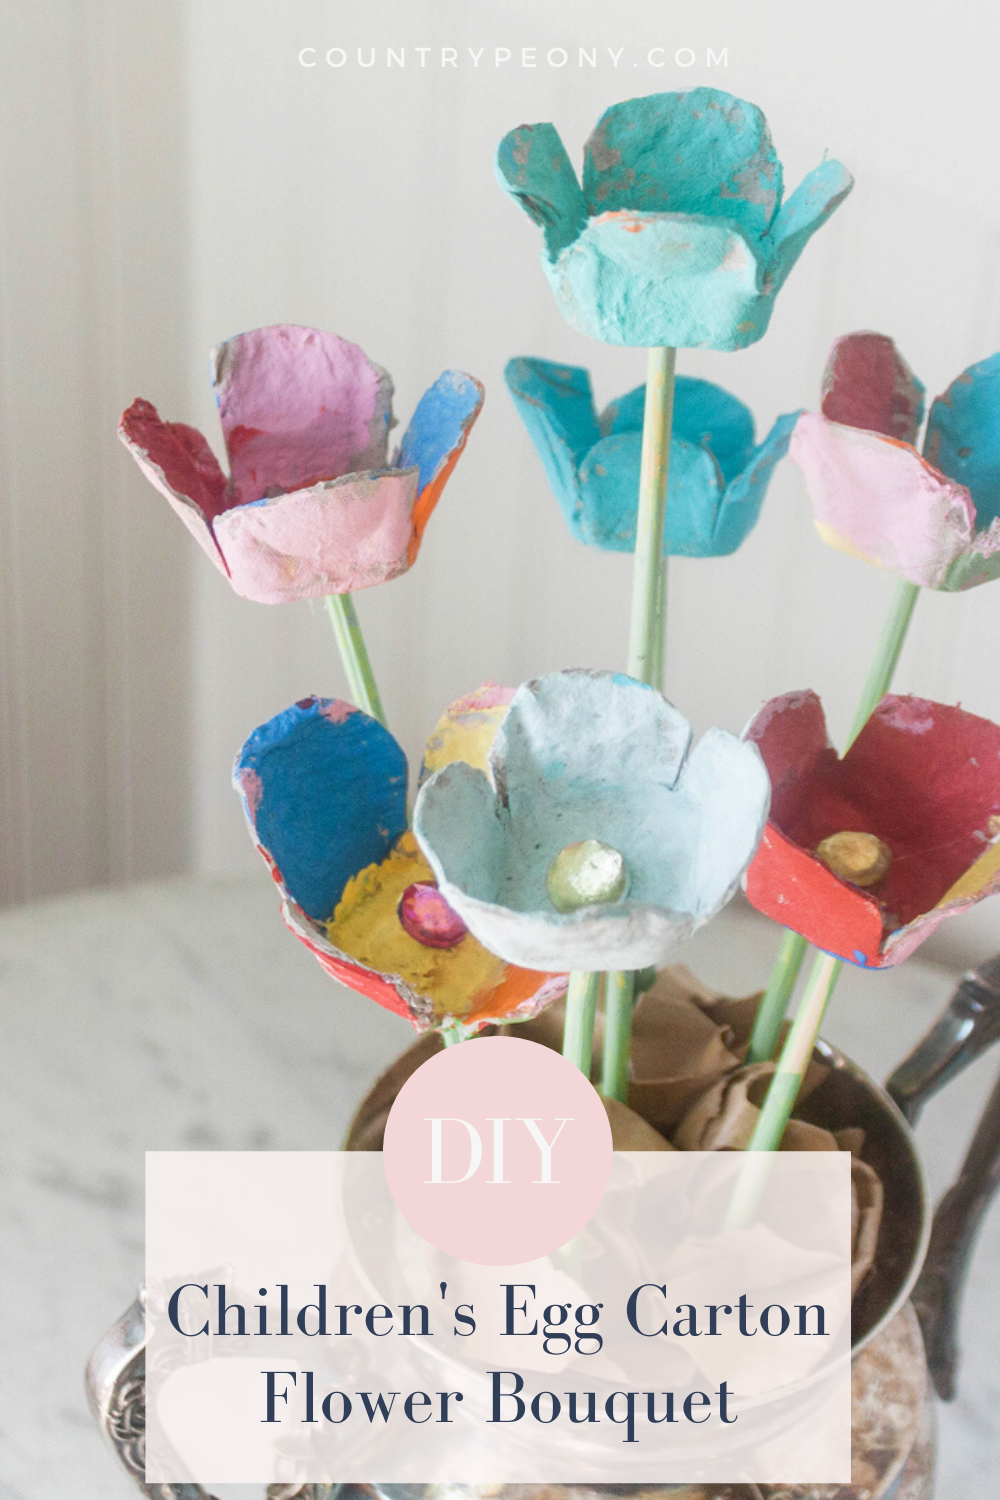
I love how it turned out so much that I am keeping this one for myself! (Don’t worry, we made more for my mother and mother-in-law.) The process was so fun and I believe the end result is the perfect blend of whimsy and pretty. I also love the imperfections of the paint job, because it shows my children’s true characters and the beauty in the process!
There is so much heart in this bouquet, and I love that! So, as you start this project I encourage you to enjoy the imperfect process and find the heart in the piece!
Please enjoy this Egg Carton Flower Bouquet video tutorial from a recent episode of Coffee & Crafting, my weekly LIVE Facebook craft show.
Please continue below for the step-by-step tutorial to make your own DIY Egg Carton Flower Bouquet for Mother’s Day
*This post contains affiliate links. For more information, please see my disclosures here.
To make your own egg carton bouquet, you will need:
Step 1: Cut out each egg holder.
Step 2: Trim away to create the flower from each egg holder.
Cut the corners from the top to the bottom.
Trim the tops of the egg holders to create petals.
Gently pull the egg holder sides apart to create an open flower.
Step 3: Prepare your area to be painted. I recommend taping kraft paper to the work surface so you can really let your children create. This also makes clean up a lot easier. I also recommend keeping your wet wipes nearby to help with clean up during the painting process.
Step 4: Add the paint to the palette.
I recommend choosing the color palette you want, and then adding it to your paint palette before your children sit down to paint. This will help keep the look cohesive. Or, you can have them choose. Either way, I recommend having it set up for them so all that they have to do is paint!
Step 5: Paint the egg carton flowers.
I let my children be the creative directors behind this process. They had so much fun choosing the paint colors and where they should go. I believe the imperfect end result adds to the whimsical nature of the bouquet, and I love it!
Step 6: Set the egg carton flowers aside to the dry.
Step 7: While the egg carton flowers are drying, paint the wooden skewers green to act as stems. Then set the wooden skewers aside to dry.
Step 8: Once the paint is dry on the flowers, carefully use your scissors to create a small hole at the base of the flower.
*You don’t need to go all the way through the flower. Just make sure you have a hole started so the stem has a place to attach to.
Step 9: Once the wooden skewer is dry, add hot glue to the inside of the hole at the base of the flower.
Step 10: Attach the wooden skewer to the hot glue at the base of the flower. Hold the skewer in place until the hot glue dries.
Step 11: Use Beacon’s 3-in-1 Advanced Craft Glue to attach a gem to the bottom of the inside of the flower.
*I love using Beacon’s 3-in-1 Advanced Craft Glue, because it dries quickly and clear (source linked under the tools section above).
Step 12: Repeat the steps until you have the amount of flowers you want for your bouquet. We made 7 flowers for each bouquet.
Step 13: Place a floral foam inside of your favorite container. I used a silver pot because I thought it was a beautiful juxtaposition between the whimsical and simple nature of the flowers versus the fancy component from the silver.
*It may be fun to have your children paint terra cotta pots as the base to also act as another homemade gift.
Step 14: Break the wooden skewers to create varying heights. Then, insert the flowers into the floral foam.
Step 15: Tear up and crumple some leftover kraft paper from the work surface and place inside the pot to act as faux dirt.
Step 16: Enjoy your beautiful and custom flower bouquet that will last for many, many Mother’s Days.
I hope you enjoy making your own bouquet as much as my children and I did!
I believe crafting is more fun when we share our projects. Please email me at elizabeth@countrypeony.com, or please tag me @thecountrypeony or #countrypeony to show me your beautiful, custom creations!
Thank you so much for following along!


