How to Make a Colorful Holiday Pom-Pom Garland with Clover's Pom-Pom Maker
*This post was created through a paid partnership with Clover. However, all opinions are honest and 100% my own.
*This post contains affiliate links. For more information, please see my disclosure page here.
Happy December! It is officially Christmas here in the Country Peony Studio, and I am so excited to share a fun tutorial with you today. When I was planning for my Pink Christmas in the studio I wanted it to be full of whimsical moments that felt fun and inspirational. Today I am so excited to partner with Clover to bring you a tutorial that has those qualities: Colorful Pom-Pom Garland.
Several years ago, I created a Colorful Pom-Pom Christmas Tree using Clover’s incredible Pom-Pom Makers. The Pom-Pom Christmas Tree fit perfectly on my mantle in the studio, and it was the inspiration piece for my entire mantle design. To play off the whimsical Christmas tree, I thought it would be fun to make a pom-pom garland to match! Today I want to show you how to create a pom-pom garland using Clover’s Pom-Pom Makers to adorn your mantle, your Christmas tree, or your wall this season!
If you have been here for a while, you may know that I am a big fan of Clover’s products. Please enjoy some of these DIY projects using Clover’s Pom-Pom Maker: DIY Colorful Fall Pom-Pom Wreath, DIY Christmas Village Pom-Pom Wreath, and DIY Pom-Pom Heart Wreath.
The beauty with this DIY is that it is so simple to make, and you can customize the colors to fit your design style. I chose a fun color scheme to match my colorful Christmas mantle in the Country Peony Studio. Please enjoy the steps below to create your own this holiday season!
Continue below for the step-by-step pictorial to make your own DIY Colorful Pom-Pom Garland this Christmas.
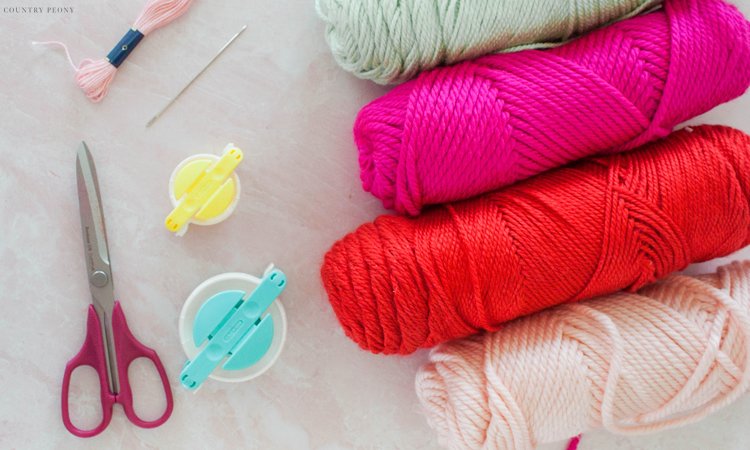
To make your own colorful pom-pom garland, you will need:
Pom-Pom Maker Set. *For this project, I used the 1 & 3/4 inch and the 2 & 1/2 inch makers.
Yarn in Different Colors and Weights
Embroidery Floss
Large Needle
Make the Pom-Poms with Clover’s Pom-Pom Makers
For this project I used the 1 & 3/4 inch and the 2 & 1/2 inch pom-pom makers.
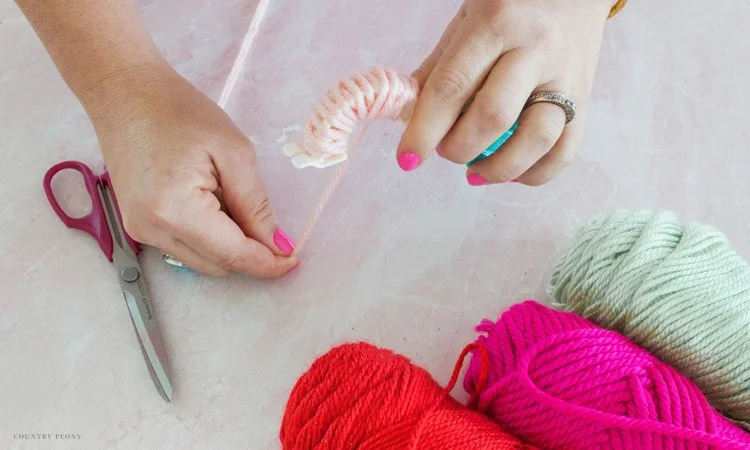
Open up the pom-pom maker. Tightly wrap the yarn around one side of the pom-pom maker arm until you have a full, consistent amount of yarn on your pom-pom arm.
Then, close the pom-pom maker arm. Trim the yarn. Then, start the yarn on the other pom-pom arm and continue to wrap until you have a full, consistent amount of yarn on the other pom-pom arm.
*Keep in mind the more yarn you add to the pom-pom maker, the fluffier and more full the pom-pom will be.
Once you have achieved the yarn fullness you are after close the arm on the other side. Snip the excess yarn.
Cut a separate piece of yarn and set it aside.
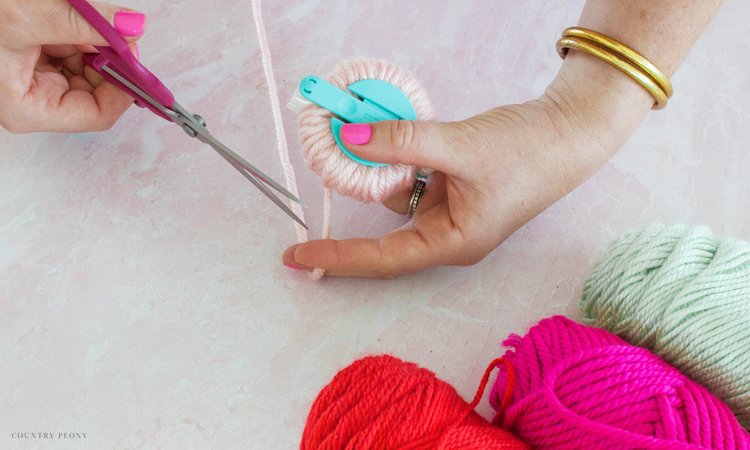
Ensure that both pom-pom arms are closed and snug, then follow the pom-pom maker guideline in between and start to the cut the yarn in half.
Once you cut the yarn all the way around the pom-pom maker, double knot the extra piece of yarn around the pom-pom.
Now for my favorite part: open the pom-pom maker arms, then slowly pull the pom-pom maker apart, revealing the cutest pom-pom ever!
Now it is time to fine tune and give your pom-pom a little trim. Cut off any excess yarn around the pom-pom to give it a full and consistent look.
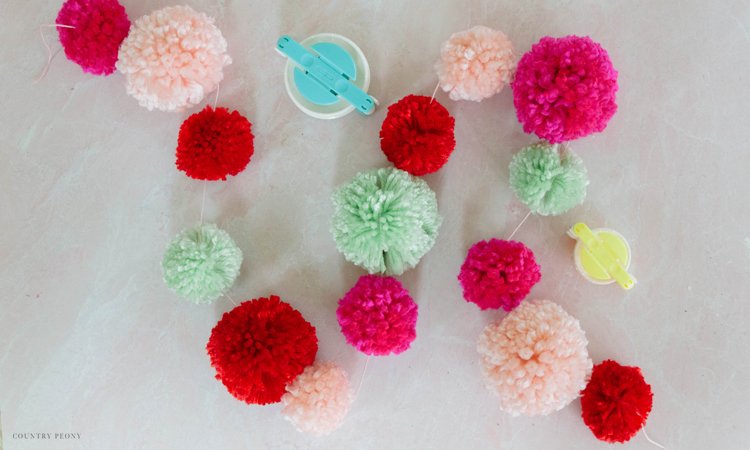
Make enough pom-poms for the garland.
*For this project I made (10) 1 & 3/4 inch pom-poms and (5) 2 & 1/2 inch pom-poms.
String the Pom-Poms Together with Embroidery Floss to Create the Garland
Trim embroidery floss in a similar color as the garland.
Tie a knot on one end of the embroidery floss to keep the pom-poms secure onto the garland.
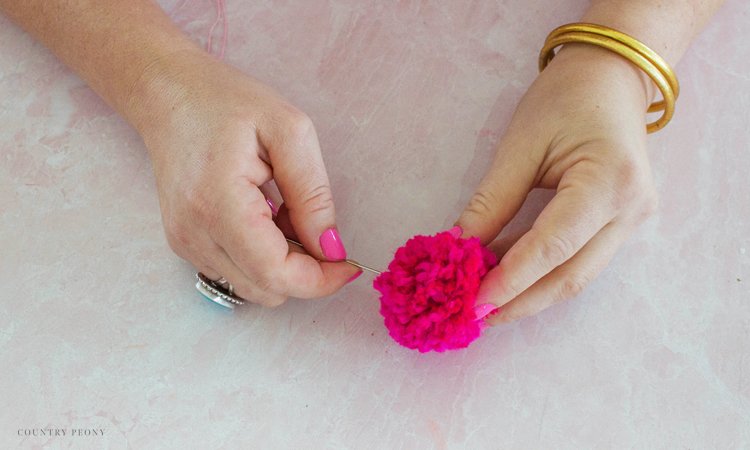
Thread the embroidery floss through a large doll needle.
Determine your pattern for the garland, then one at a time thread through the middle of the pom-pom and string them onto the garland.
*For my pattern, I added 1 small pom-pom, then 1 large pom-pom, followed by a small pom-pom. I repeated this pattern 5 times.
Continue to string the pom-poms onto the garland.
Once you reach the amount of pom-poms for your garland, tie another knot on the end.
Hang Up, and Enjoy Your Custom Pom-Pom Garland This Holiday Season
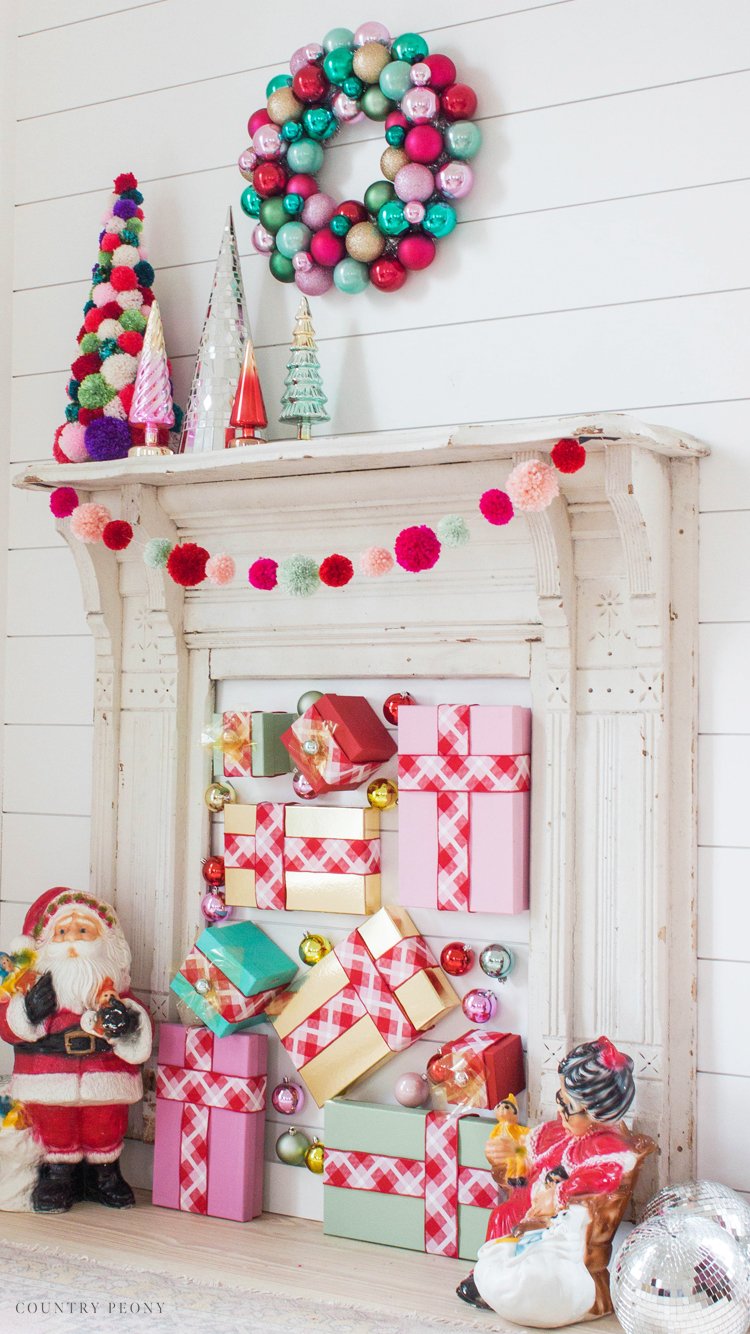
Find a favorite wall, shelf, Christmas tree or mantle and hang your charming pom-pom garland for all to enjoy this holiday season!
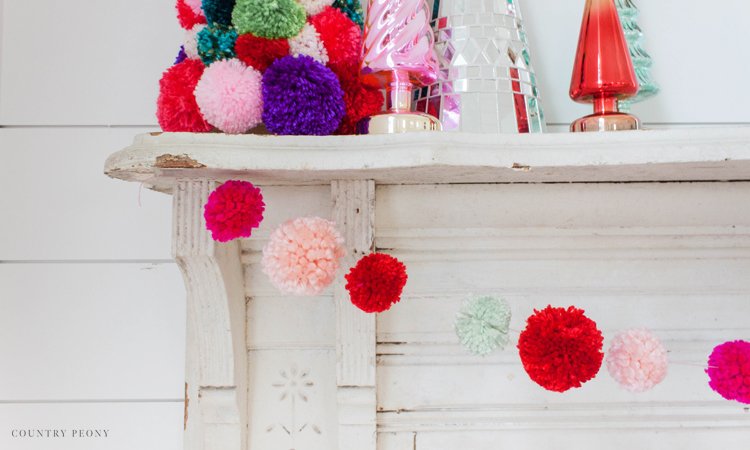
I love how whimsical this garland turned out and how it fits so well with my festive mantle setup!
I hope this inspires you to make your own garland, and to have fun with it this holiday season!
Thank you so much to Clover for this fun opportunity to use their incredible products!
I believe crafting is more fun when we share our projects. Please email me at elizabeth@countrypeony.com, or please tag me @thecountrypeony or #countrypeony to show me your beautiful, custom creations!


