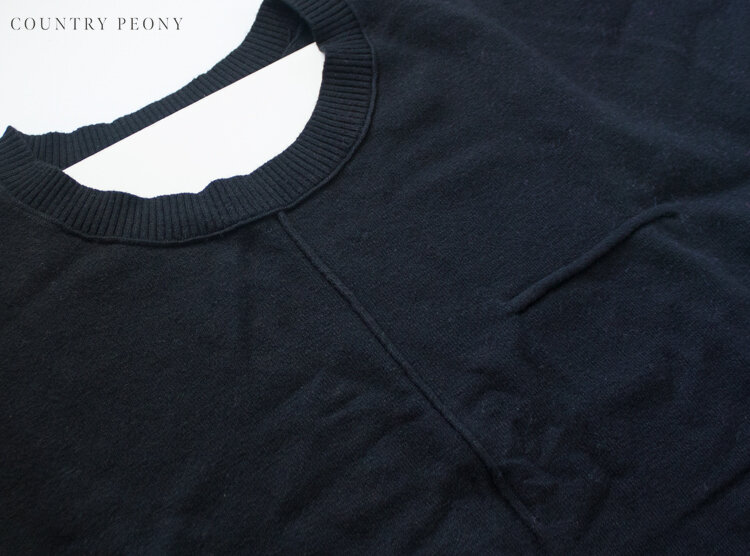
DIY Pom Pom Sweater
Even though, here in Texas, we are still experiencing very warm weather, I have cooler temperatures and Fall on my mind. And, what a fun way to welcome the (hopefully) upcoming cooler weather than with whimsical pops of color on your sweater in the form of pom poms?
If you have been here for a while, you may have witnessed my love for pom poms in this post and this one. Today I am adding this fun accessory to a short sleeve sweater, perfect for Fall. However, you can add your pom poms to any shirt or apparel item using this same, very simple technique. Speaking of technique, I used a very similar one when I created my pearl shirt a couple of years ago, and it is still such a fun staple in my wardrobe.
Don't feel like you have to stick to pom poms or a sweater. I am only here to show you the process, and hopefully give you a little inspiration to try it yourself!
*This post contains affiliate links. For more information, please see my disclosure page here.
To make your own pom pom sweater, you will need:
Step 1: Place the recycled cardboard inside of the shirt so the fabric fusion glue doesn’t bleed through to the back of the shirt.
Step 2: Determine your pattern. You can use a ruler, but I always think it is more fun to eyeball it.
I visually divide the shirt in half. Then I start at the top and add pom poms to one side. If I like it, I replicate the pom poms on the other side so the shirt is symmetrical.
*Once you have a pattern that you are happy with, it may be helpful to take a picture with your smartphone so you can reference it later if the pom poms move as you work with the shirt.
Step 3: One at a time, remove the pom poms from the shirt and add glue to the backs of them. Then securely adhere the glued pom poms to the shirt.
*When in doubt, add more fabric fusion! Since the pom poms have uneven surfaces it is important to add a lot of glue so they securely adhere to the sweater. The glue will dry clear.
*It is helpful to keep a wet towel nearby to keep the tip of the fabric fusion clean.
Continue to glue each pom pom down one at a time until you have glued all of the pom poms down.
Step 4: Once you have glued down all of the pom poms, let the sweater rest for 24 hours. Then you can wash it inside out on gentle cycle, and hang dry.
If your poms poms are smaller than mine, you can add the pom poms to the back of the sweater as well. I don’t like how the pom poms feel on my back when I am sitting, but that is completely up to you!
Step 5: Now it is time to step into Fall with your newest creation! I hope you enjoy making your own variation of a pom pom sweater!


