Candy Christmas Tree with Homemade Ornaments
Funny thing…the older I get, the more I’m drawn to colorful, whimsical Christmas decorations. Maybe it’s the kid in me that wants to bring more Christmas magic into my home for my children to experience with bright hues and lively color combinations. Don’t get me wrong, I love a classic tree trimmed in red, gold, and silver (My main tree is and will probably always be very classic). But, it is so fun to experiment with different colors. Case in point: last week’s DIY Colorful Pom-Pom Christmas Tree, and last year’s DIY Rainbow Bauble Christmas Wreath.
With all of that said, today I would like to introduce my new candy Christmas Tree that lives inside of a vintage gunpowder tin container in our kitchen. I knew I wanted a food inspired Christmas tree in our kitchen this year, and when I saw this adorable Candy Land Christmas tree from Better Homes & Gardens I was inspired to make my own.
I purchased a flocked Christmas tree for about $25 from Wal Mart, then I added some colorful bulb lights from Hobby Lobby. I adorned the tree with iridescent colorful glass ornament balls, and elevated it with some $2 vintage glass candy/dessert ornaments that I recently found on a thrifting adventure. I wanted to add a handmade element to the tree, so I finished the tree with a felt ribbon candy and cellophane candy wrapper ornaments. Again, I was inspired by Better Homes & Gardens Felt Candy Ribbon tutorial, and so I made my own.
Follow along for the full tutorial to make your own colorful ribbon candy and candy wrapper ornaments with a few items and a couple of simple steps.
These ornaments are very inexpensive to make and add a huge, colorful impact. Enjoy!
DIY Felt Ribbon Candy Ornament
*This post contains affiliate links. For more information, please see my disclosure page here.
To make your own felt ribbon candy, you will need:
Step 1: Cut the felt into 2 1/2 inch wide strips by 12 inches long.
Step 2: Hot glue both ends of the two corresponding felt sheet color strips together (lighter hue and the darker hue) so they stay in place.
Step 3: Make an accordion fold with the two felt strips to create the look of ribbon candy.
Step 4: Create a double thread knot with the thick thread or embroidery floss.
Step 5: Thread the needle in the middle through all layers of the felt ribbon candy.
Step 6: Once you pierce the needle all the way through, then securely and tightly (so there isn’t any slack in the ribbon candy) add a knot to the top of the felt ribbon candy.
Step 7: Cut the thread, then tie another double knot to act as the ornament hanger.
Step 8: Enjoy your fun and whimsical felt ribbon candy ornament.
DIY Cellophane Candy Wrapper Ornament
*This post contains affiliate links. For more information, please see my disclosure page here.
To make your own cellophane candy wrapper ornament, you will need:
Step 1: Place the ball inside of the cellophane and cut about 2 inches around the sides, and another 3 inches on each end.
Step 2: Wrap the cellophane around the ball.
Step 3: Twist the cellophane around both ends of the ball.
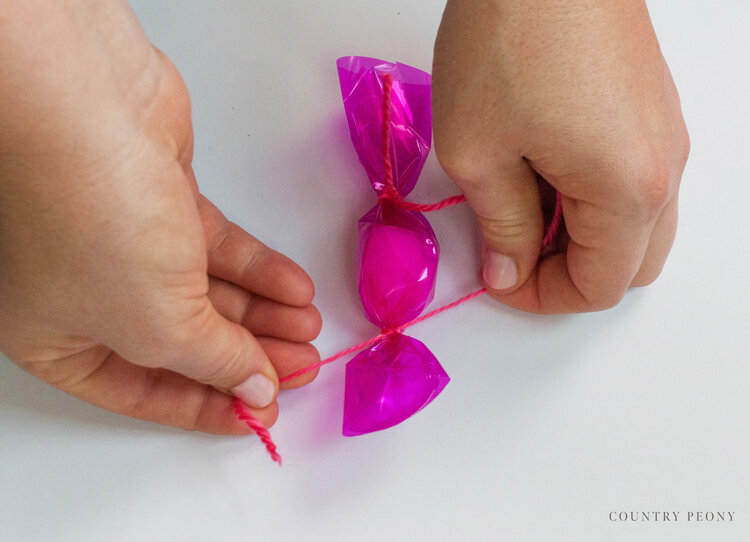
Step 4: Secure with a piece of yarn. Double knot so it stays in place.
*You can easily use a skinny piece of ribbon. I had a lot of yarn on hand.
Step 5: Secure both ends with yarn. Double knot.
Step 6: Tie a single piece of yarn (in a corresponding hue) around both ends of the candy wrapper. Leave a large gap in the yarn so it can act as the ornament hanger.
Step 7: Trim the excess cellophane from both ends of the candy wrapper.
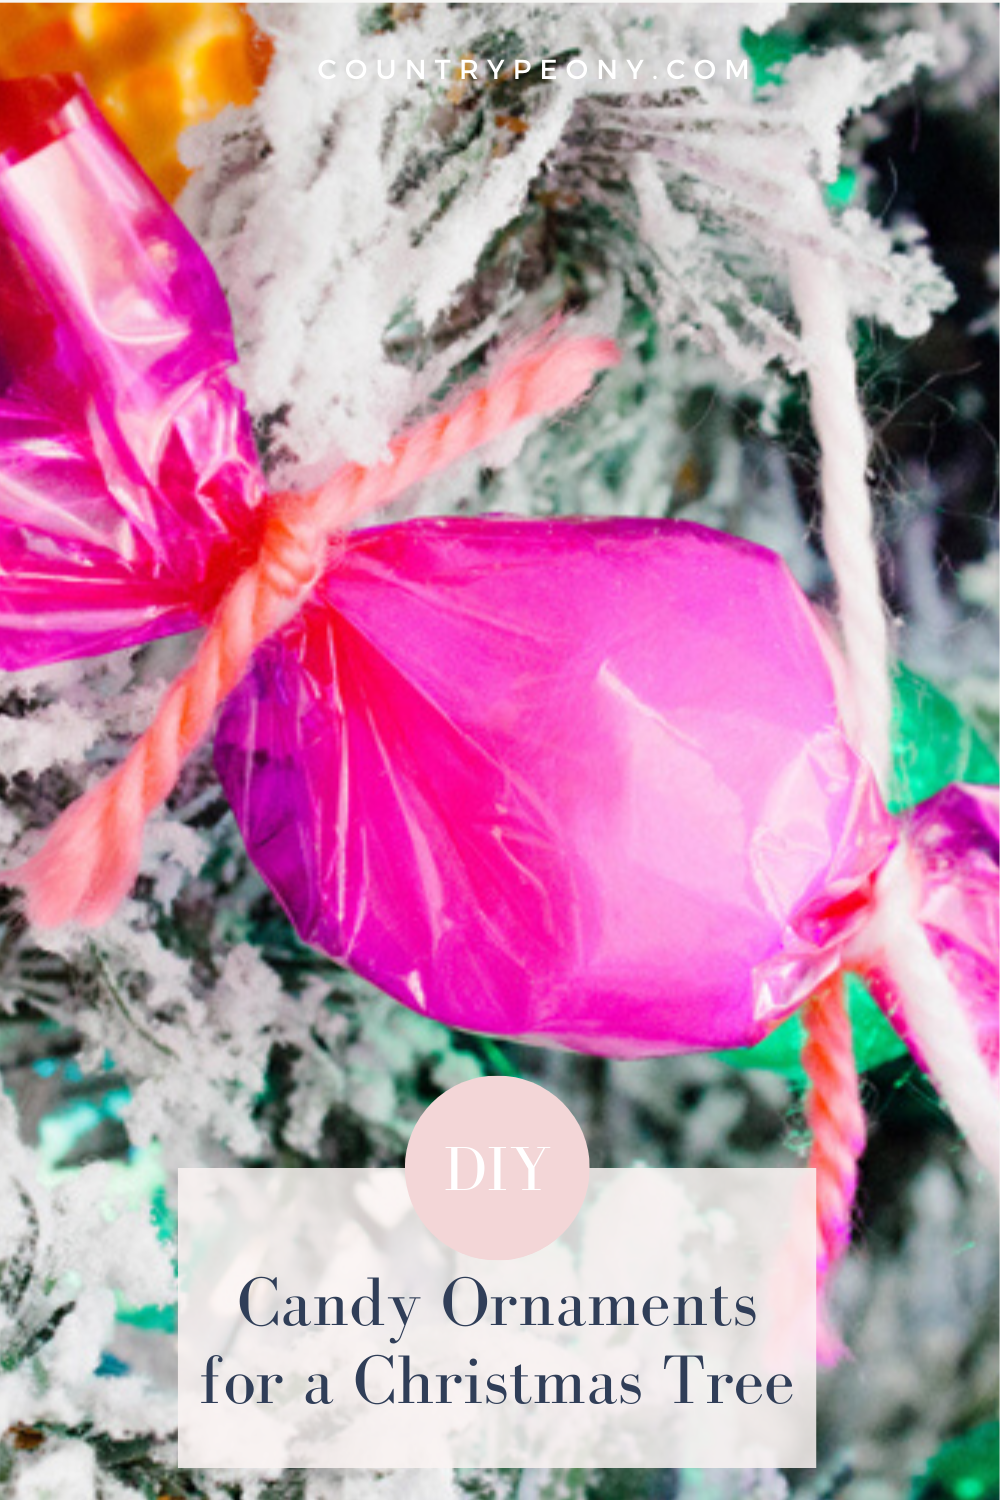
Step 8: Enjoy your custom, cute, candy wrapper ornament.
I love how these ornaments add the extra touch of whimsy I was looking for!
These ornaments are so versatile. They would be so cute as stand-alone present toppers. They would also be perfect on a kid-friendly Christmas tree.
I hope you enjoy adding some whimsical and handmade Christmas ornaments to .your tree this year.


