DIY Ghost Tassel Garland for Halloween with Clover's Tassel Maker
*This post was created through a paid partnership with Clover. However, all opinions are honest and 100% my own.
*This post contains affiliate links. For more information, please see my disclosure page here.
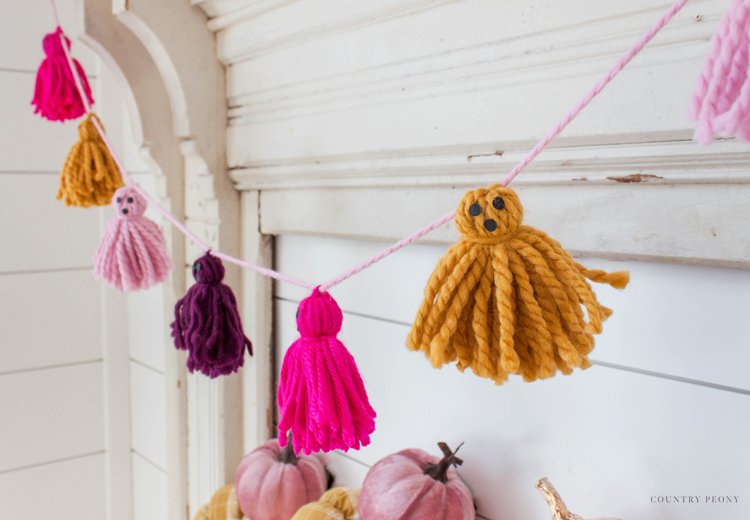
Happy Halloween! This time of the year I love to embrace the cute and whimsical decorative aspects of Halloween versus the spooky and scary. Today’s project definitely falls under the cute and whimsical category. Today I am so excited to partner with Clover and their amazing Tassel Maker to make a ghost tassel garland for Halloween.
If you have been here for a while, you may know that I am a big fan of Clover’s products. Please enjoy some of these DIY project using Clover’s Tassel Maker: DIY Pom-Pom & Tassel Bunny Garland, DIY Mother’s Day Punch Embroidery Keychain, and DIY Rainbow Pom-Pom & Tassel Bag Charm.
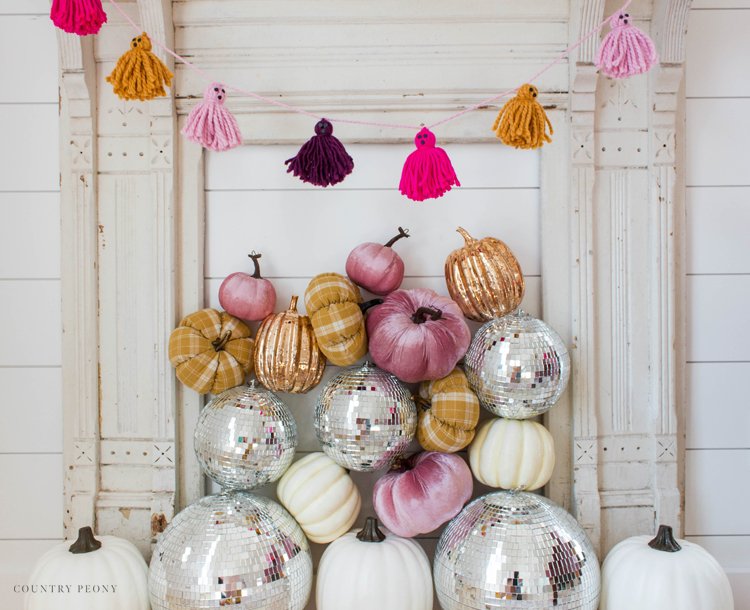
The beauty with this DIY is that it is so simple to make, and you can customize the colors to fit your design style. I chose a fun color scheme to match my pink, mustard yellow, and purple pumpkins at my mantle in the Country Peony Studio. Please enjoy the steps below to create your own this Fall!
Continue below for the step-by-step pictorial to make your own DIY Ghost Tassel Garland for Halloween.
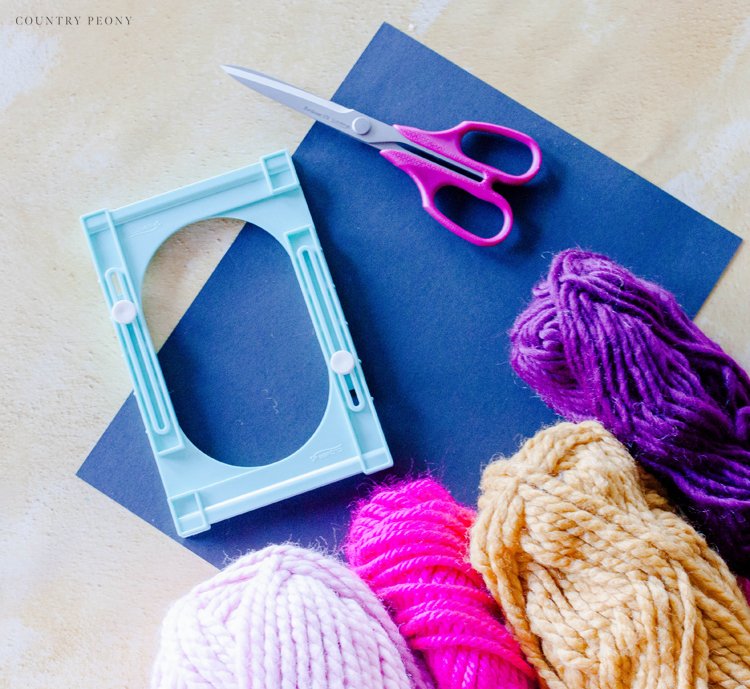
To make your own ghost tassel garland, you will need:
Clover Tassel Maker in Size Large
Sharp Scissors
Yarn in Medium Weight
Black Paper
Hole Punch
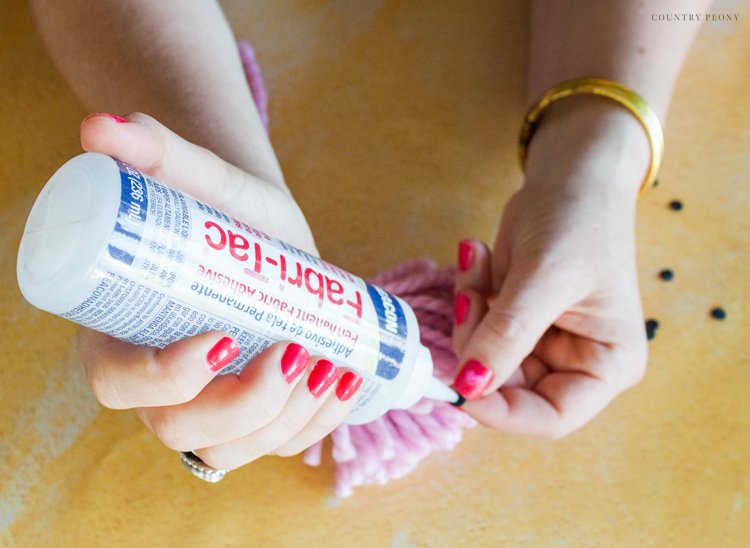
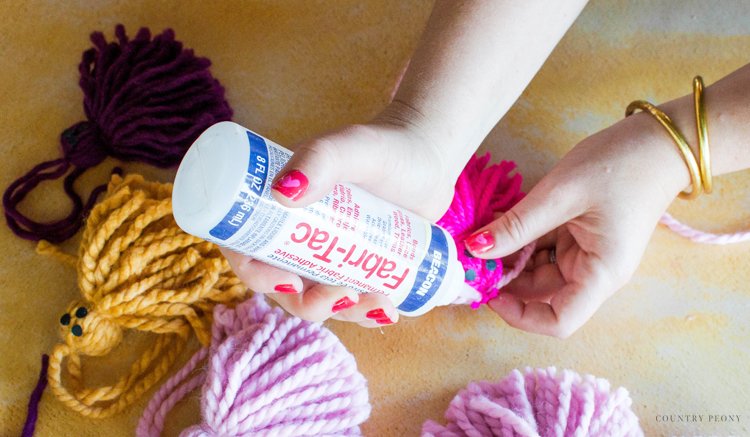
Permanent Fabric Glue
Make your Tassels using the Clover Tassel Maker
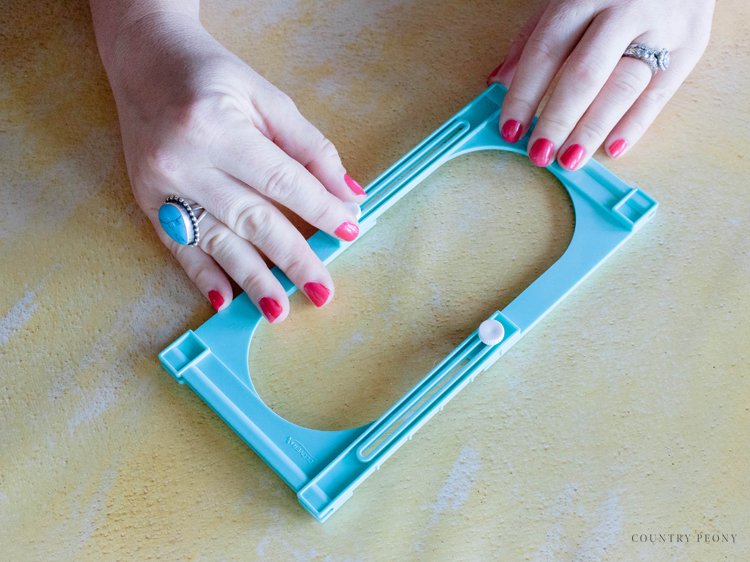
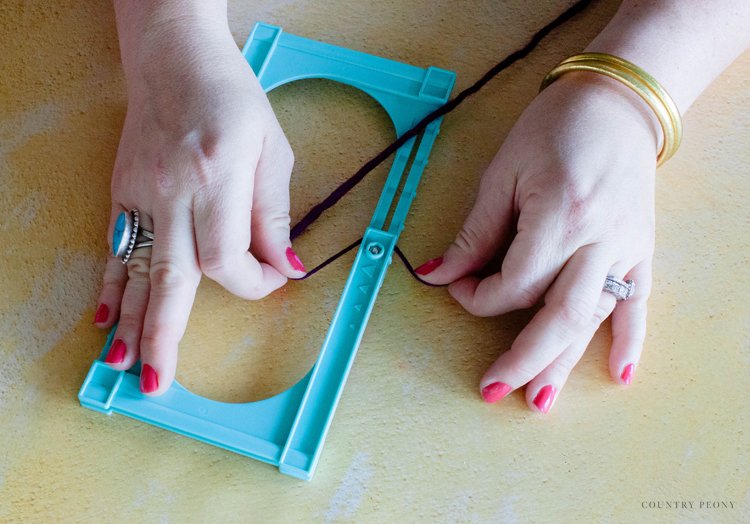
Adjust the size of the tassel maker. For this project, I extended the large size to the max.
Secure the yarn under the holder on the side of the tassel maker.
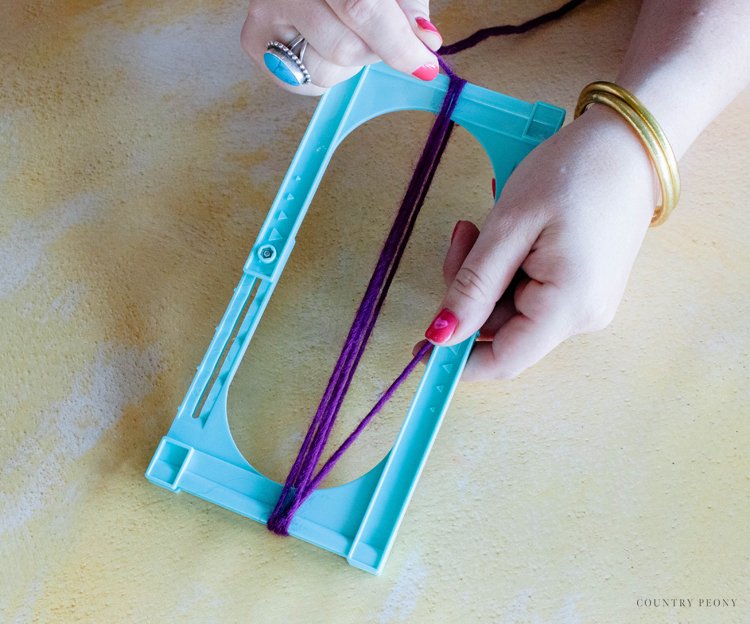
Wrap the yarn around the tassel maker 15 times. I used a medium yarn weight, and so 15 times was enough. However, you can do more for a fuller effect.
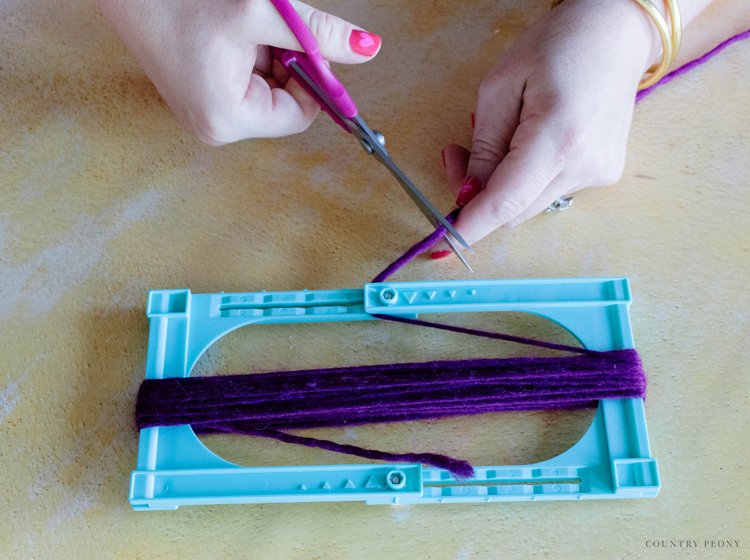
Secure the end of the yarn under the holder on the other side of the tassel maker, then cut the yarn.
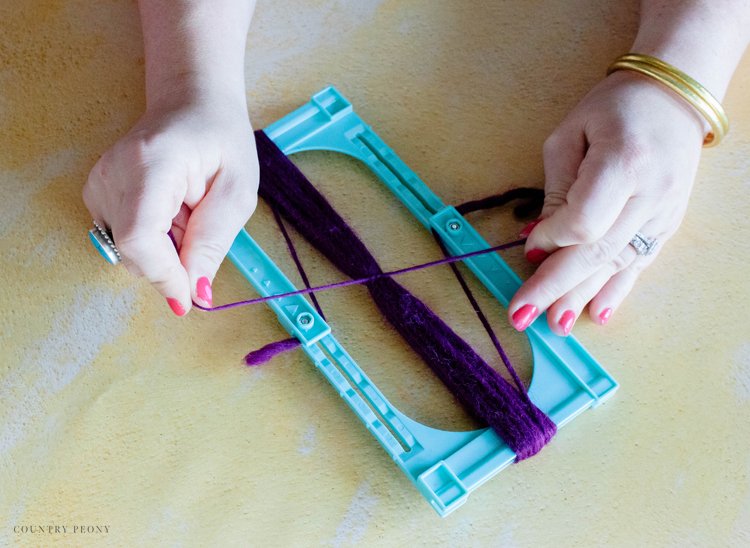
Tie a piece of yarn around the middle part of the yarn loops. Then double knot for good measure.
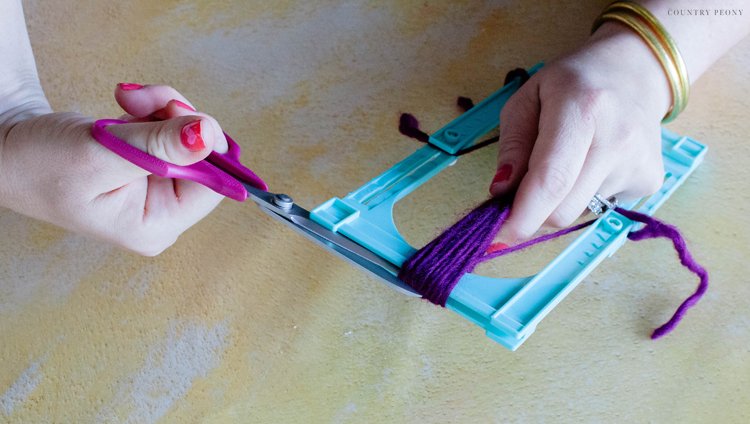
Follow the guide lines to cut the top and bottom part of the tassel using your embroidery scissors.
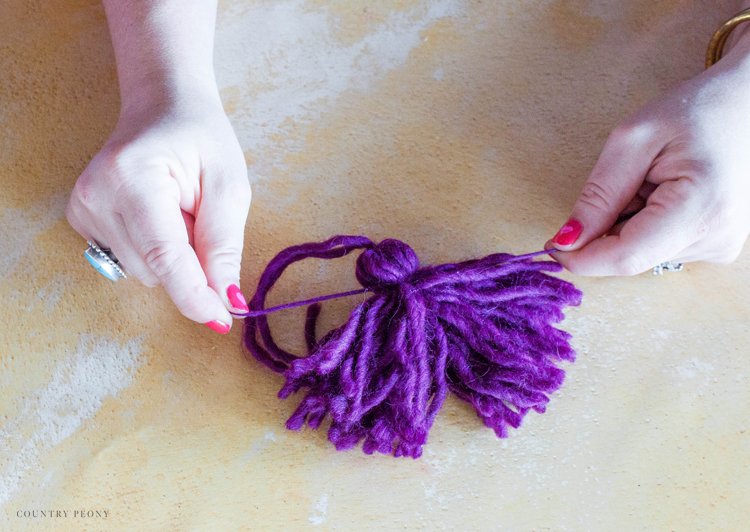
Bring the yarn together, then tie a piece of yarn around the top part of the tassel to create the neck. Double knot.
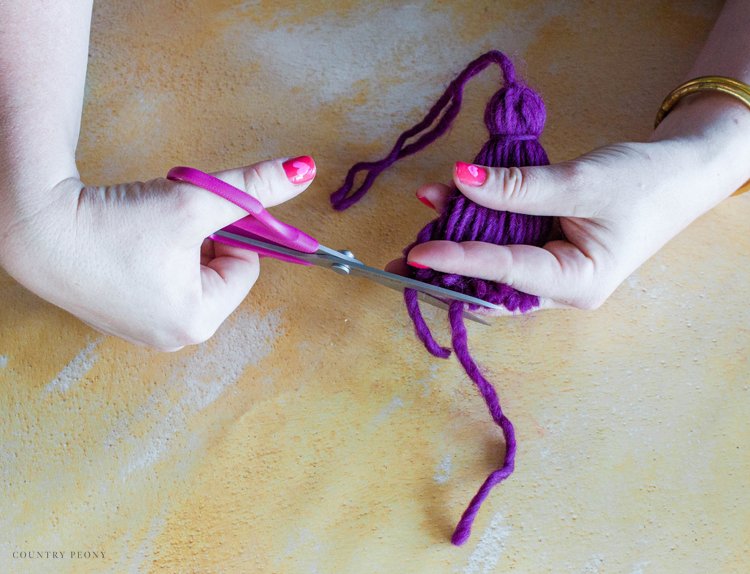
Trim the bottom of the tassel.
*I find it helpful to use my fingers to create a guideline to trim the tassel with.
Create enough tassels in different colors for your garland. For my garland, I created 8 ghost tassels in 4 different colors to display on my studio mantle.
Turn the Tassels into Ghosts for a Halloween Garland
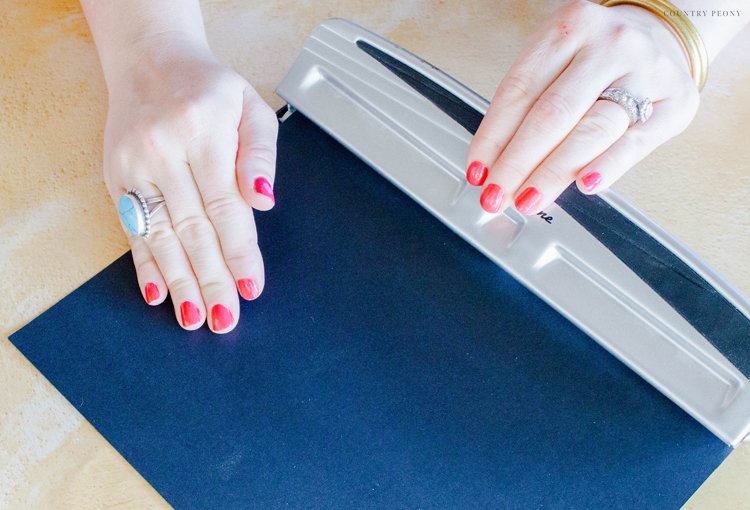
With a black piece of cardstock paper and a hole punch, create paper dots for the ghost’s mouth and eyes.
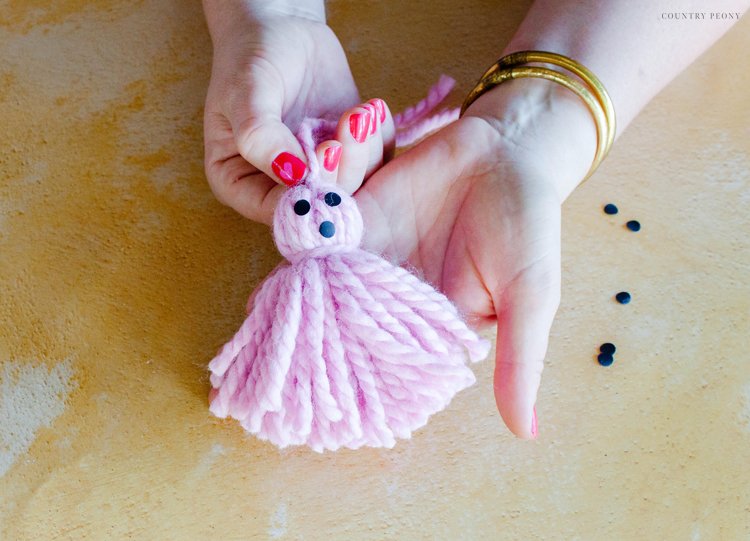
Then attach the paper dots to the neck of the tassel with permanent fabric glue to act as the ghost’s eyes and mouth.
Enjoy your charming ghosts.
Tie the Ghosts Together to Create a Halloween Garland
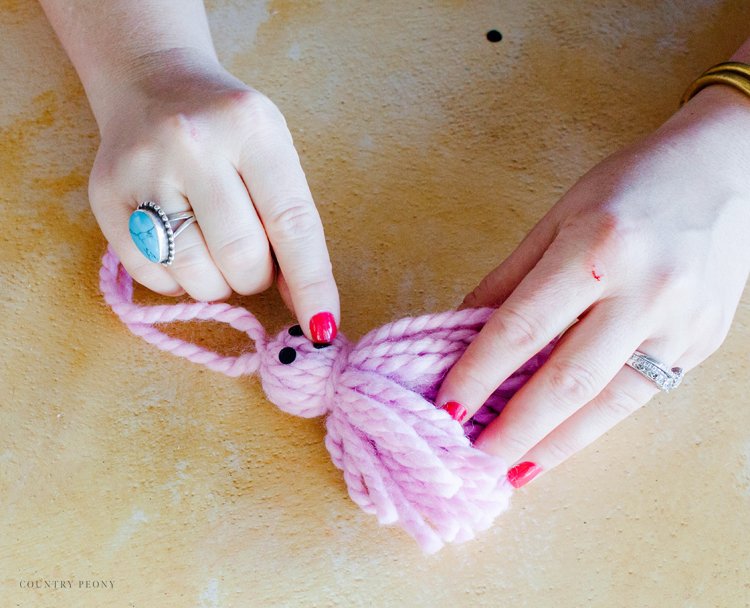
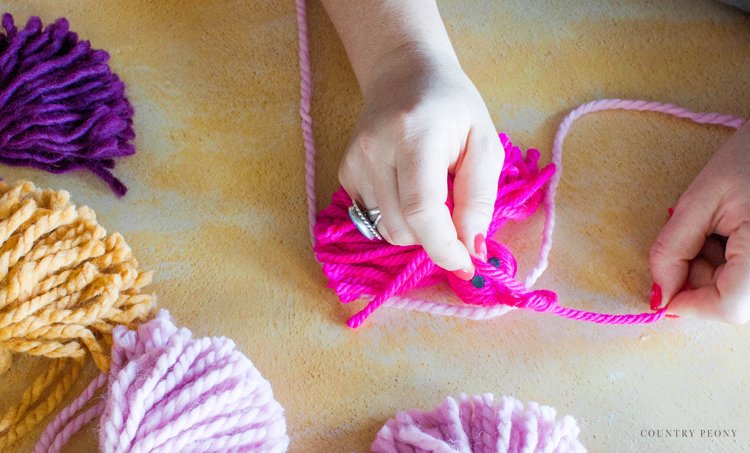
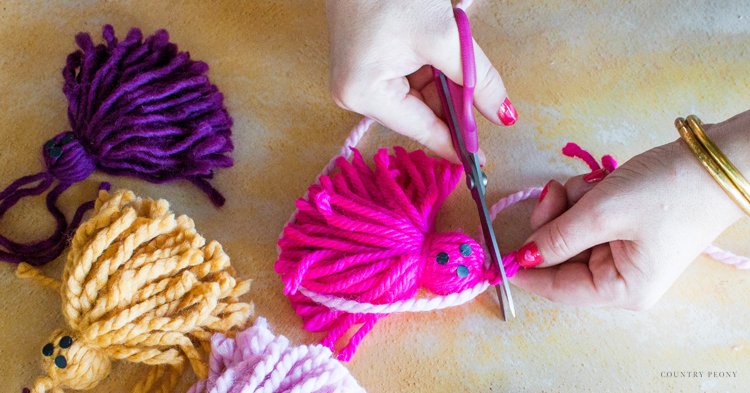
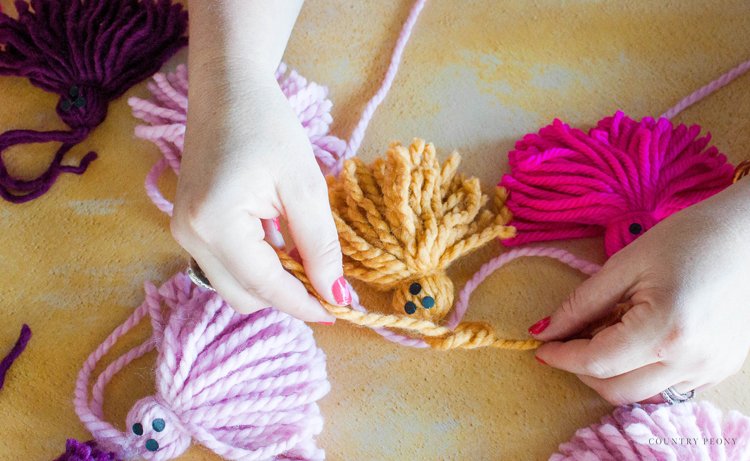
Cut a long piece of yarn. Then, one at a time double knot the top of the ghost tassel to the piece of yarn.
Trim the top of the tassel.
Then, glue the trimmed tassel strings to the back of the ghost with permanent fabric glue.
Continue to add ghost tassels to the garland every 6 inches.
Hang and Enjoy your Custom Ghost Tassel Garland
Hang your ghost tassel garland on a mantle, bookshelf or wall, and enjoy this Halloween season.
I had so much fun playing with Clover’s Tassel Maker. I hope you have a lot of fun playing with their tassel maker to create your own garland this Fall.
Thank you so much to Clover for this fun opportunity to use their incredible products!
I believe crafting is more fun when we share our projects. Please email me at elizabeth@countrypeony.com, or please tag me @thecountrypeony or #countrypeony to show me your beautiful, custom creations!
Happy Crafting, and Happy Halloween friends!


