How to Create a Pretty Pumpkin and Disco Ball Fall Vignette
*This post contains affiliate links. Thank you for helping to support this blog. For more information, please see my disclosure page here.
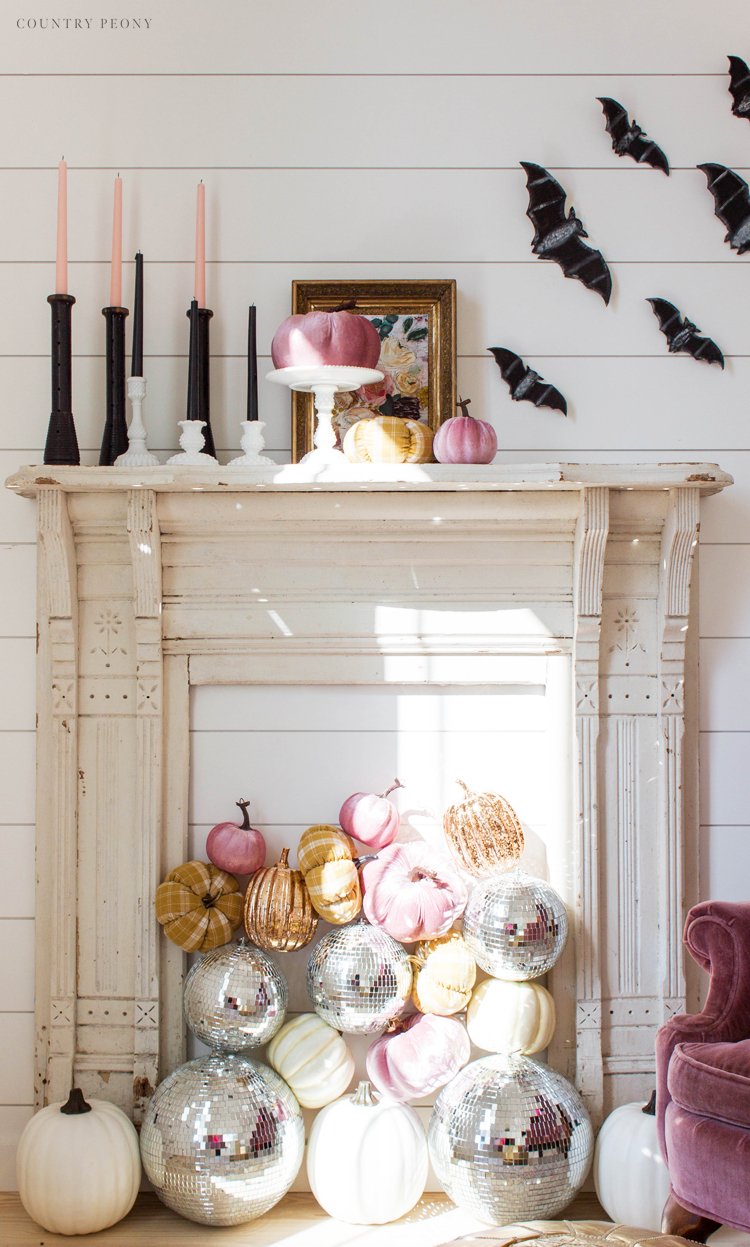
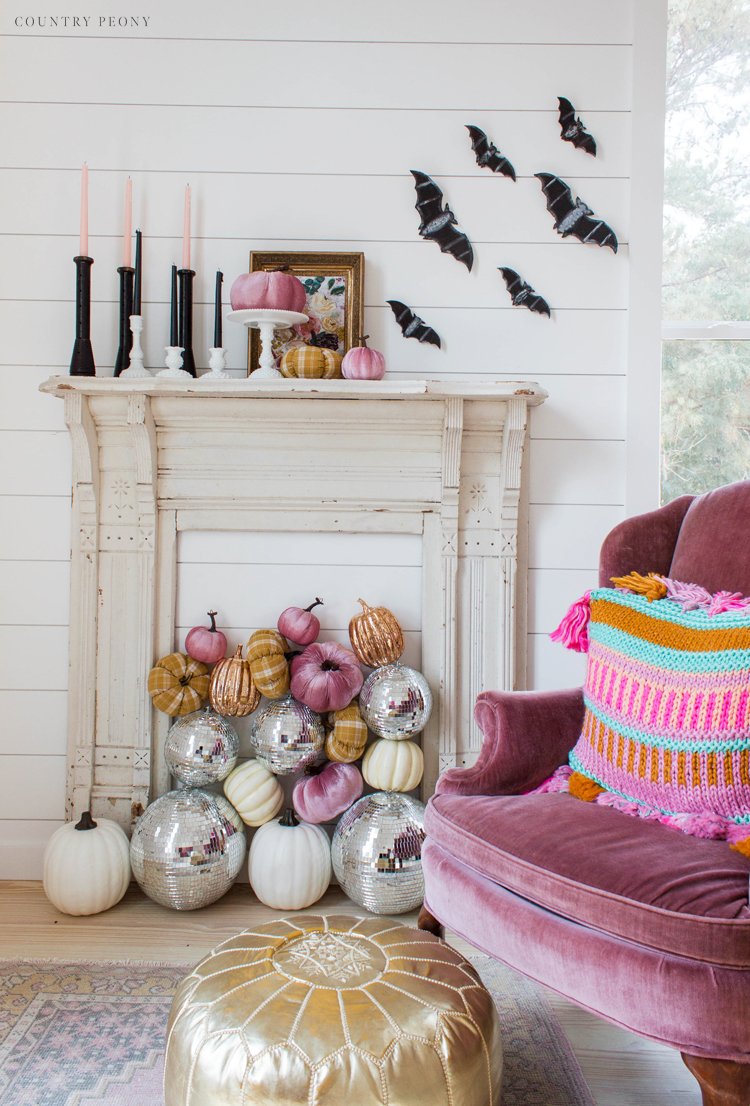
I love decorating for Fall. Recently I’ve embraced decorating in my own style, and not following the standard “rules” for Fall. Who says that Fall and Halloween decor has to be orange and spooky? Not me. I love incorporating blush and metallic tones into my Fall decor. When I saw these charming blush velvet pumpkins and mustard yellow pumpkins at Dollar Tree I knew I needed to create a vignette around them in the Country Peony Studio. The perfect spot for the vignette was under my vintage mantle from Round Top. I added some fun disco balls, and the vignette was the perfect touch of whimsy and pretty.
Today I want to explain how I made this vignette featuring pretty pumpkins and disco balls. I hope this inspires you to add some extra whimsy to your Fall decor, and to decorate in your own style. This is such a fun vignette to create in a dead space, especially underneath a mantle like I did.
Before I start, please enjoy this video highlighting how to create this pretty pumpkin and disco ball Fall vignette.
Please enjoy this video highlighting how to create this pretty pumpkins and disco ball Fall vignette on the wall.
Step 1: Decide on Your Color Palette
Before you start, choose your color palette. I recommend choosing 3 different colors. This will create interest and won’t overwhelm the vignette.
When deciding on the pumpkins also keep in mind to add pumpkins with different textures so the eye naturally moves throughout the vignette. For example I chose pumpkins in simple cotton, velvet and plastic mediums.
With the addition of the disco balls, this vignette really creates the perfect combination of whimsy and pretty, my favorite!
Step 2: Build the Pumpkin and Disco Ball Vignette Wall
Just like building blocks, start from the ground up with the largest disco balls and pumpkins at the bottom. It is also like a puzzle as you try to fit the pumpkins in the right spots. Take your time with this.
Then, use gaffer tape to attach the pumpkins and disco ball to each other and to the wall. Gaffer tape is my secret weapon as it is very strong, but it doesn’t leave any residue. When I worked in events, this was the only tape that we allowed people to use in our venue. I love using this tape to hang temporary decorations. *Ensure that none of the tape shows.
Roll the gaffer tape to make it double sided, then place three pieces onto each pumpkin and disco ball. One piece at the back, and two pieces at the bottom to create three points of contact.
Step 3: Enjoy your Fall Vignette
Step back and enjoy your Fall vignette.
Some things to note.
Place this vignette in a low traffic area. Even though the gaffer tape will hold the pumpkins and disco balls in place it is not permanent, and it may fall down if it is messed too heavily with. That is also the beauty of this project is that it is temporary making it perfect for events and seasonal decorations.
Scatter the pumpkin patterns so that the eye continually moves up the vignette.
Disco Ball Roundup
I absolutely love disco balls, and I love decorating with them in the Country Peony Studio. They add instant fun, and they feel so magical to me. have rounded up some of my favorite disco balls from Amazon. You can see the full list HERE.


