Finishing Laundry Room Details with Rub 'n Buff
As an event coordinator my job is all in the details. The same goes for my house decorations.
My husband and I recently put up a wood shelf with iron brackets in our laundry room to hold cleaning supplies. The shelf was purchased many years ago, and we lost the screws that the shelf came with. The brand new, silver screws that we used were an eyesore against the dark cast iron brackets.
Today, I want to share a fun, simple fix for the eyesore screws. I entrusted Rub 'n Buff to add the finishing touch to our laundry room shelves, and it came to the rescue. In under five minutes, I transformed the details of the laundry room shelf without any prep and minimal mess.
*This post contains affiliate links. For more information, please see my disclosures here.
For this project, you will need:
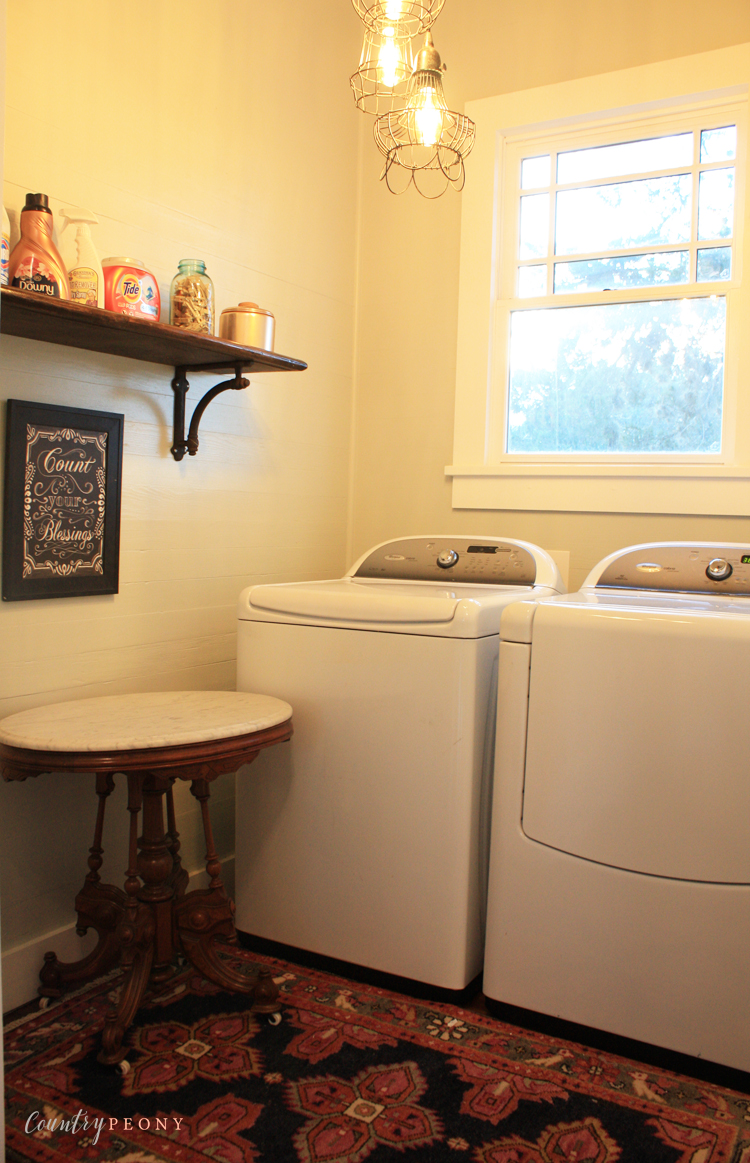
This is my laundry room before I applied the Rub 'n Buff. If you look hard enough you can see the silver screws popping against the dark cast iron brackets.
Side note: I had a lot of fun dressing up my laundry room. Since I spend a lot of time in here I want a space that is encouraging and pretty. I am very thankful for a functional, yet beautiful space. The sign "Count Your Blessings" says it all, and I feel it is a great reminder as I do my chores.
Step 1: I used the color ebony, which is included in the starter pack, to help the screws blend in. A little bit goes a long way. I used my index finger to apply the Rub 'n Buff.
Step 2: After a couple of minutes, I applied a second coat with my index finger once the first coat was dry.
Step 3: Once the second coat was dry, I buffed it with a lint free cloth.
Step 4: Wash your finger with soap and warm water.
As simple as that!
I feel like the pictures below speak for themselves. In less than five minutes, you can transform many items in your home. The possibilities are endless!
If you would like to know more about this Rub 'n Buff technique, Our Fifth House has some great pointers. She also has used the technique as part of several ingenious design projects.
If you are interested, below are some of the items (or similar items) I used to decorate my laundry room.
I hope you enjoy adding details to your own space.


