Front Porch Furniture Makeover-Part 1
I recently purchased a fun rocking chair from a barn sale, and I was inspired to update it and finally revive some hand-me-down outdoor furniture I had on my to do list. Today I want to show you the very quick and inexpensive process of spray painting old, outdoor furniture and giving it new life. I am so happy with the final product, and I am not sure why I didn’t finish it sooner since it was so simple. Just in time for Christmas, the red that I chose will really pop with my wreaths that I will use from last year.
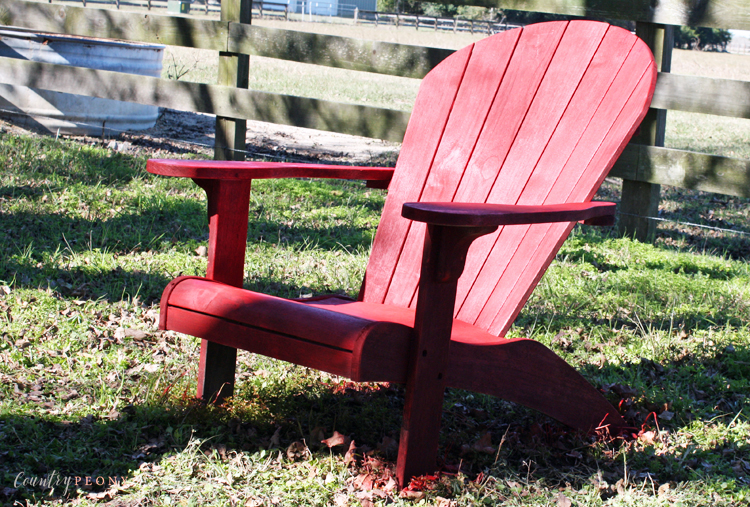
As you can see in the above picture, I started with a pair of adirondack, hand-me-down chairs. These chairs have beautiful bones, but I know they have seen better days. And, as I mentioned before I found a really fun rocker at a barn sale (shown below), that needed a little elbow grease and a new paint job.
*I will showcase the addition of the chair seat in a later post as part 2.
*This post contains affiliate links. For more information, please see my disclosures here.
To update your outdoor furniture, you will need:
Step 1: Use the sandpaper to remove excess dirt or old paint jobs. Don’t be afraid to check underneath furniture and get in between the cracks.
Step 2: Outside, or in a well ventilated area (preferably outside), spray paint the first coat of paint onto your project. The beauty behind the Rustoleum spray paint that I used is that it is a paint and primer in one. The only prep work is cleaning the furniture with sandpaper.
I tried to spray paint about 6 inches away from the furniture. It is best to spray paint in an even motion so that the paint isn’t too heavy in one area. *If you do spray paint too much in one area and it starts to bubble, then you can use your sandpaper to even out the paint and start over in that area.
First Coat of Spray Paint
Step 3: Once the first coat is dry apply a second coat of spray paint. This spray paint dried very quickly, especially on a breezy, sunny day.
Second Coat of Spray Paint
Step 4: Once the second coat is dry, apply a third coat of spray paint. I stopped at the third coat, however you can add more coats if you feel your project needs it.
Third Coat of Spray Paint
Step 5: Enjoy your final product, and the fact that you saved a piece of furniture and possibly some money in the process!!!
I love the way the red chairs pop off our gray farmhouse as I come around the corner to the front porch!
My daughter loves driving her “tractor” while I enjoy my morning coffee outside on the chairs.
I hope you are inspired to take a look at some of your outdated furniture to possibly give it a new life!


