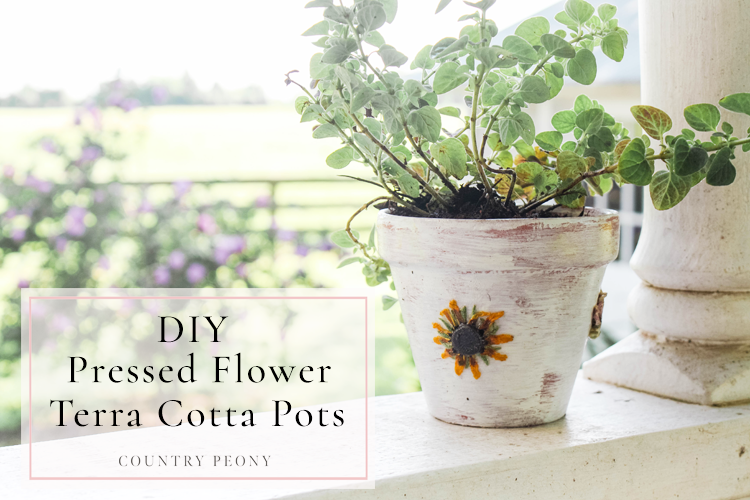
DIY Pressed Flower Terra Cotta Pots
If you follow me on Instagram, you may know that recently my children and I picked and pressed some beautiful flowers from my in-law’s garden. I thought it would be charming to keep the pressed flowers in their element in nature, and add them to a terra cotta pot meant for my herbs. I am so happy that I have a visual reminder of flower picking with my children, and so the memory can live on.
Please see below for the full tutorial to make your own french country inspired pressed flower terra cotta pots.
*Some of this post contains affiliate links. For more information, please see my disclosures here.
To make your own pressed flower terra cotta pots, you will need:
Step 1: Press your flowers. Pick flowers then place them as flat as possible in between two layers of parchment paper in between two book pages. Close the book and stack heavy books on top to increase the weight and pressure onto the flowers. Let the flowers press and dry for about a month inside of the book.
*Pick flowers that are easy to press. Flowers that lay flat, flowers with thin petals and flat centers, and flowers that hold their color well. Don’t be afraid to experiment. I used zinnias and wild yellow daisies. Honestly, not all of my flowers successfully survived the pressing process since daisies and zinnias have a thicker center. They developed mold from the moisture in the centers. But, I was able to save a few for my cute pots!
Step 2: Add a french country inspired look to the terra cotta pots. Apply one very thin layer of chalk style white paint to the exterior of the terra cotta pot. Let the terra cotta peek through. This technique provides a beautiful, organic looking base for the flowers to pop off of.
Paint the top and the top part of the inside of the pot. Let it dry.
Honestly, I think it is pretty just with the chalk style paint!
Step 3: Once the chalk style paint is dry, decide on the placement of your pressed flowers. Then apply one thick layer of outdoor mod podge onto the pot and pressed flower. Ensure the flower is coated with the mod podge. Let the first layer of mod podge dry.
*As the mod podge dries onto the flower use your fingers to press the flower into the pot if the petals starts to peel up.
Step 4: Once the first layer of mod podge is dry, add a second layer of mod podge to the flower.
Step 5: After the second layer of mod podge is dry apply a third layer of mod podge. Then add a thin layer of mod podge to the entire terra cotta pot. Let it dry.
Step 6: Once the mod podge is completely dry add your favorite plant with proper soil. Then water and enjoy your new creation!
I loved filling my pots with my favorite herbs.
Hope you are reminded of your sweet flower picking days every time you look at your new elevated terra cotta pots!


