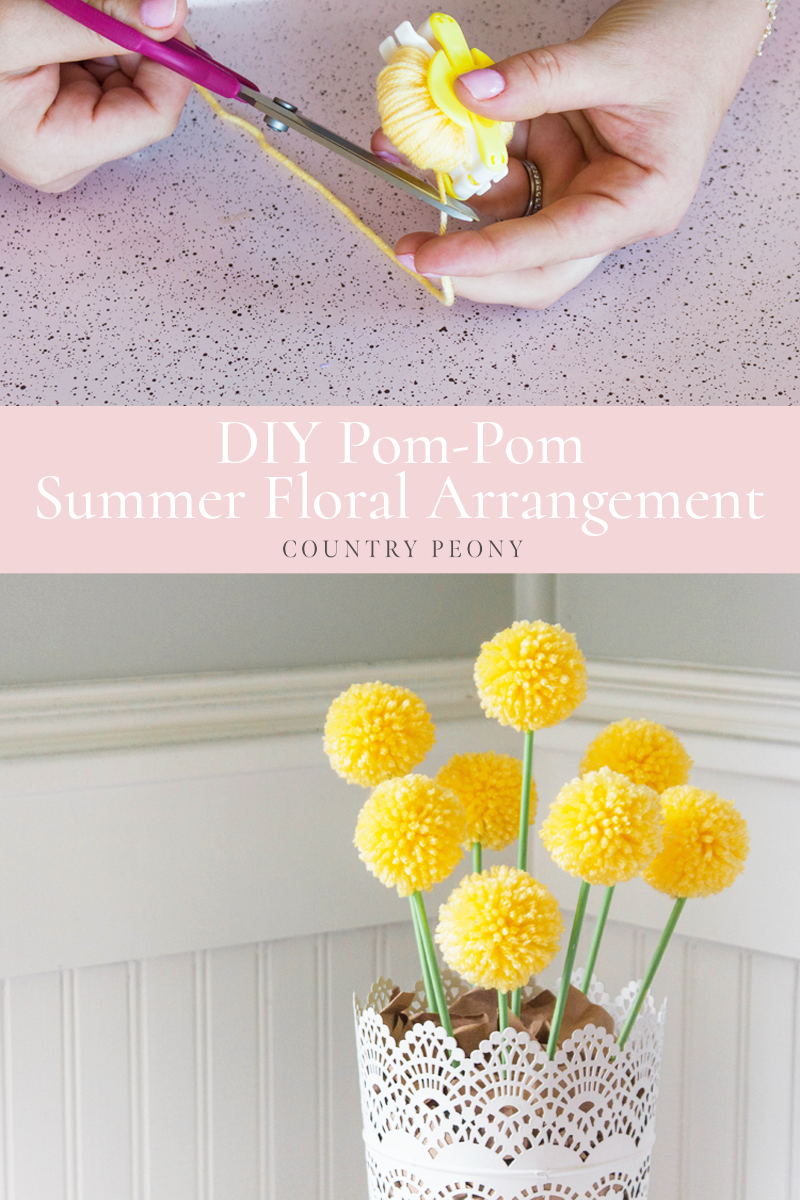
DIY Pom-Pom Summer Floral Arrangement with Clover

*This post was created through a paid partnership with Clover. However, all opinions are honest and 100% my own.
*This post contains affiliate links. For more information, please see my disclosure page here.
Flowers are a huge source of inspiration for me. I just wish they lasted longer. So, I was thrilled to work with Clover to create a summer floral arrangement that will last for many years to come! I was inspired by the Billy Ball flowers to create cheerful pom-poms to make the cutest and most whimsical floral arrangement.
If you have been here for a while you may know that I love using Clover’s pom-pom makers for my projects as you can see from the DIY Colorful Pom-Pom Christmas Tree, the DIY Pom-Pom Heart Wreath for Valentine’s Day, and more recently the DIY Pom-Pom & Tassel Bunny Garland for Easter. Clover’s pom-pom makers make it so easy and fun to create consistent and cute pom-poms every time in less time. The different sizes allow you to experiment with different projects. The possibilities are endless!
For your convenience, I have created a step-by-step video so you can see how I made the pom-poms using Clover’s pom-pom maker, and then put the floral arrangement together. Then continue below to follow the step-by-step images to make your own DIY Pom-Pom Summer Floral Arrangement just in time for summer.
Enjoy the LIVE Video of and the step-by-step video below then follow along for the step-by-step tutorial to make your own pom-pom floral arrangement just in time for summer!
Continue below for the step-by-step pictorial to make your own pom-pom summer floral arrangement.

To make your own pom-pom floral arrangement you will need:
Shop the Pom-Pom Summer Floral Arrangement Supplies


Step 1: Make the Pom-Poms
For this project I used the 1 & 3/4 inch pom-pom maker.
Open up the pom-pom maker. Tightly wrap the yarn around one side of the pom-pom maker arm until you have a full, consistent amount of yarn on your pom-pom arm.
Then, close the pom-pom maker arm and carry the yarn over to the other arm. Continue to wrap until you have a full, consistent amount of yarn on your other pom-pom arm.
*Keep in mind the more yarn you add to the pom-pom maker, the fluffier and more full the pom-pom will be.


Once you have achieved the yarn fullness you are after close the arm on the other side. Snip the excess yarn.
Cut a separate piece of yarn and set it aside.


Ensure that both pom-pom arms are closed and snug, then follow the pom-pom maker guideline in between and start to the cut the yarn.


Once you cut the yarn all the way around the pom-pom maker, double knot the extra piece of yarn around the pom-pom.
Now for my favorite part: open the pom-pom maker arms, then slowly pull the pom-pom maker apart, revealing the cutest pom-pom ever!


Now it is time to fine tune and give your pom-pom a little trim. Cut off any excess yarn around the pom-pom to give it a full and consistent look.

Make enough pom-poms for an arrangement.
*I made 8 pom-pom flowers, but you can choose as many or as little as you want.

Step 2: Paint the Wooden Skewers
Paint the wooden skewers green to act as stems. Then set them aside to dry.
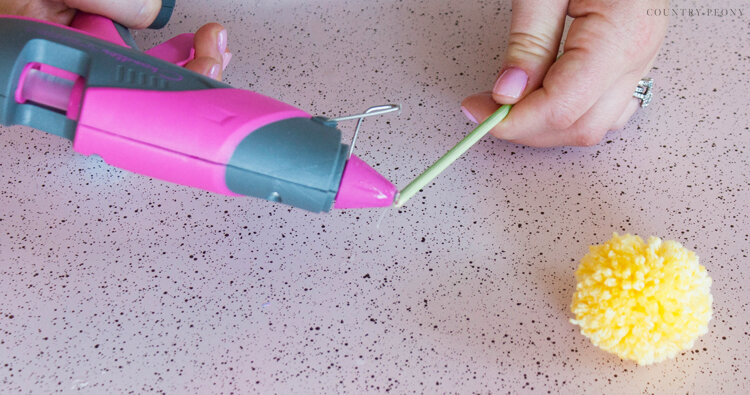
Step 3: Create the Pom-Pom Flower
Once the skewers are dry hot glue the pom-pom to the skewer. Hold the pom-pom in place for at least 15 seconds until it is secure on top of the skewer.
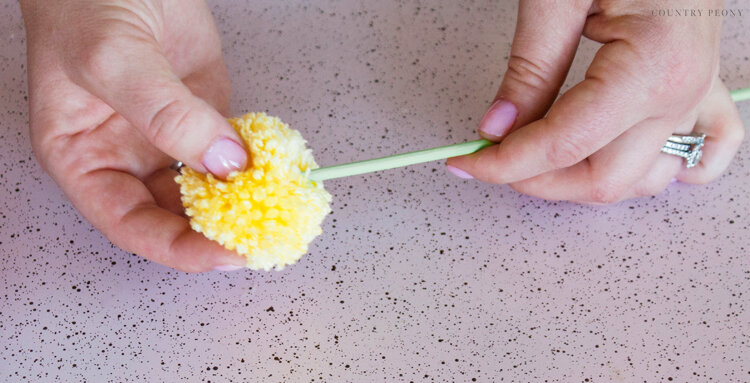
Make sure to remove any hot glue whiskers from the “flower”.

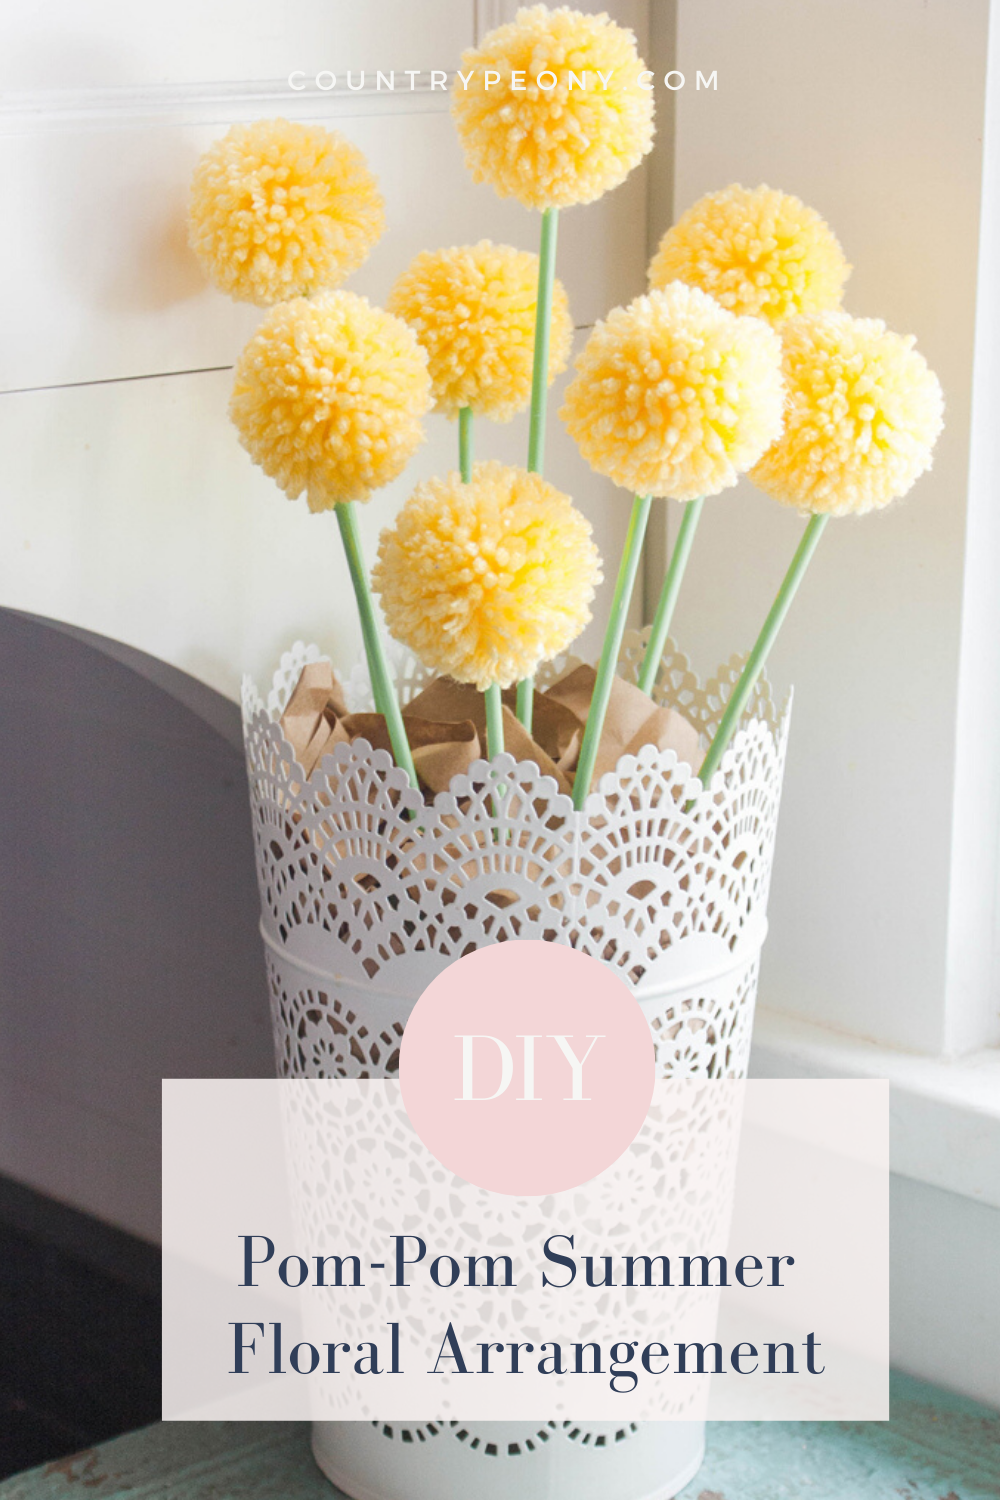
Step 4: Make Your Arrangement
Place the floral foam inside a fun vessel.
Insert the skewers into the floral foam.
Insert the skewers in different directions and at varying heights for dimension and proper interest.
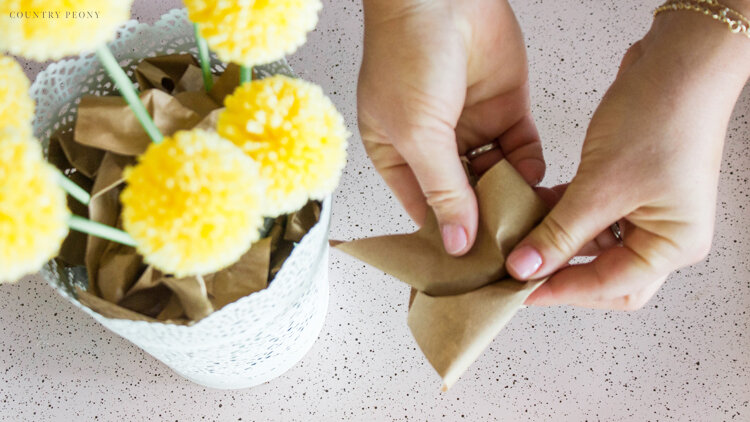
Place crumpled up kraft paper pieces on top of and around the floral foam to cover the floral foam, and to act as dirt.
*You can hot glue the kraft paper to your foam if you are afraid of the paper falling out.
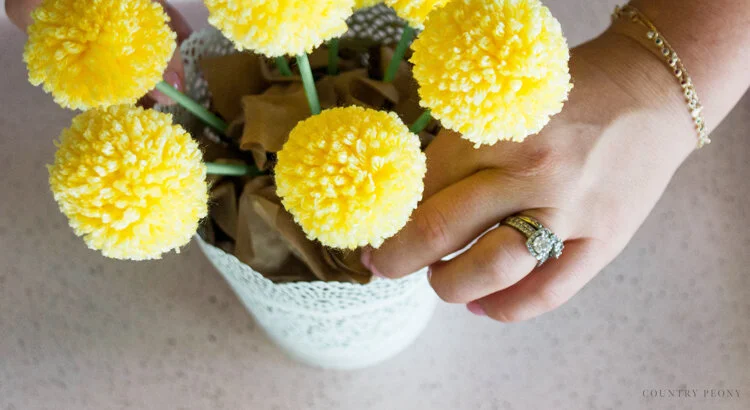

Step 5: Enjoy Your Cute & Whimsical Summer Floral Arrangement

I really love how these Billy Ball inspired pom-pom flowers turned out. They really cheer up my kitchen!

Thank you so much to Clover for the opportunity to make this very fun and whimsical summer floral arrangement!

I believe crafting is more fun when we share our projects. Please email me at elizabeth@countrypeony.com, or please tag me @thecountrypeony or #countrypeony to show me your beautiful, custom creations!
Thank you so much for following along!