Conversation Hearts Decor for Valentine's Day Tree
*This post contains affiliate links. For more information, please see my disclosure page here.
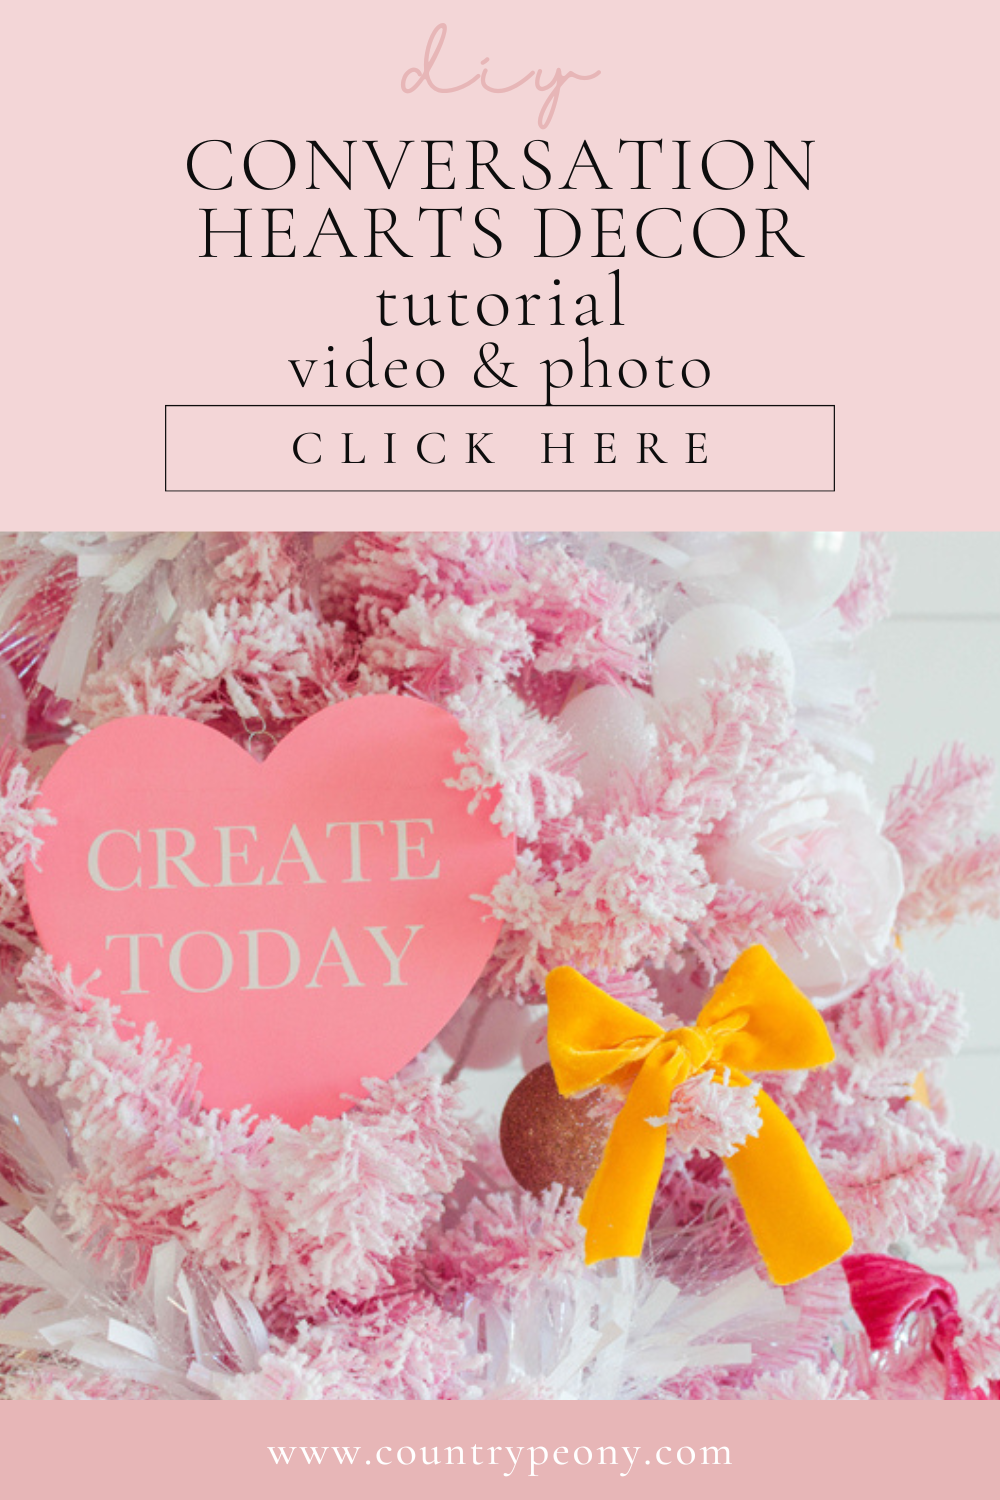
I think conversation hearts are super charming, but I don’t like the taste of them. So when I was deciding how to decorate my Valentine’s Day Tree I thought oversized conversation hearts that act as decor would make the perfect ornament for my pink tree. And, I was right! I love how simple this project was to make, and I love the colorful and whimsical impact they bring to my pink Valentine’s Day Tree.
You may remember that I purchased a 7.5” Flocked Pink King of Christmas Tree for my studio for Christmas last year. I loved having the tree up so much for Christmas that I decided to keep it up year round, and decorate it for each season. So, I kept the large baubles, disco balls, velvet ribbon bows, and garland and added some mustard yellow ribbon and my handmade conversation hearts decor. The end result is sweet yet refreshing, and it brings all of the beautiful Valentine’s Day cheer to my studio!
Today I want to show you how to make your own conversation hearts decor. You can add them to a Valentine’s Day present, as part of a garland, or on your Valentine’s Day Tree like I did. The beauty with today’s DIY is that you can customize the color palette and the sayings to whatever your heart desires. I chose words that were inspiring to me in the studio. Whatever you decide, I hope that you have fun!
Enjoy this Video Below Showcasing How To Make Your Own Conversation Hearts Decor for Valentine’s Day
Continue Below to Make your own Conversation Hearts Decor
To create your own conversation hearts decor, you will need:
Wooden Hearts. I chose Woodpeckers Crafts 7 Inch Wooden Heart Cutouts. Woodpeckers Crafts has so many wonderful sizes, and their quality is fantastic! I have done several collaborations with them and I love all of their products. *Use code “countrypeony” for 5% off your purchase at Woodpeckers Crafts.
Craft Paint. I chose 4 different colors for my color palette, but you can choose whatever works best for you.
Wire Cutter
Cutting Machine. I love the Cricut Explore 3.
Smart Vinyl in White
Scissors
Paint the Wooden Hearts
Choose a color palette.
Before I start any project, my first step is to choose a color palette. I like to stay within 3-5 colors. I love the look of pinks with mustard yellow and so I went with three different shades of pink and two shades of yellow for this project. I love how it turned out, and how it looks against the pink Valentine’s Day tree.
Once you choose a color palette, use a foam brush and apply one coat of craft paint to one side of the wooden heart. Paint the sides of the wooden heart as well.
Once the first coat is dry, apply a second coat of the paint to the wooden heart then let it dry.
Create the Conversation Heart Phrases
With the help of a cutting machine, cut out simple sayings onto vinyl.
I chose sayings that inspired me in the craft studio: Craft Happy, Create Today, Be Kind, Laugh Often, and Love Big.
Have fun with this part of the personalization process.
Once you weed the vinyl from the letters, apply transfer tape to letters.
Use the scraper to apply pressure to the vinyl so that the letters adhere to the vinyl.
Then carefully peel the letters from the backing.
Apply the transfer tape to the center of the painted wooden heart.
Use the scraper to attach the letters to the wooden heart.
Slowly remove the transfer tape to reveal the charming conversation hearts.
Turn the Conversation Hearts Decor into Ornaments for the Valentine’s Day Tree
Add the hangers to the back of the wooden hearts.
Cut a piece of wire to about 6 inches, then twist it into a loop.
Add hot glue to the back of the ornament at the top. Then attach the wire loop to the hot glue.
Once the hot glue dries you are ready to hang the ornament.
Enjoy your Conversations Hearts Decor for your Valentine’s Day Tree
I just love how these conversation hearts add so much to my Valentine’s Day Tree. Knowing how simple and fun they were to make, makes me even happier!
I know I will cherish these for many Valentine’s Days to come!
Thank you so much for joining me today. I hope you enjoy making your own conversation hearts decor just as much as I did!
I believe crafting is more fun when we share our projects. Please email me at elizabeth@countrypeony.com, or please tag me @thecountrypeony or #countrypeony to show me your beautiful, custom creations!
Thank you so much for following along!


