DIY Woven Friendship Bracelet with Clover's Bracelet Maker
*This post was created through a paid partnership with Clover. However, all opinions are honest and 100% my own.
*This post contains affiliate links. For more information, please see my disclosure page here.
Friendship bracelets are making a large comeback in the form of trendy colors and woven designs. So, in honor of National Best Friend’s Day, which is today, I thought it would be so fun to create a woven friendship bracelet using Clover’s wonderful Bracelet Maker.
Whenever I use Clover’s Bracelet Maker, it brings me right back to my childhood when I would spend hours creating friendship bracelets. With this tool, you can create 8 different bracelet styles with endless possibilities based on the yarns, threads, and beads that you use.
Click HERE for a fun Rainbow Bracelet that I made last Summer using Clover’s Bracelet Maker.
The beauty in today’s DIY is that you can customize it to your favorite color of thread. You can even incorporate different knots for a completely custom look. So many wonderful possibilities!
Enjoy the video below to learn how to make your own woven friendship bracelet, then follow along for the step-by-step tutorial to make your own this Summer!
Please follow below for the step-by-step tutorial to make your own DIY Woven Friendship Bracelet using Clover’s Bracelet Maker.
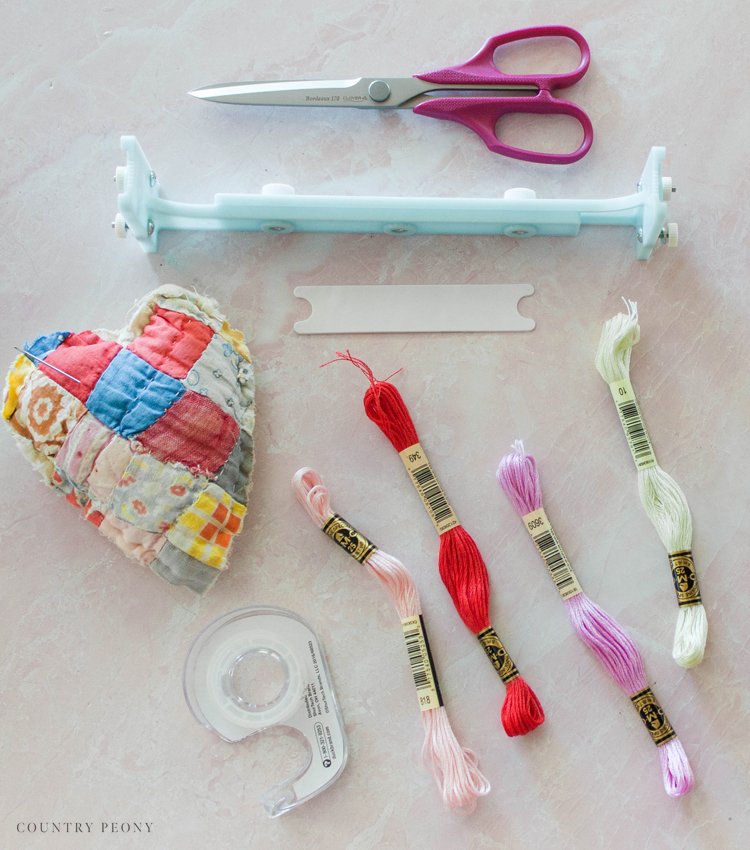
To Make Your Own Woven Friendship Bracelet, you will need:
Embroidery Thread
Scissors
Tape
Tapestry Needle
Set Up the Warp
Decide on the length of the bracelet. There are two parts to the warp: Part A and Part B. Part A is up to 7 1/16 inch long. You can extend the tool by bringing out Part B, and create a bracelet up to 9 inches long. I just used Part A. Once you decide on the length, secure the side of the warp by tightening the adjustment screw.
Add the Thread to the Warp
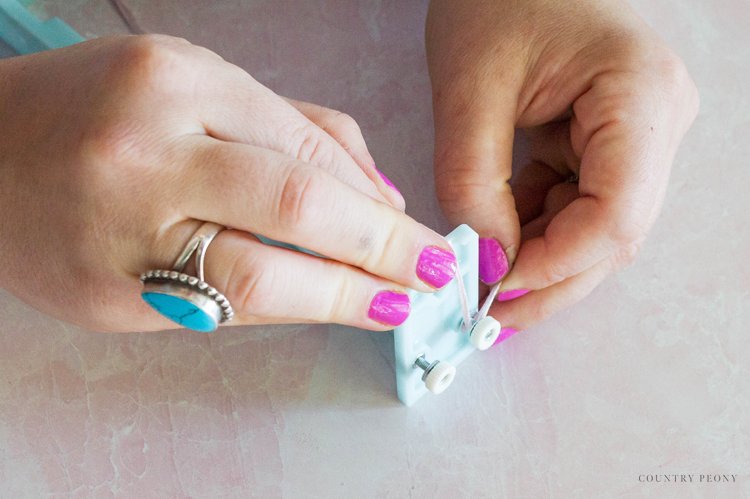
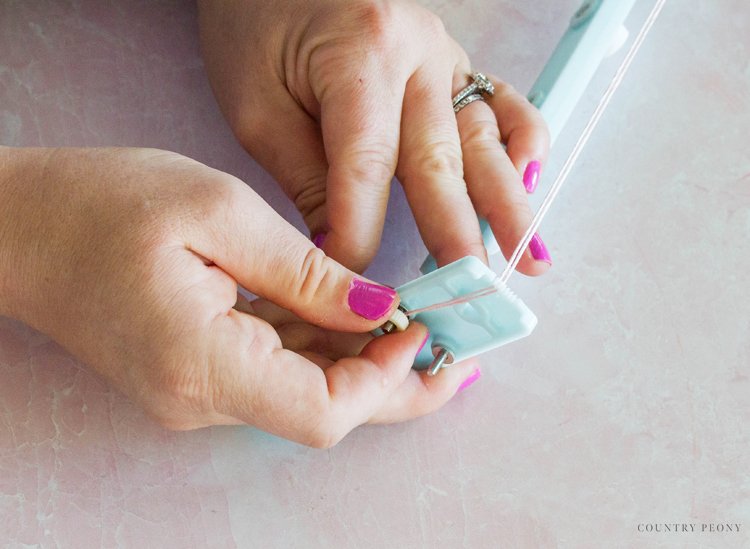
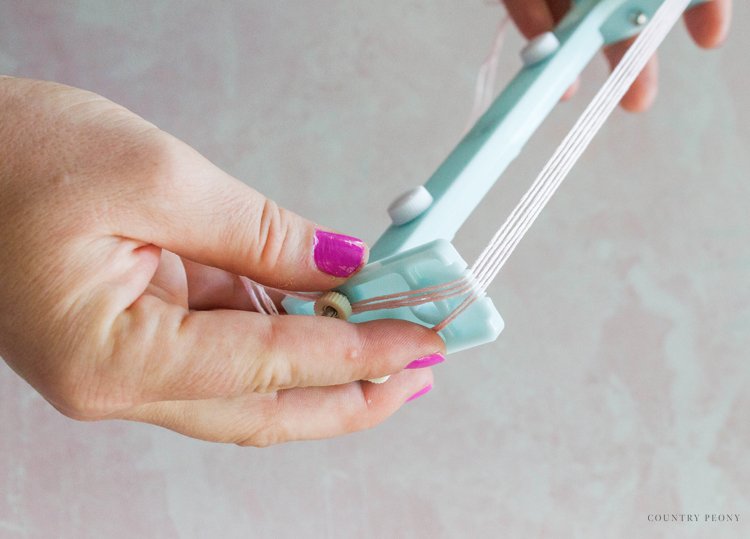
Wrap five strands of embroidery thread around the screw on the side. Wrap 3 strands into one screw, and 2 strands into the other screw. Then bring them over the Bracelet Maker into the teeth at the top of the Bracelet Maker.
Twist the screws to secure the embroidery thread on both sides. Make sure the thread isn’t twisted.
Wrap Embroidery Thread Around the Shuttle
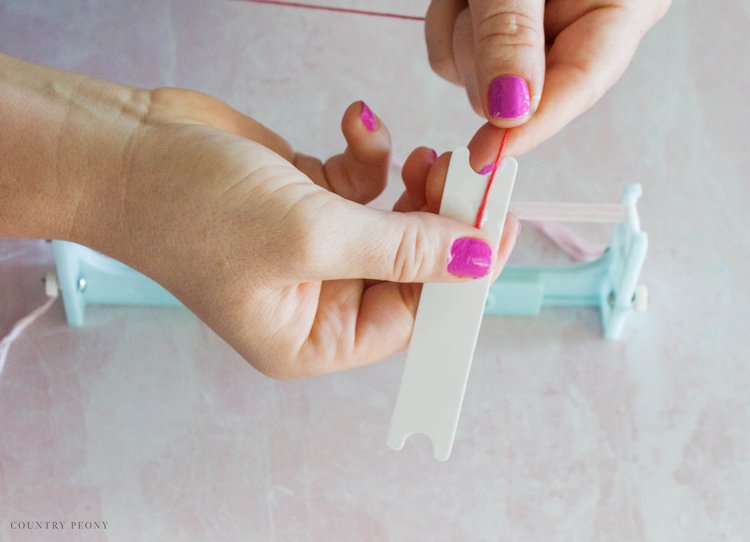
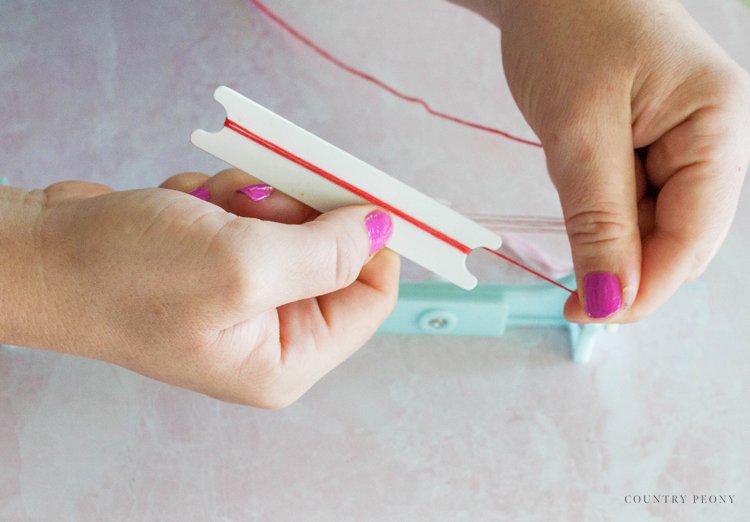
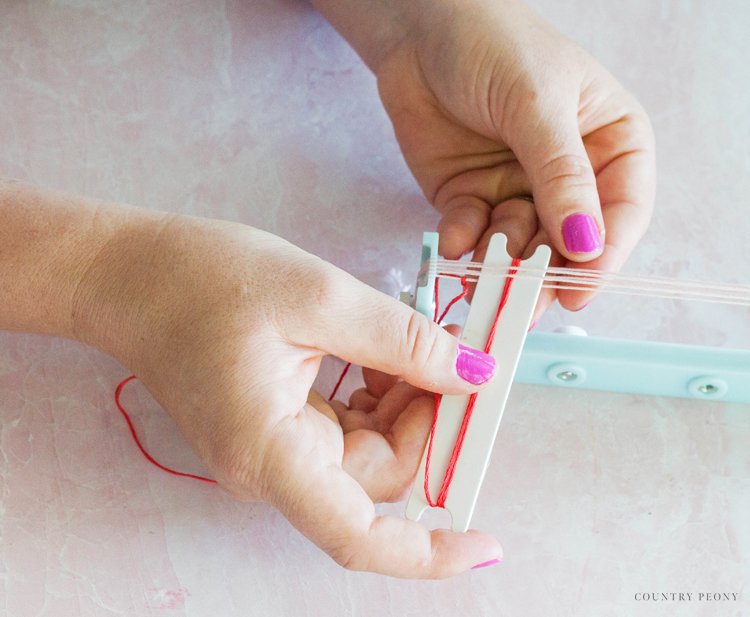
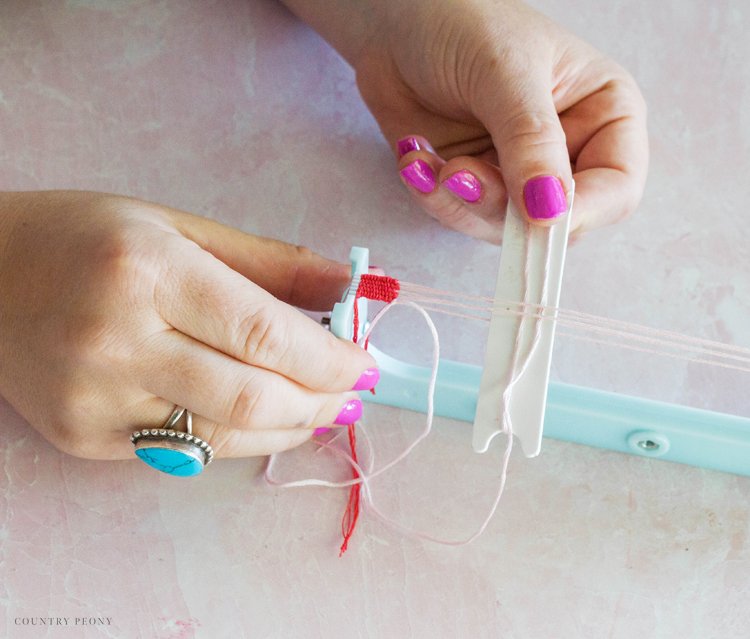
Tape the thread to the shuttle, then wrap it around the shuttle.
Weave the Bracelet
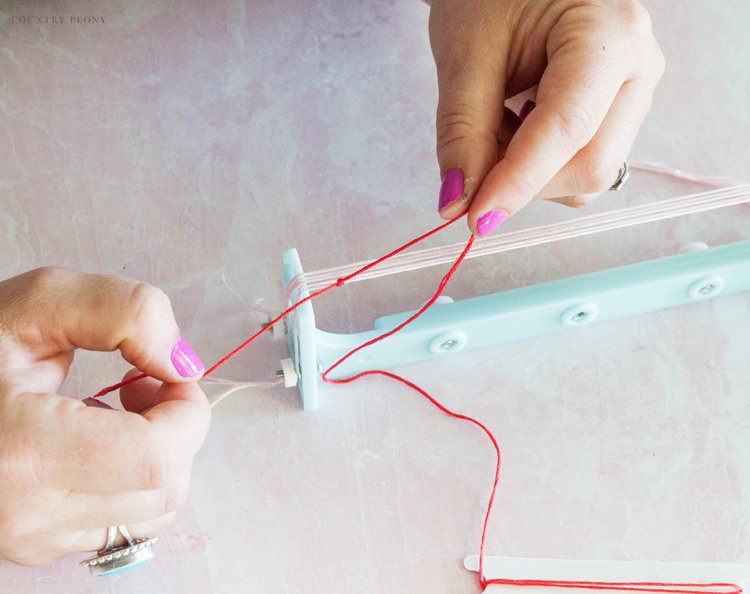
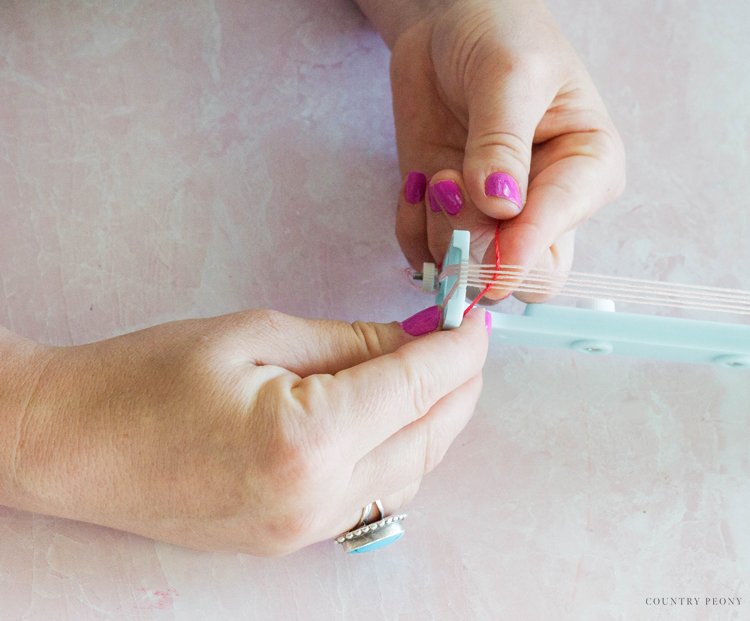
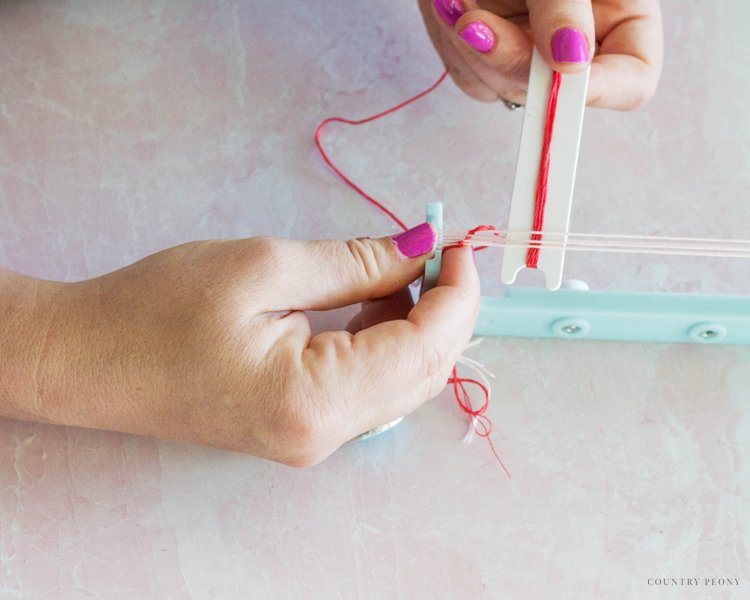
Tie an embroidery thread knot onto the last string of the warp. Then weave the shuttle even numbered strands of the warp.
Once you get to the end, turn the shuttle around and weave the shuttle through the odd numbered strands of the warp.
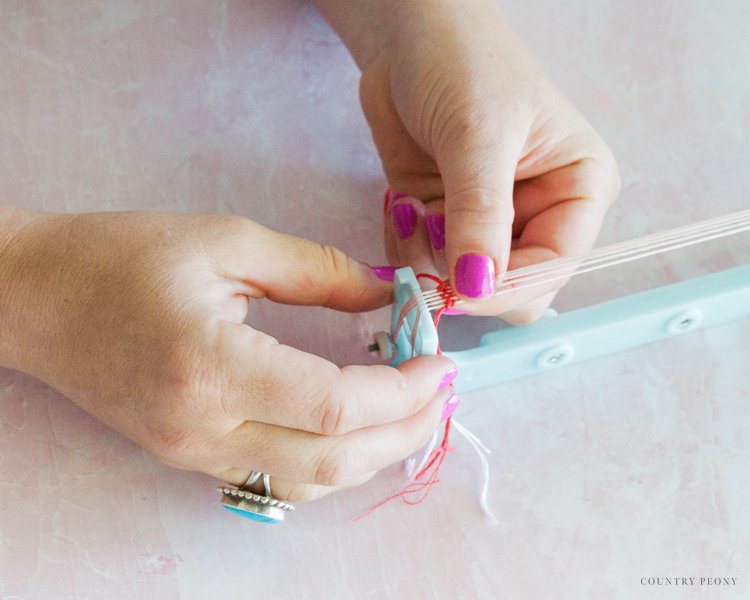
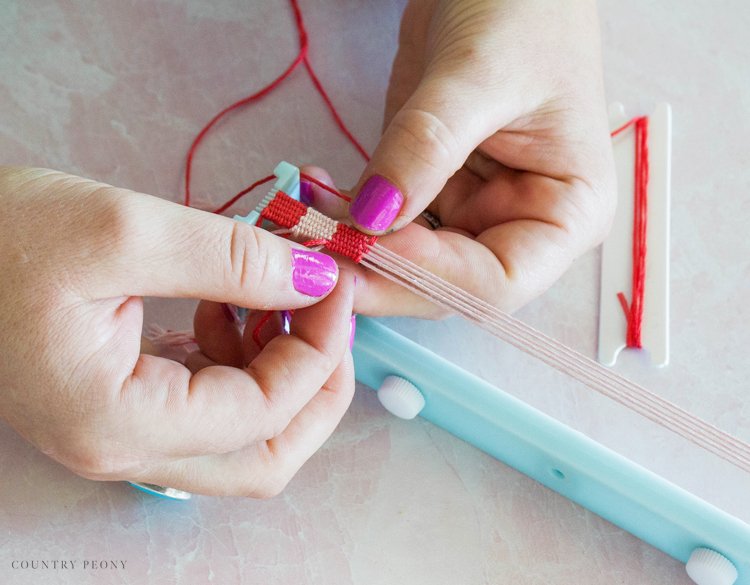
Use the shuttle or your fingers to the push the embroidery thread down.
Continue to weave the shuttle through the embroidery thread to make a bracelet design.
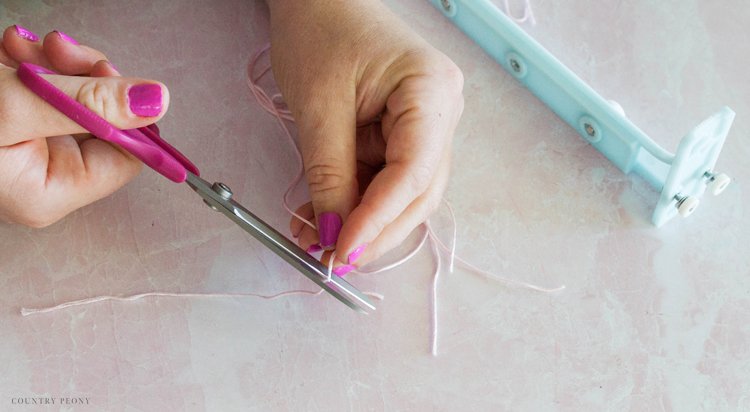
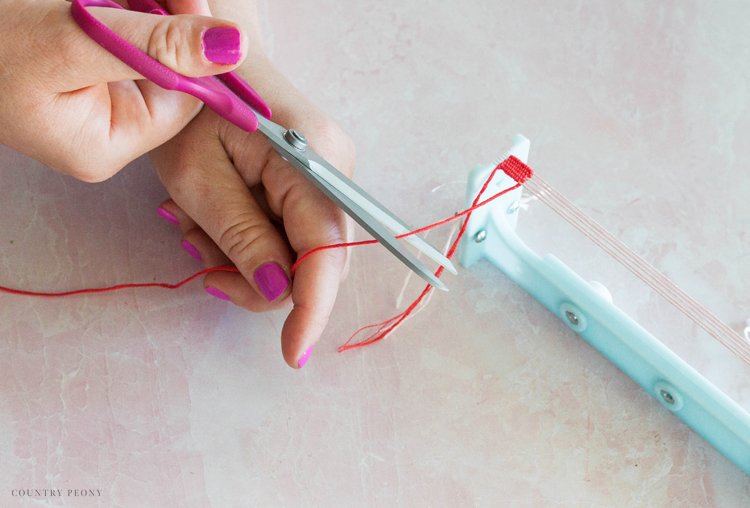
When you want to switch colors, cut the end of the embroidery thread (leaving about 6 inches of length) and leave it as is. You will clean up the edges at the end. Then, tie the next color of embroidery thread that you would like to use to the warp. And, follow the previous steps to continue to weave the new bracelet design.
Finish the Woven Friendship Bracelet
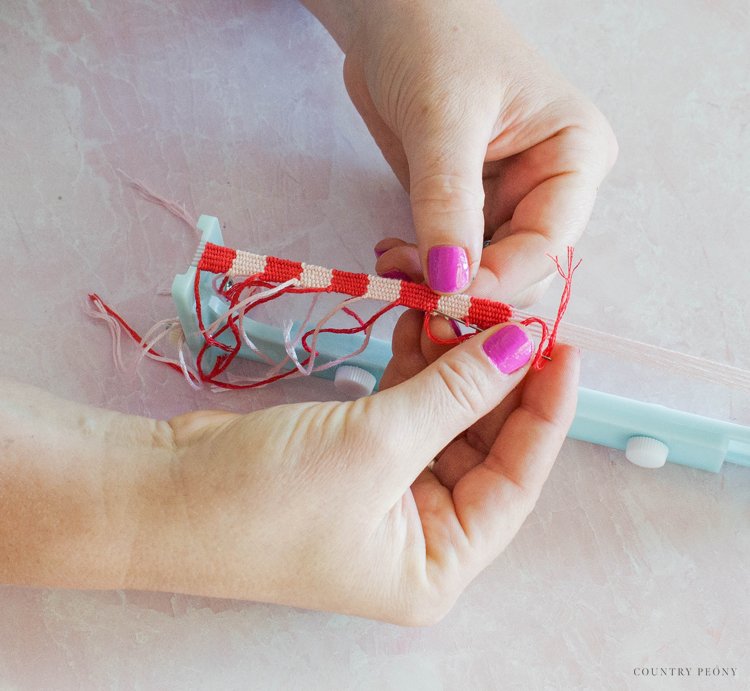
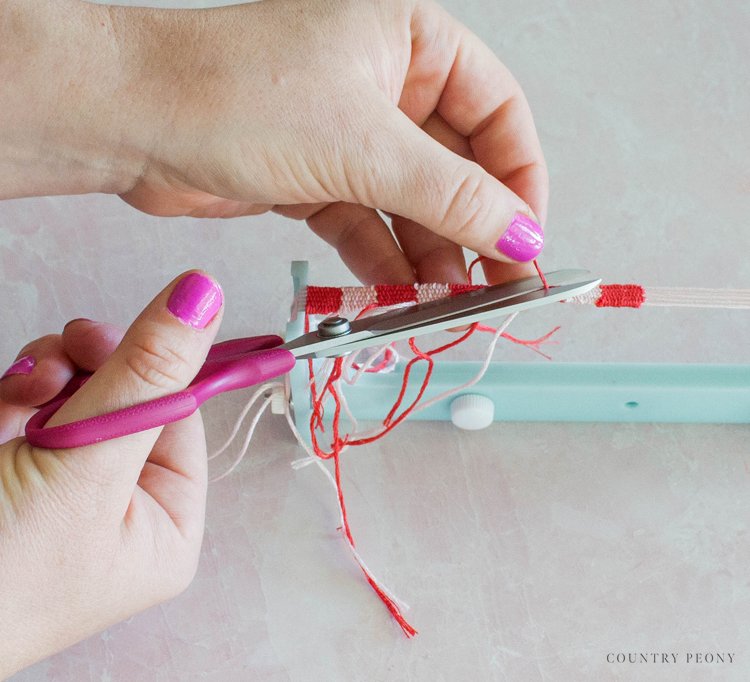
When you have reached the end of the bracelet, pass the end of the embroidery thread through a tapestry needle. Then insert it along the warp so that the thread is hidden. Then cut trim the leftover embroidery thread. Continue to repeat this process with the rest of the embroidery thread pieces.
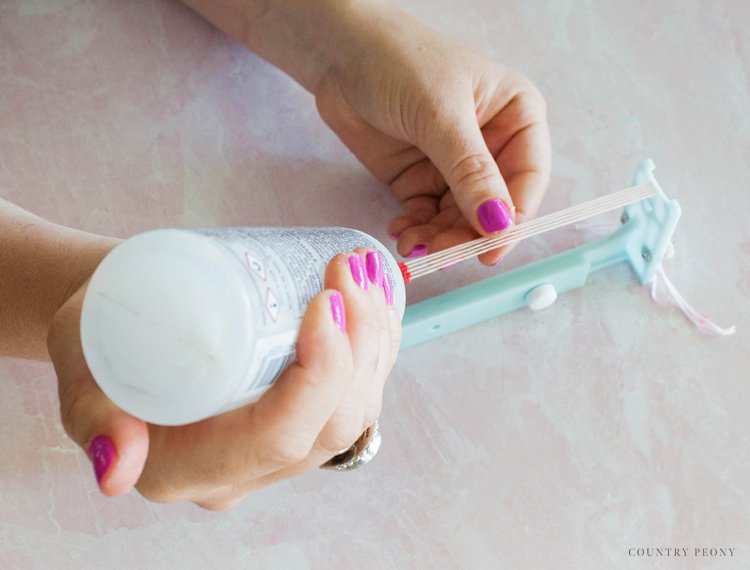
For extra stability, secure the ends with fabric glue.
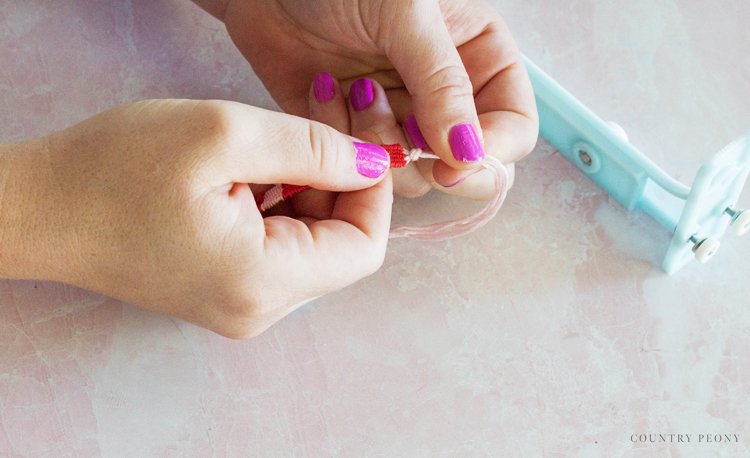
Then, remove the bracelet from the Bracelet Maker and tie the ends of the woven bracelet into a knot.
Then, cut the ends of the bracelet to finish off the bracelet.
Enjoy and Gift Your Custom Friendship Bracelet
Create two bracelets, and gift one your to your best friend!
I hope you enjoy making yours as much as I did, and I hope you enjoy gifting it as much!
Thank you so much to Clover for the opportunity to work with their Bracelet Maker to create this fun friendship bracelet!
Thank you so much for following along. I believe crafting is more fun when we share our projects. Please email me at elizabeth@countrypeony.com, or please tag me @thecountrypeony or #countrypeony to show me your beautiful, custom creations!
Happy Crafting!


