DIY Miniature Shamrock Piñata with Duck Tape®
*This post was created through a paid partnership with The Duck® Brand. However, all opinions are honest and 100% my own.

Have you ever wanted to create a charming piñata to commemorate a special holiday? I am so excited to partner with the Duck® Brand to showcase how simple it is to make your own custom piñata using Duck Tape® and Duck® Masking Tape. Today we are getting into the St. Patrick’s Day spirit and are making a festive and fun miniature shamrock piñata that is the perfect complement to your party décor!
Duck Tape® is the perfect product for this piñata, because it is so easy to work with, comes in vibrant colors and patterns, and is very durable! It is also a really fun and simple craft that can be completed in one afternoon, and is kid-friendly. So let’s get started!

Continue below for the step-by-step tutorial to create your own miniature shamrock piñata for St. Patrick’s Day using Duck Tape®
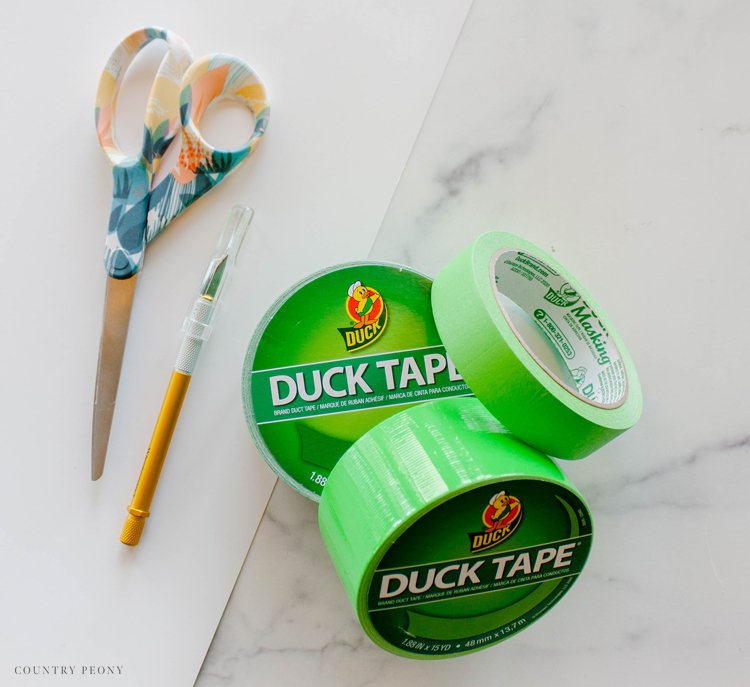
To Make Your Own Duck Tape® Piñata, you will need:
1 Roll of Duck Tape® in Green and Neon Green·
1 Roll of Duck® Masking in Light Green
Poster Board
Scissors
Craft Knife
Cut out the Shamrocks

Freehand or print off a shamrock template to create two shamrocks in the same size. Then cut out the shamrocks out of poster board to create the piñata base.
Use a craft knife to cut out a flap onto one of the shamrocks for the candy to go into.
Cut out a 1 inch thick strip of poster board for the sides of the piñata.
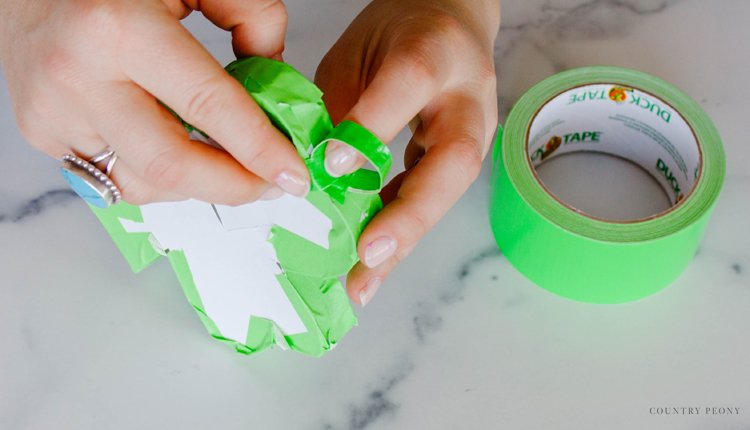
Tape the Piñata Together with Duck® Masking Tape

Use the Duck® Masking Tape to attach the 1 inch thick strip of poster board to the entire edge of one shamrock.

After you finish taping the 1 inch thick strip of poster board to the entire edge of one shamrock place the other shamrock on top and use the Duck® Masking Tape to secure the edge together once more to create the piñata.
Create the Piñata Strings using Duck Tape®
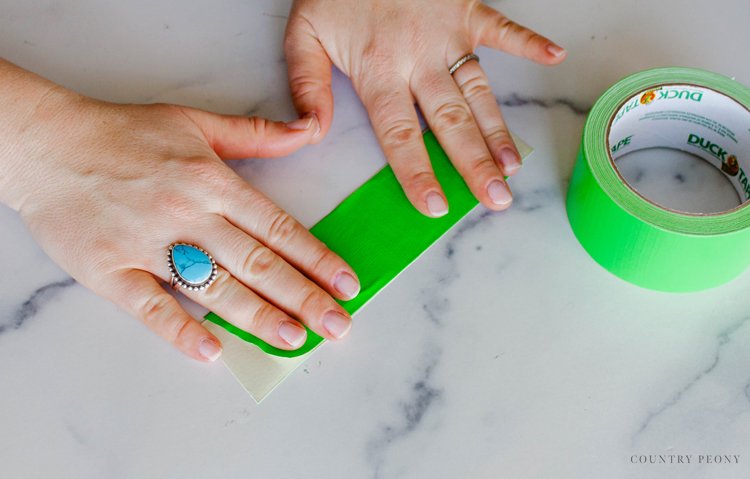
Cut out a strip of Duck Tape® and lay it on a flat surface. Then, attach another Duck Tape® strip directly on top of the first one and smooth it out to create a strip of Duck Tape® fabric.

Then, cut out a thin strip from the Duck Tape® fabric.
Using more Duck Tape® attach the thin Duck Tape® strip in a loop to the top of the piñata to act as the piñata hanger.

Attach another small Duck Tape® strip to the inside of the flap on the back of the piñata for easy access to the candy flap.
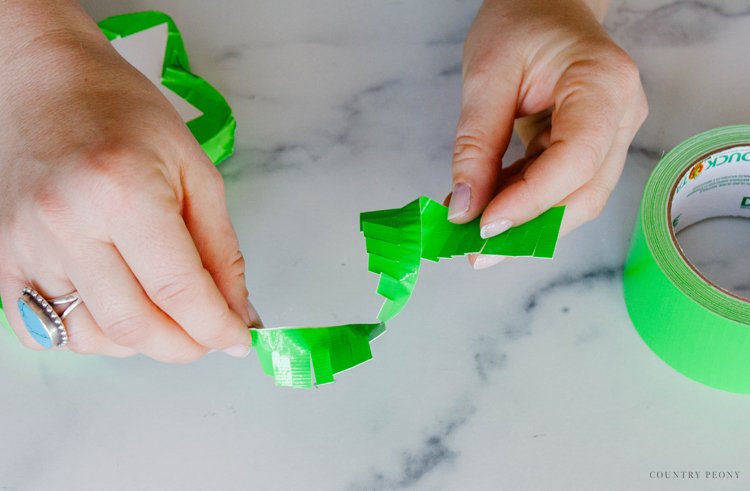
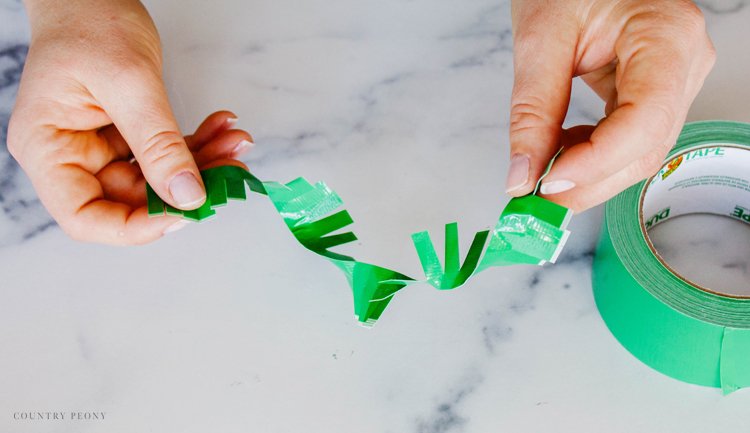
Create and Attach the Duck Tape® Fringe for the Piñata


Create another Duck Tape® fabric strip and cut it in half.

Cut the Duck Tape® fabric strip about 2/3 down at about ¼ inch apart to create the fringe for the piñata.
Continue to create the Duck Tape® fringe in different colors to prepare for the piñata assembly.
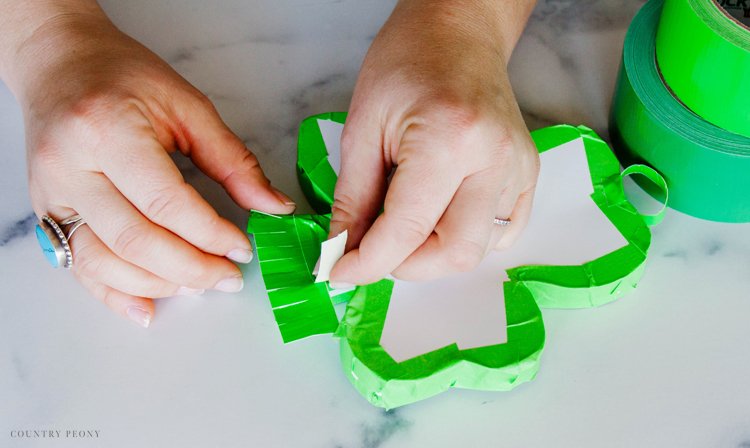

Starting at the bottom of the piñata, apply the first layer of fringe to the piñata base with Duck Tape® in the same color.
*Be sure to cover the sides of the piñata.

Continue to work your way up the piñata by overlapping the fringe to ensure the piñata is fully covered.
*Change colors every layer to create an interesting and multi-dimensional effect.
Continue to add layers of fringe to the entire piñata, and the back of the piñata.

Once the fringe is on the entire piñata, it is now time to trim the piñata to accentuate the shape of the shamrock. Trim the Duck Tape® fringe in the corners of the piñata to reveal the shamrock shape.
Enjoy your Custom Duck Tape® Shamrock Piñata for St. Patrick’s Day!

Fill your piñata with your favorite candy and enjoy!

Thank you to the Duck® Brand for providing me with your amazing products to create this festive and fun shamrock piñata for St. Patrick’s Day!

I believe crafting is more fun when we share our projects. Please email me at elizabeth@countrypeony.com, or please tag me @thecountrypeony or #countrypeony to show me your beautiful, custom creations!
Thank you so much for following along!

