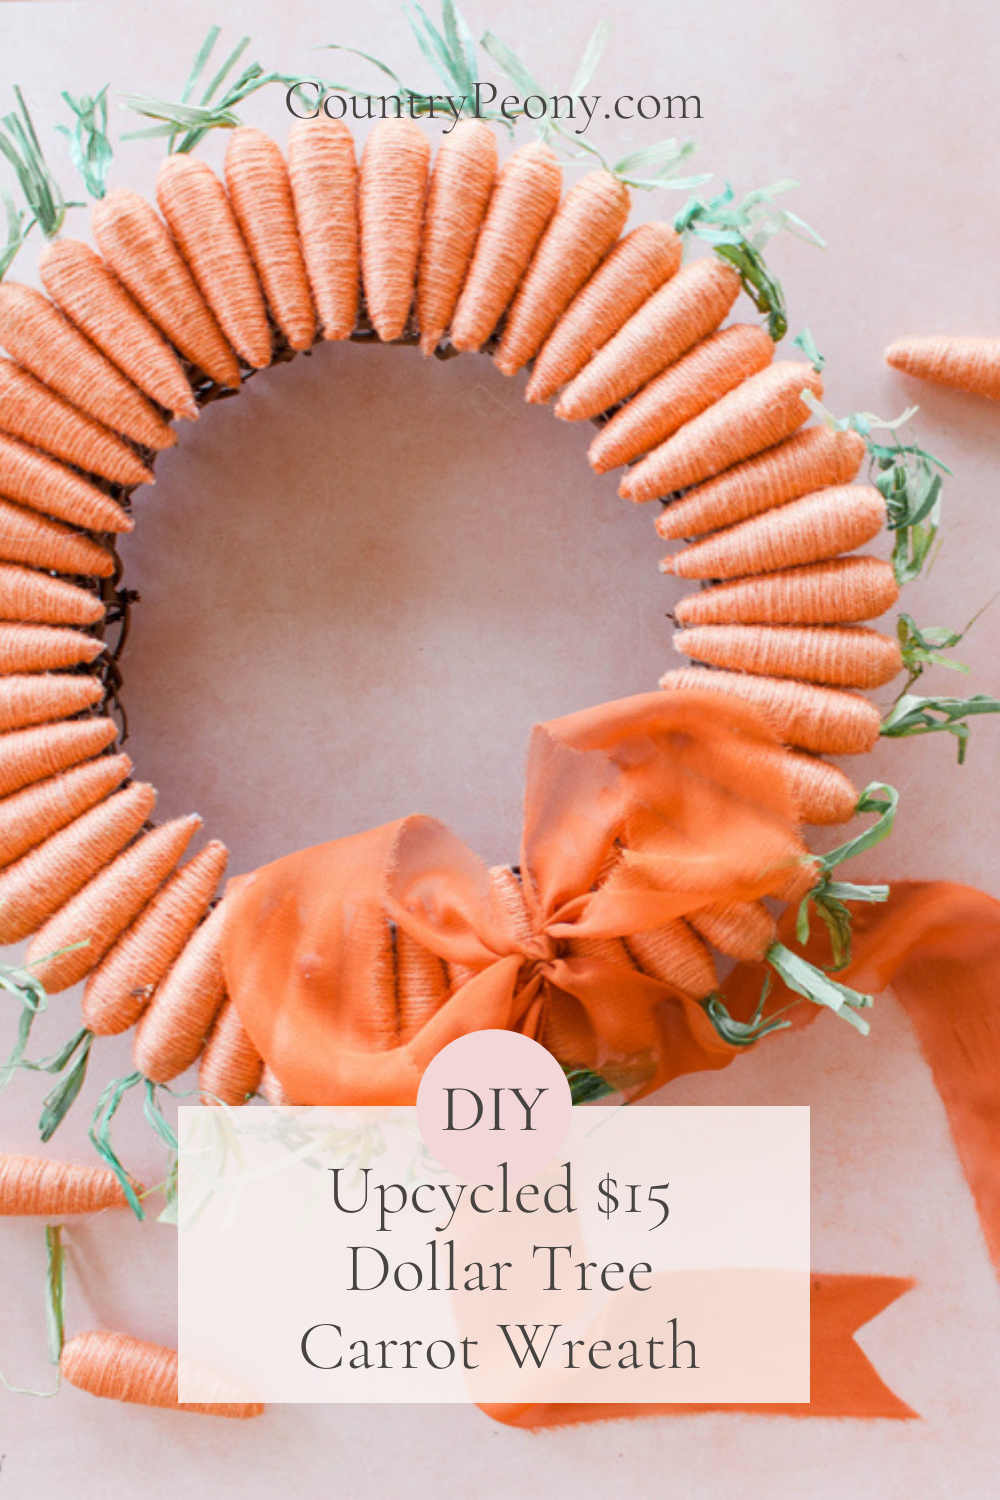
DIY Upcycled $15 Dollar Tree Carrot Wreath
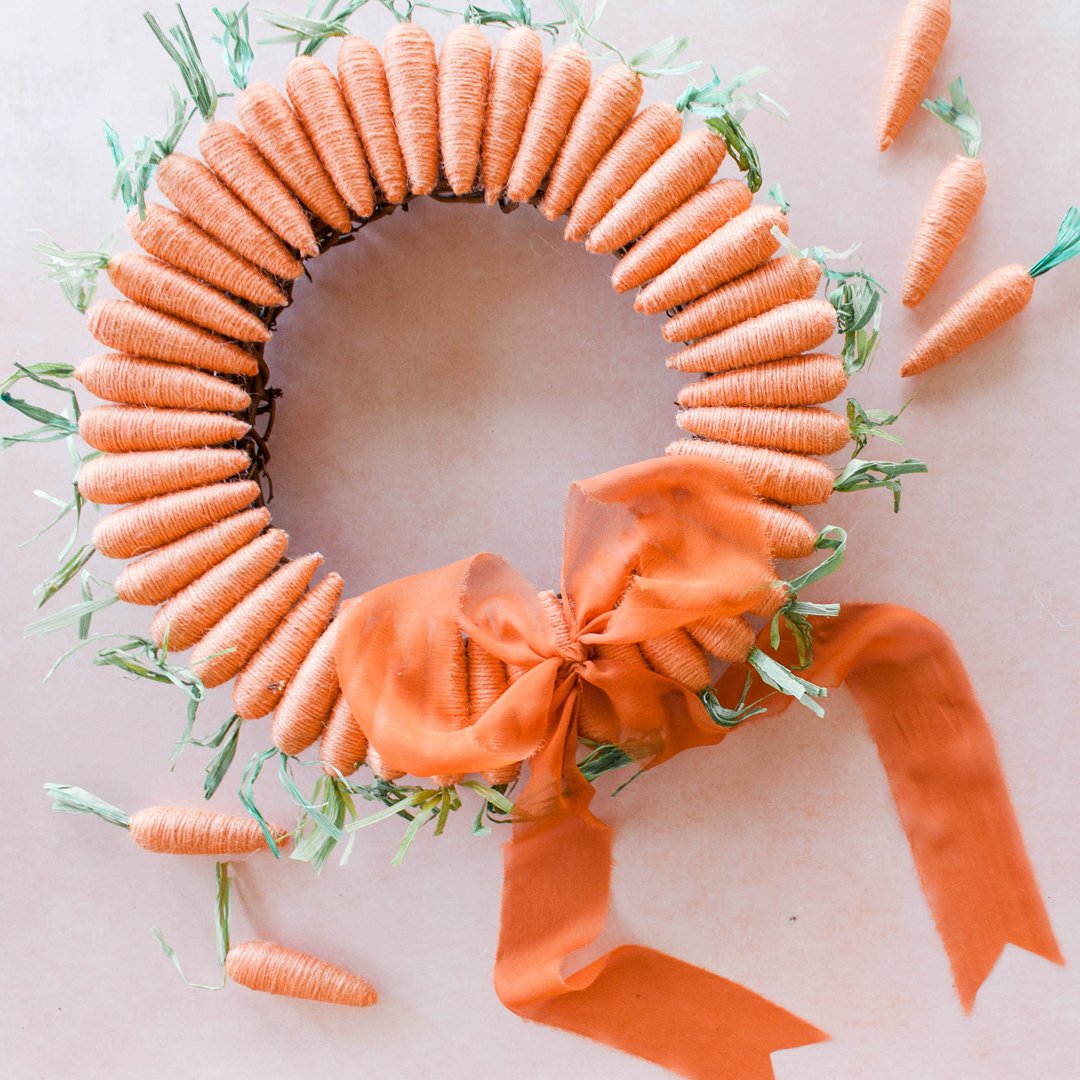
Happy Spring! I love a good upcycle and an inexpensive craft. So, today I am happy to report that we are transforming a thrifted wreath and turning it into a charming carrot wreath for less than $15.
But first, some backstory! As you probably know by now, I love to go thrifting! On a recent thrifting adventure, I found a grapevine wreath form for $2. I saw its good bones, and snagged it because I love working with grapevine wreaths and they can get it expensive. However, the vibe was a little too old school for me. (However, I will keep those chamring wooden cutouts for a later project.) So I saw past it current state and decided to transform it into a charming carrot wreath, just in time for Spring. Follow along for the how-to to make your own!
For your convenience, I created a step-by-step video tutorial so you can see how I created this wreath using dollar store carrots and a thrifted wreath. Then continue below to follow the step-by-step images to make your own DIY Dollar Tree Carrot Wreath.
Below is a video of the Dollar Tree Easter Wreath tutorial from Coffee & Crafting to teach you how to make your own Dollar Tree Carrot Wreath
Enjoy another video below to learn how to create your own Easter wreath this Spring with the help of dollar store carrots and some beautiful ribbon, then follow along for the step-by-step tutorial to make your own!
Follow Below for the Step-By-Step Picture Tutorial
To create your own carrot wreath this Easter, you will need:
Prepare the Grapevine Wreath
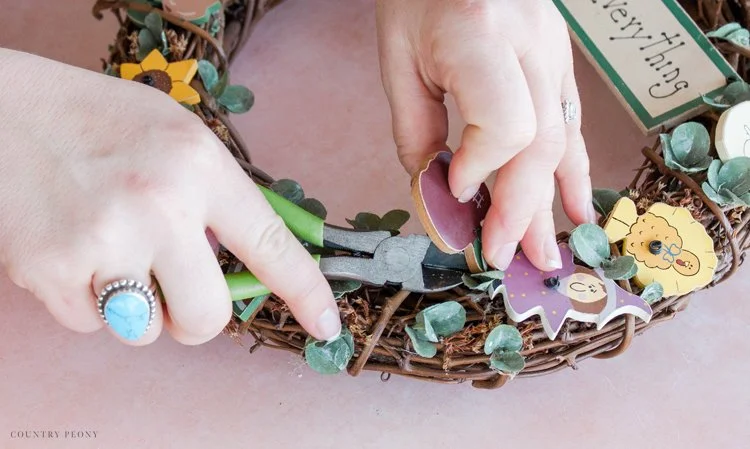
If you thrift your wreath like I did, remove all of the details with a wire cutter to strip the grapevine to its bones.
Then clean the wreath thoroughly with a disinfectant spray. Then set it out in the sun to dry!
Then, add a wreath hanger with wire or string if there isn’t one already.
Hot Glue Carrots to the Wreath
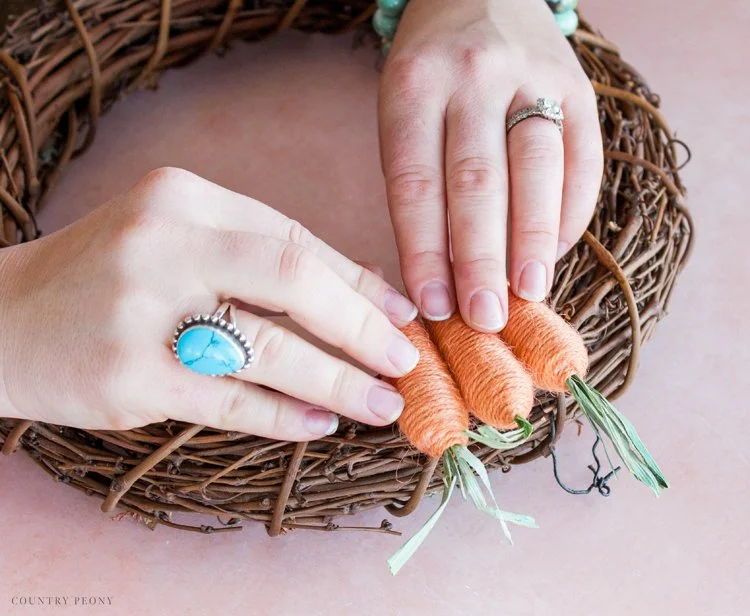
One at a time, apply hot glue to the back of the carrots and then securely press them onto the wreath (with the carrot stems sticking out).
*Hold the carrots in place until the hot glue dries to ensure a firm hold.
Continue to attach the carrots to the wreath right next to each other, until you cover the entire wreath.
Finish the Wreath with a Beautiful Bow
To add some extra whimsy and movement to wreath, I thought it would a beautiful, oversized bow to the wreath using one of my hand dyed and hand torn silk ribbons. However, you can choose whatever ribbon you have on hand. It can even be a contrasting color.
Secure the ribbon to the wreath with hot glue so that it lays naturally onto the wreath when it is hung.
Trim the ends of the ribbon.
Enjoy your Custom and Cheerful Easter Wreath
Display your carrot wreath for all to enjoy this Easter season!
Thank you so much for following along. I believe crafting is more fun when we share our projects. Please email me at elizabeth@countrypeony.com, or please tag me @thecountrypeony or #countrypeony to show me your beautiful, custom creations!
Happy Crafting!
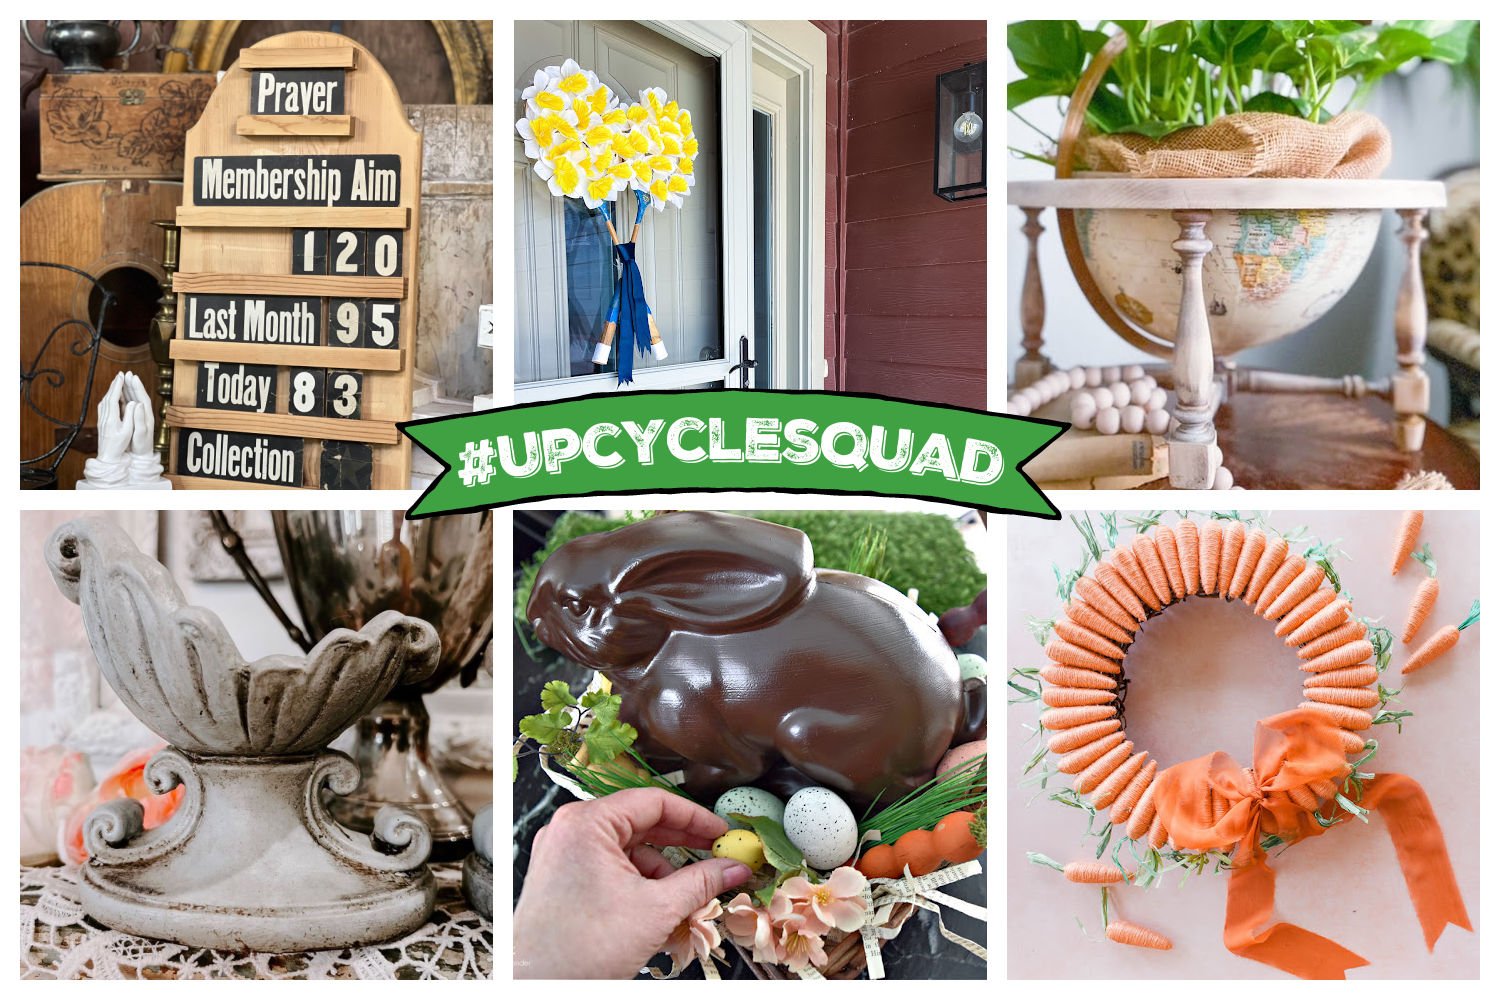
IF YOU’RE LOOKING FOR MORE DIY AND HOME DECOR INSPIRATION, I’VE JOINED SEVERAL OTHER TALENTED LADIES THIS MONTH ON INSTAGRAM WHO ARE SHARING THEIR OWN PROJECTS AS WELL!
The Junk Parlor
I haven’t been able to find a church attendance board, so I decided to DIY one!
HIlary Prall
Are you looking for something fun and unique to put on your front door this season? I’m sharing three Spring door hangers that are easy to make, using items you either have already or can be found at the thrift store!
Faux Your Eyes Only
"One man's trash is another man's treasure" should definitely be my life motto. After all, my favorite hobby is going thrifting and finding items on their way to the landfill and making them into some gorgeous Home Decor!! Do you also enjoy going thrifting and DIYs?? Then this Antique to Chic DIY will speak to your heart just as much as it speaks to mine, soul sista!!
Create & Ponder
A curbside plastic bunny becomes the cutest DIY Easter centerpiece.
Southern Crush at Home
Did you know you can bleach wood without using bleach? 🤷♀️ I hopped on the trendy #ovencleaner stripping method and it worked great on this piece! I just knew when I saw it that this old globe 🌎 I found on Facebook Marketplace could be upcycled into something fun and it turned out better than I expected 🙌

