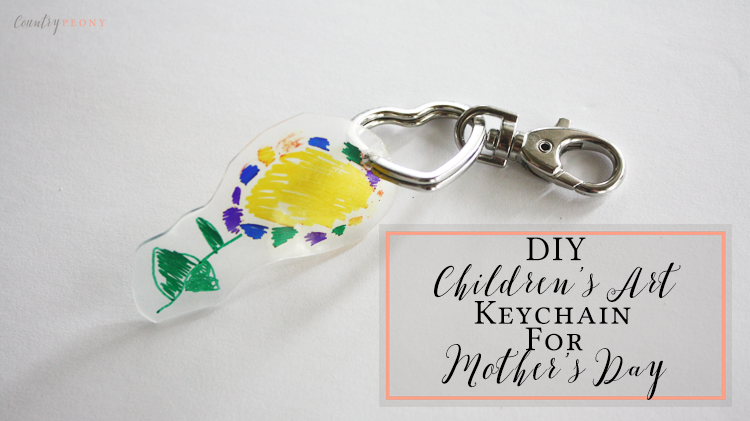
DIY Children's Art Keychain for Mother's Day
My children (5-year-old son, 3-year-old daughter, and 8-month-old son) are at such a fun age and they love to imagine, draw and color on their own (aside from my baby). So for this year’s Mother’s Day I thought it would be fun for them to have full creative control and make their own keychains for their grandmothers. Last year, I helped them with their finger paint Mother’s Day totes that they gifted their grandmothers, and they were a huge hit! I am hopeful their grandmothers will like their keychains as much as they enjoyed making them this year.
As I mentioned above my children designed and colored their keychain creations, however I was in full control after that to turn their 8”X10” pieces of plastic into their fun-size keychains.
This is my first time working with Shrinky Dinks and I am now hooked, because it is like magic watching them melt into a third of their original size through the oven window with your children. There are also so many possibilities with future projects like personalized magnets, earrings, bracelets, and so on. This project can also be used for Mother’s Day, Teacher Appreciation gifts, Father’s Day, Christmas presents, and so on.
However you decide to use it and whatever design you choose I hope you enjoy the process as much as we did! To make your own children’s art keychain follow the full tutorial below.
*This post contains affiliate links. For more information, please see my disclosures here.
To make your own children’s art keychain, you will need:
Step 1: Preheat the oven to 325 degrees Fahrenheit.
Step 2: Create your design by drawing the permanent markers directly on to the Shrinky Dinks. You can also trace whatever design you want on to the Shrinky Dinks since they are clear, to create a more finished look.
I love how my children’s art turned out, and it represents who they are at this stage in their life.
Step 3: Trim out your design with your scissors. You can cut as close to the design as you want as the design will stay intact as it melts. However, it is important to create curved edges, and no pointy ends as that will create a sharp point when it shrinks.
Step 4: With your X-Acto knife or hole punch, create a hole at the top of the design to attach the key ring to. Keep in mind that the hole will shrink so you can go larger with it.
*You can also use the X-Acto knife to make the hole larger once it comes out of the oven if it doesn’t fit the key ring.
Step 5: Place the cut out Shrinky Dink (with marker ink at top) on top of a baking sheet with parchment paper on it. Then place it in the preheated 325 degrees oven for 1-3 minutes.
Step 6: Now for my favorite part! Turn the oven light on, and watch (safely) from behind the doors as “magic” happens and the Shrinky Dink starts to melt into a third of its size.
*If it starts to bend like the picture above don’t worry as it will flatten out. Also, if your piece is long and narrow it may curl up on itself. Use an oven mitt and safely uncurl it as it melts in the oven so it can lay flat.
Step 7: After your design sits flat it is done. Take it out of the oven and let it cool for about 5 minutes.
Step 8: Take your cooled design and add a key ring to it. Then enjoy your beautiful and customized creation!
The possibilities are endless with this fun and “magical” project. I would love to see how you use your Shrinky Dinks. And I really hope you enjoy the process along the way! Happy Crafting!


