How To: Embossing Powder
As a girl I loved giving/receiving handwritten letters. As an adult I love receiving handwritten letters even more, because they are a nice departure from the routine bills that hit my mailbox. When I write letters I try to personalize them so the receiver knows how much I care.
To thank the attendees of my son's first birthday party, I wanted to try something different with the thank you letters. I visited Paper Source and fell in love with many of their products, especially their embossing powder tools. I decided to purchase some embossing powder essentials, and I am thrilled that I did.
*This post contains affiliate links. For more information, please see my disclosure page here.
For this project, you will need:
Stationery. I purchased my woodland-themed cards from Paper Source.
Piece of Paper to collect the powder
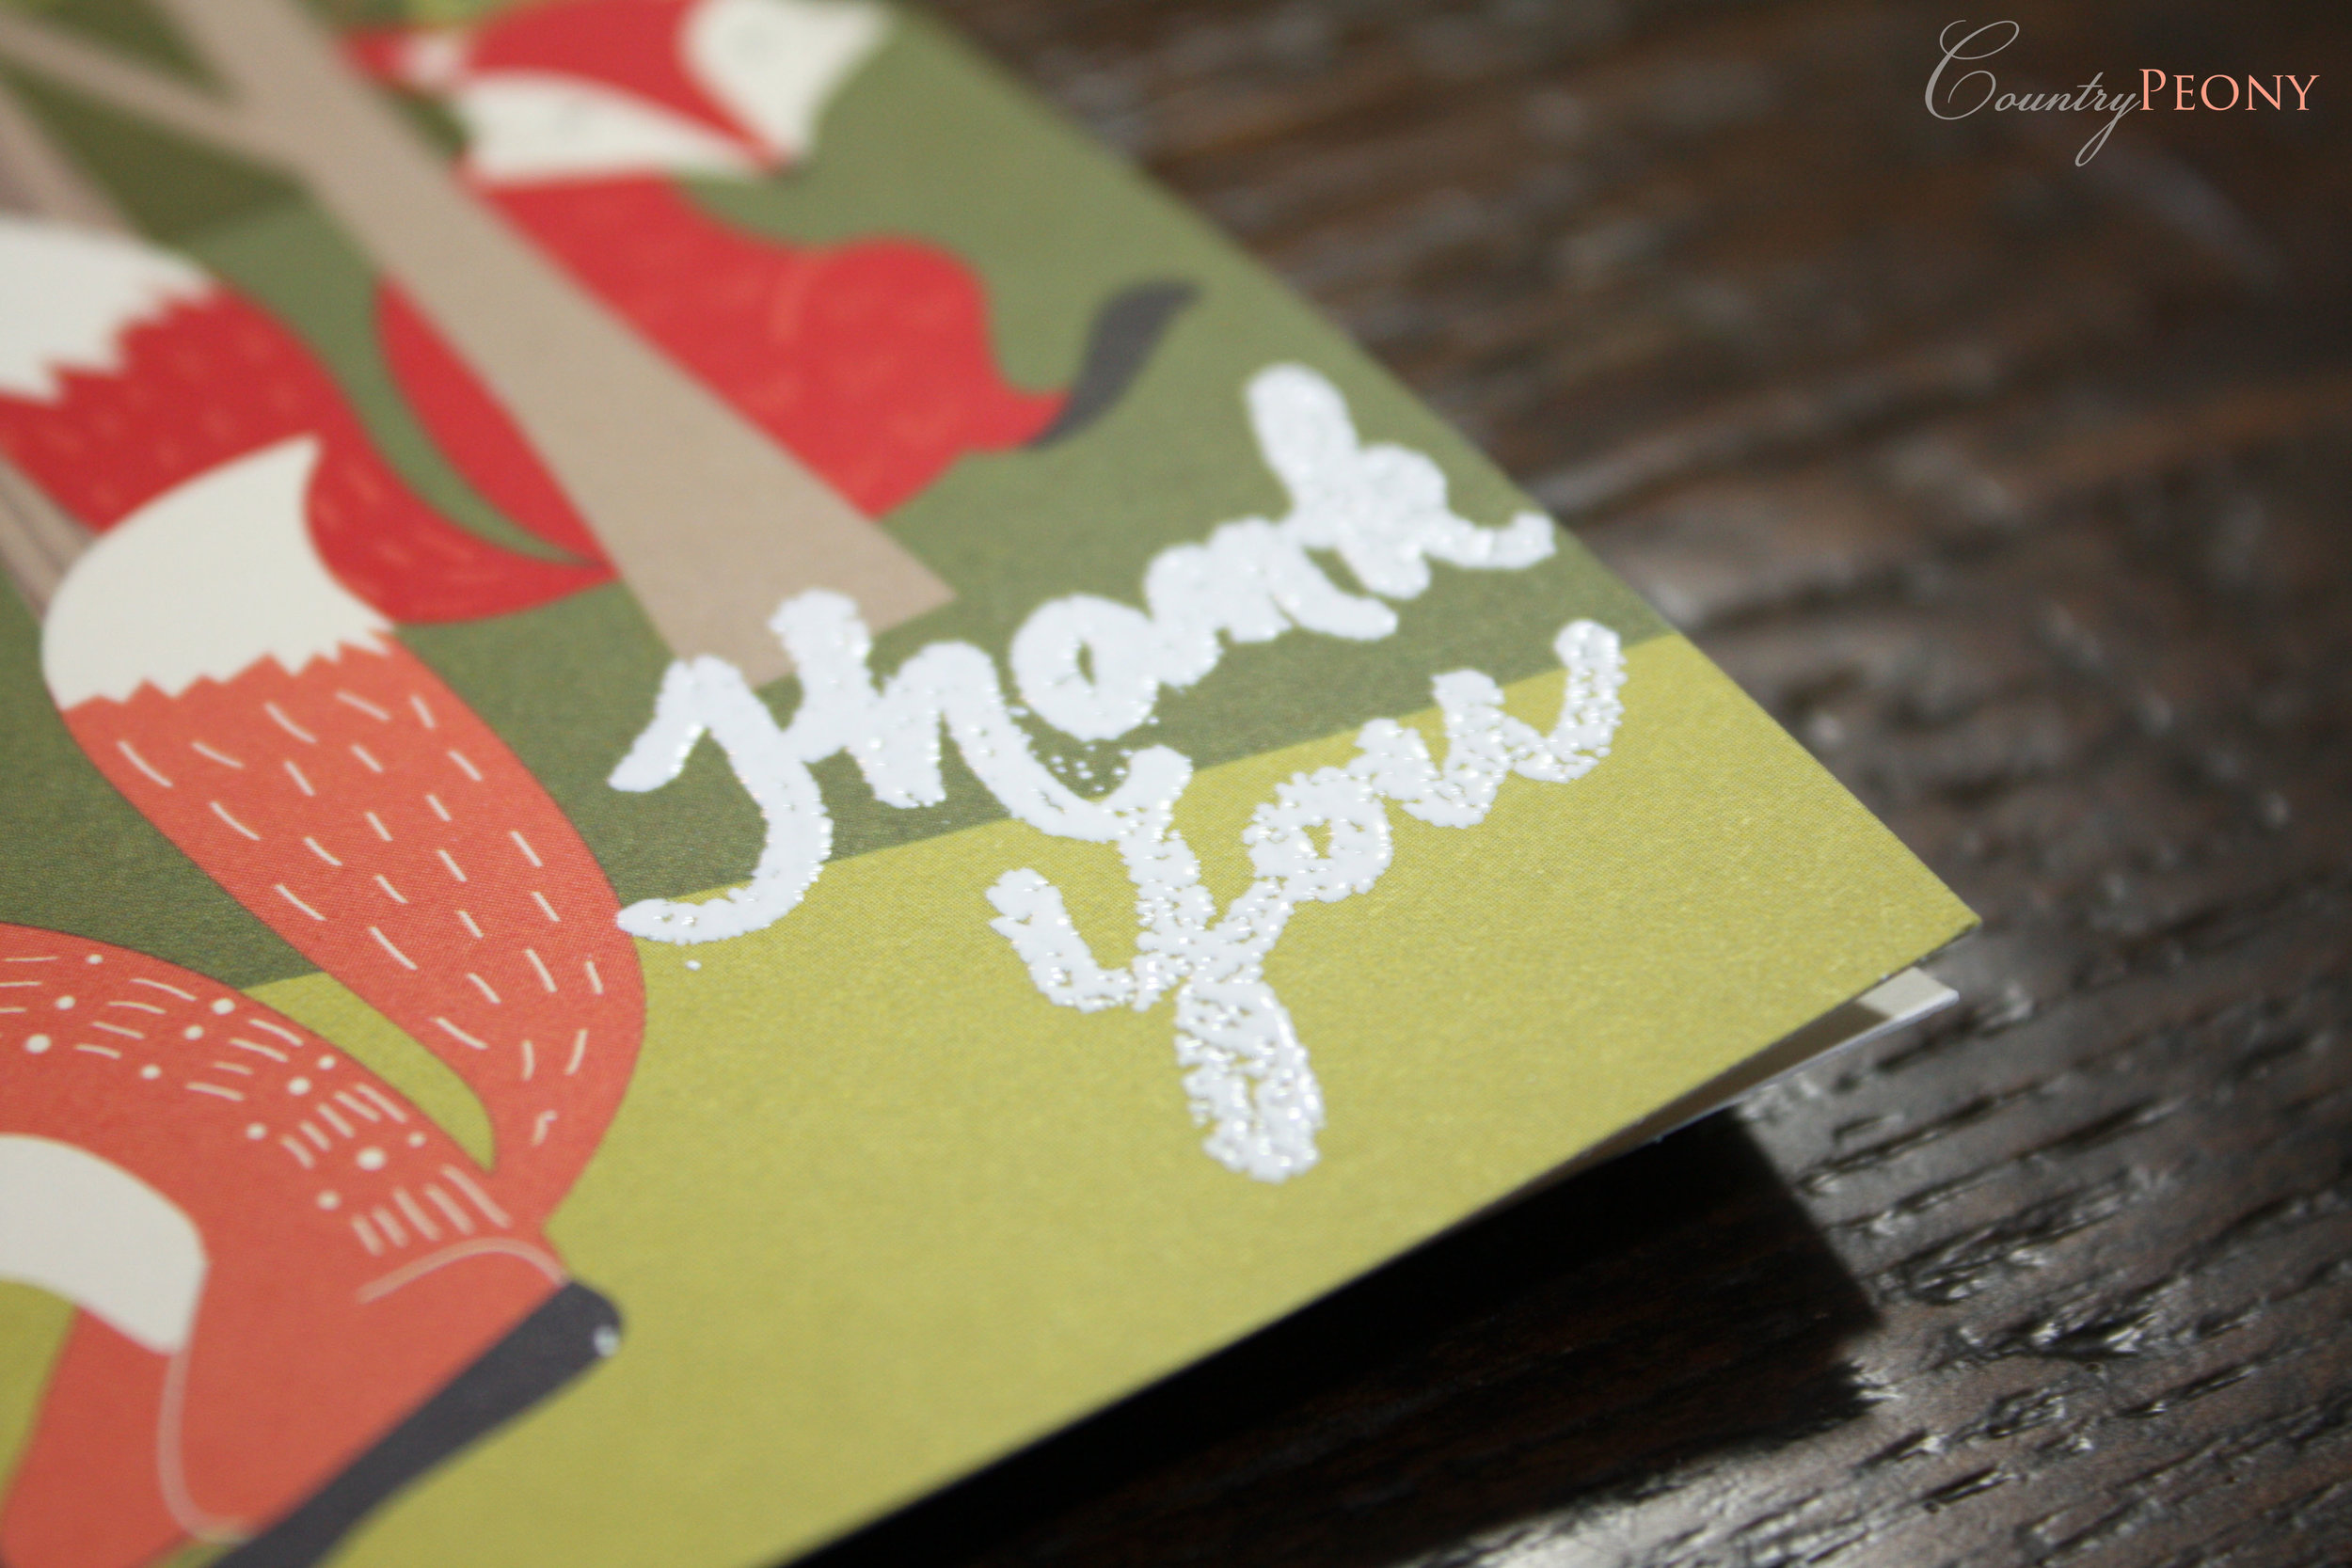
To personalize the stationery I used the VersaMarker pen to write out "thank you". This pen allows for a lot of flexibility in your design.
With the paper underneath I dusted the embossing powder onto the inked surface of the stationery.
Without touching the "thank you" on the card, I removed the excess powder.
From here I set the card aside and rolled the paper up while keeping all of the powder inside of the rolled paper. Then I placed the excess powder back into the container for later use.
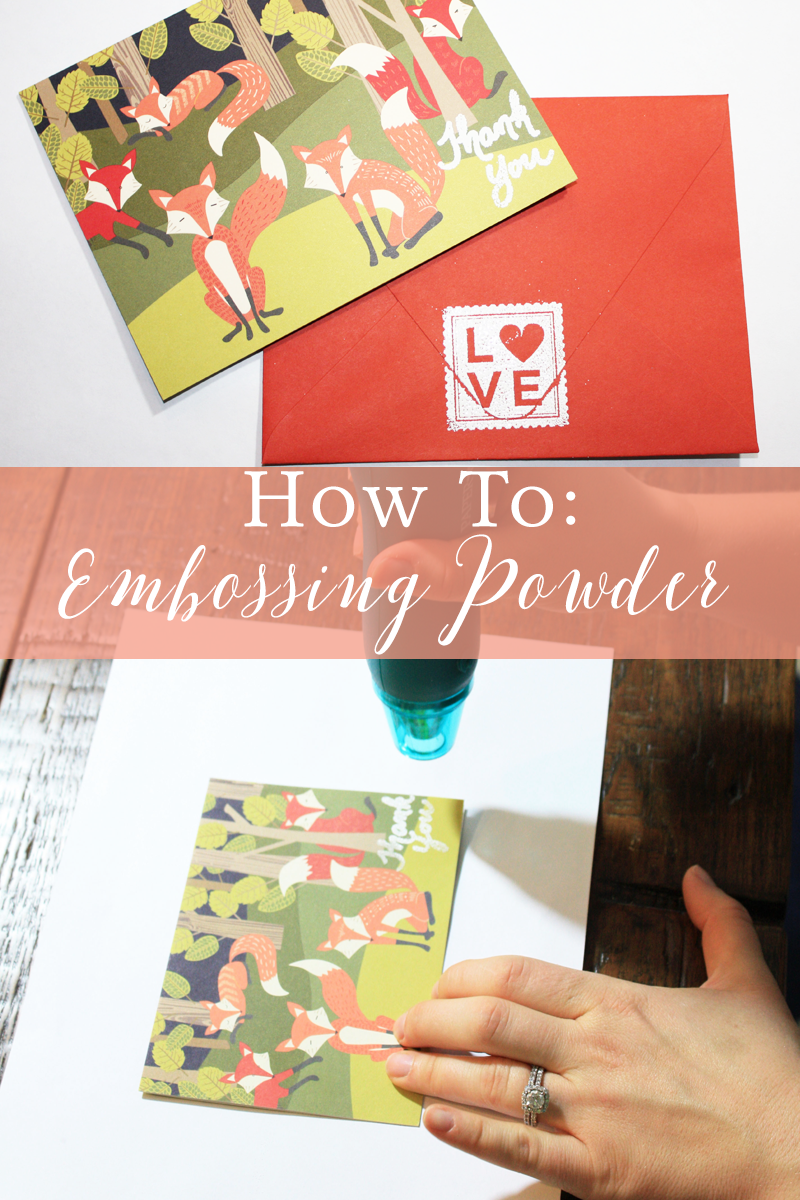
This is where it gets fun! I turned the heat gun on. I let it get hot (about 15 seconds) and then I slowly grazed the gun over the powdered "thank you". Right before my eyes the powder turned into a beautiful, shiny, textured, permanent message. It was like magic! I was hooked!
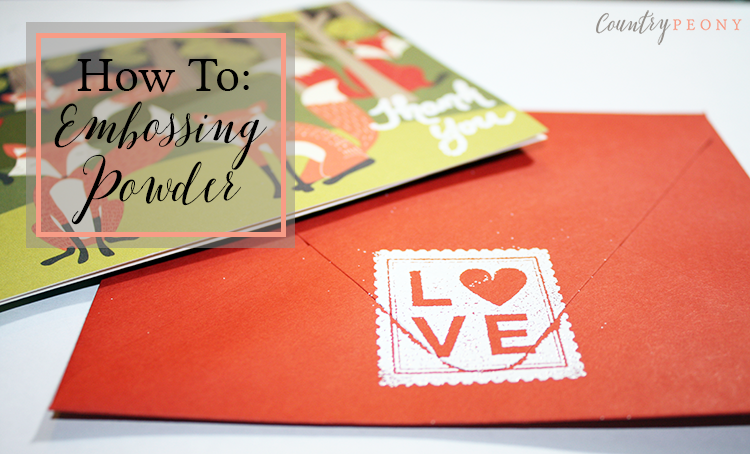
I had so much fun adding the "thank you" note to the front of the card I wanted to add something special to the envelope seal. This time I used the stamp and stamp pad.
I absolutely love the effect that heated embossing powder brings to paper. The finished product is determinant on where the powder falls, and this makes for a very special and unique product every time.


