My First Project with Annie Sloan
Hello everyone. I am sorry for my yearlong hiatus. I was am busy soaking up every moment with my little son. However, I am incredibly excited to be back in creative action!
I have been dying to try Annie Sloan's chalk paint for years. As the pioneer of the chalk paint world, her paint did not disappoint!
The beauty of chalk paint is in its simplicity. Chalk paint requires very little prep work (no sanding, no primer) and it dries very quickly. It also can be used on most surfaces. I was able to complete this makeover in one afternoon. I will only touch the surface of chalk paint with this project. But I did invest in this beautiful book which has me thinking about many more ways to use this magic paint.
*This post contains affiliate links. For more information, please see my disclosure page here.
For this project, you will need:
- Item to Paint (I used a hand-me-down mirror that wasn't fitting in with my light decor)
- Annie Sloan Chalk Paint (I used Louis Blue)
- Annie Sloan Soft Wax - Clear (Optional, for sealing the project)
- Annie Sloan Soft Wax - Dark (Optional, for adding depth and texture to the project)
- Natural Bristle Paint Brush
- Rag (Optional, for applying the wax)
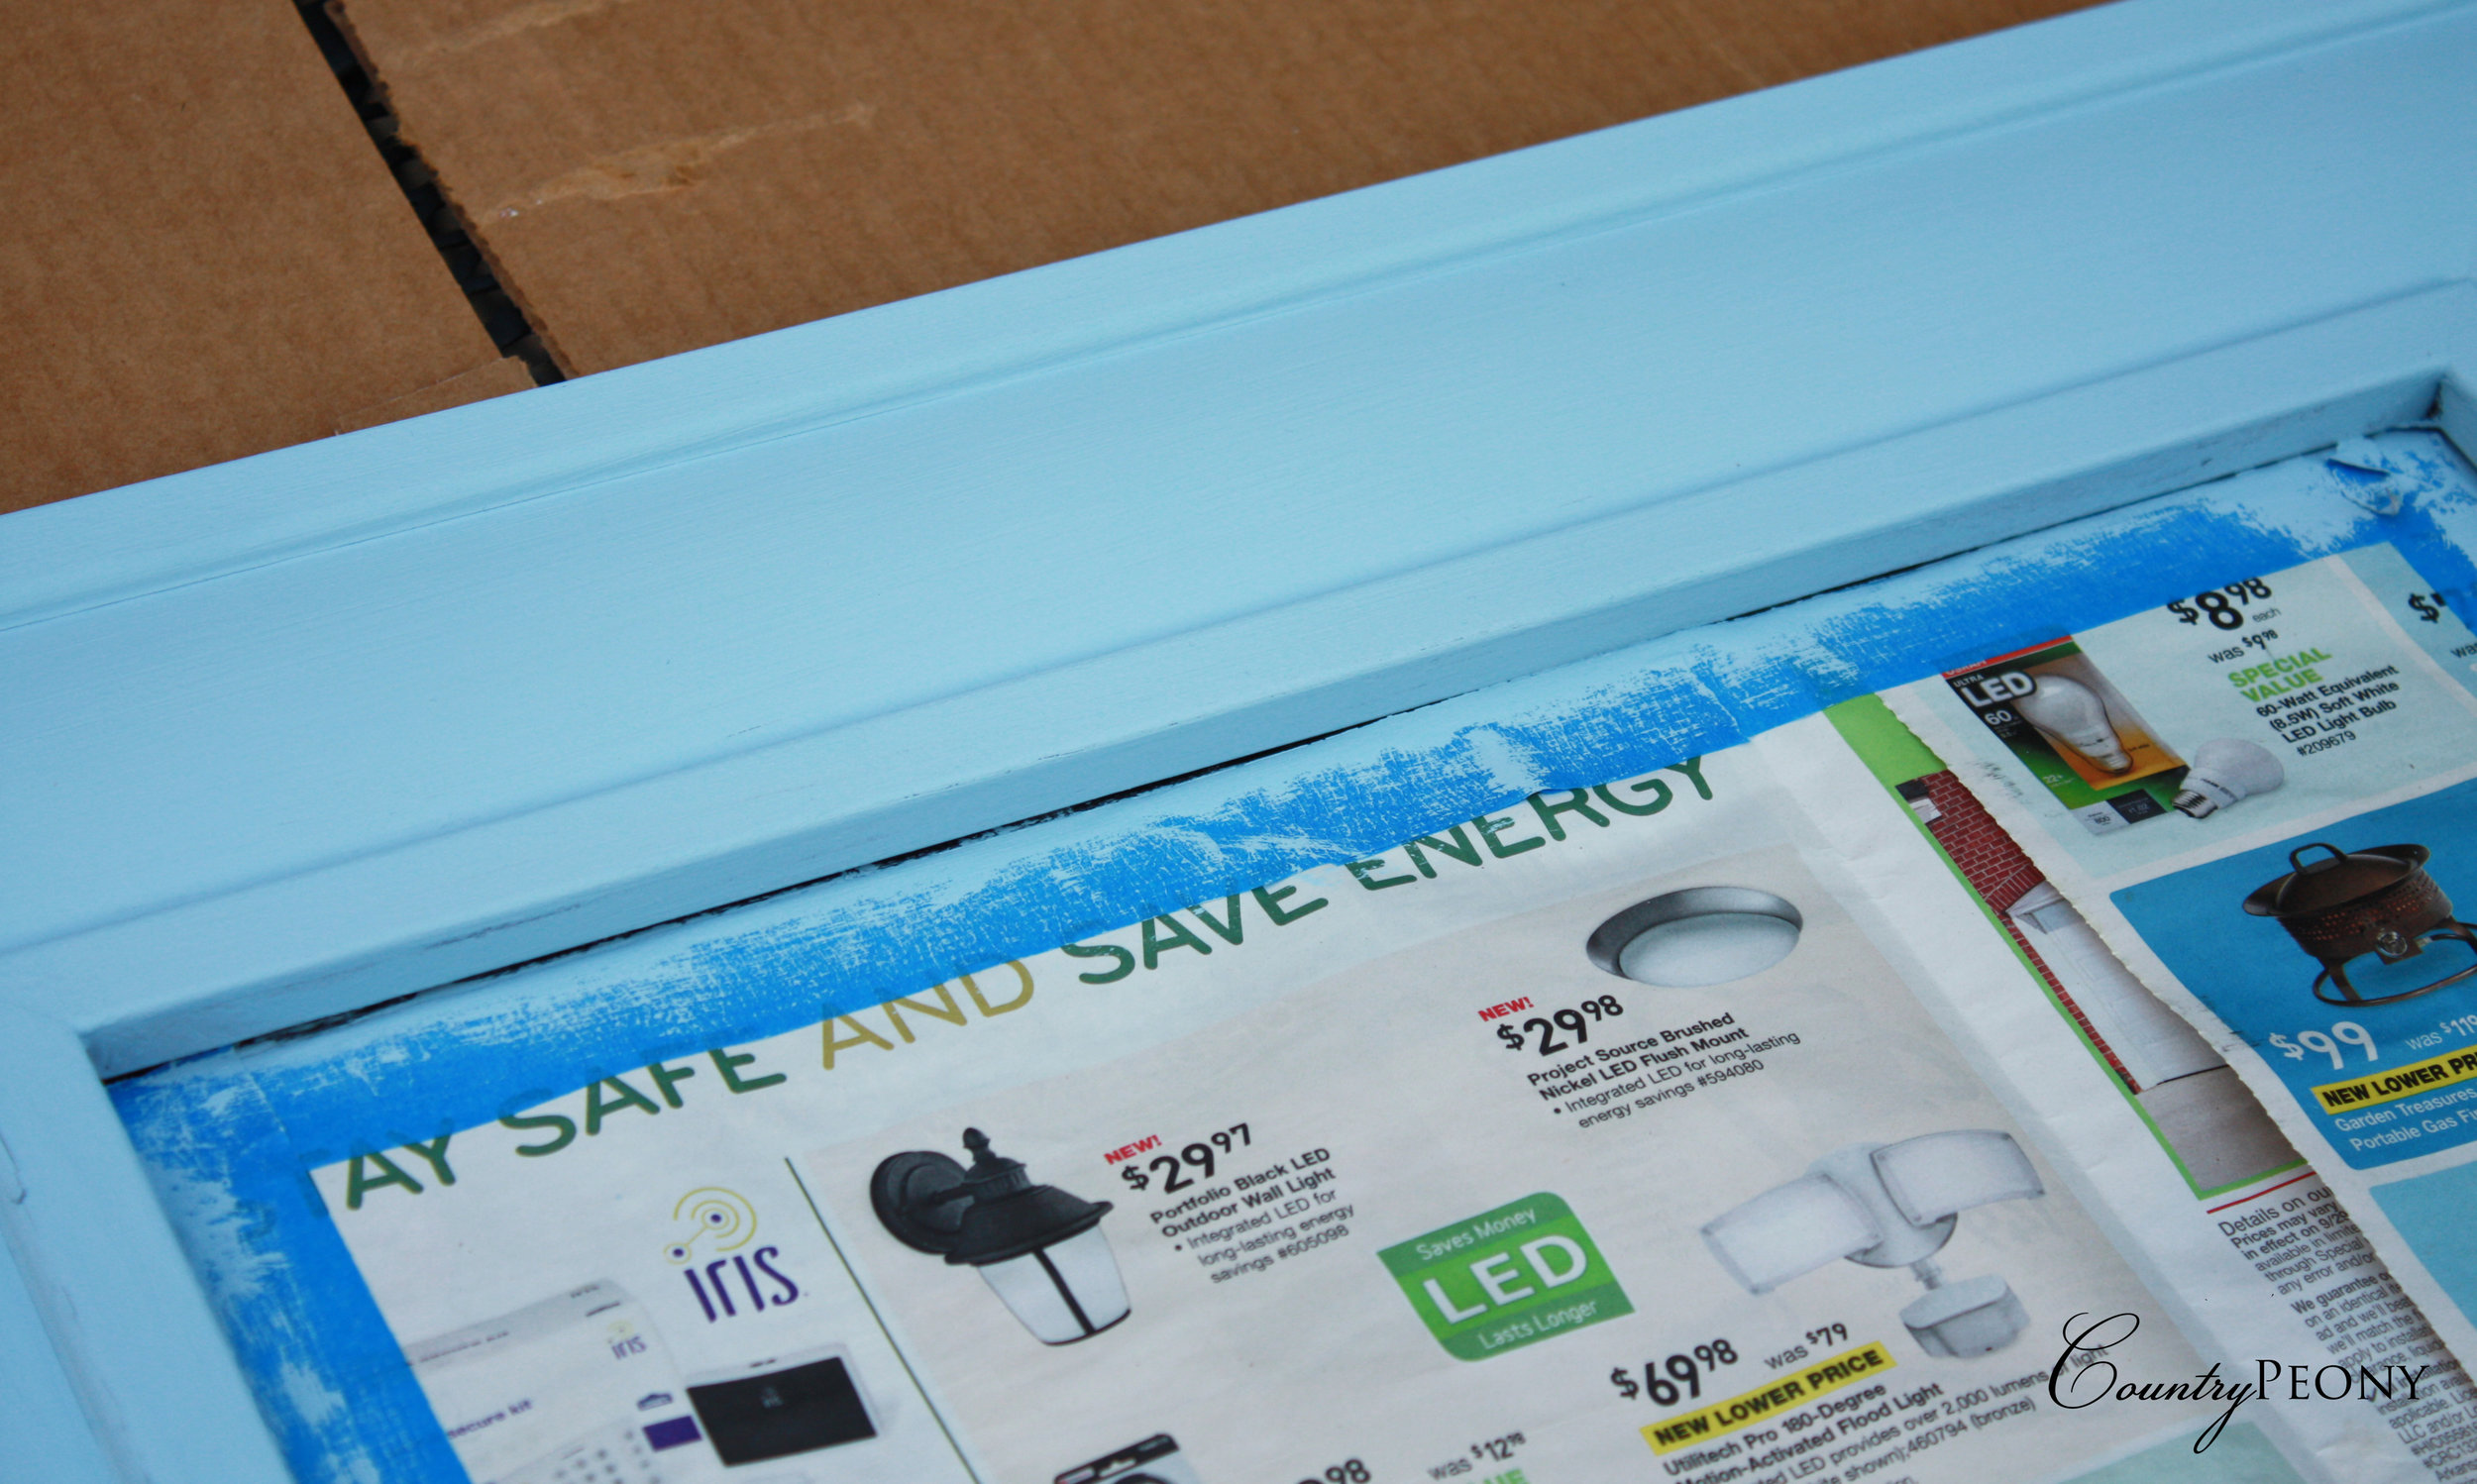
- Protective Materials (I used gloves, cardboard to protect the workstation from paint, painter's tape and recycled newspaper to protect the mirror)
Tools
Before: Annie Sloan Chalk Paint
Before I started painting, I cleaned the mirror frame with a wet towel and then allowed it to dry completely. I didn't sand or prime the wood finish of the mirror frame.
I used the natural bristle brush to apply one coat of Annie Sloan's Chalk Paint in Louis Blue. The paint dried very quickly, and soon turned into a chalky-milky texture. As you can see from the picture below, I needed to add one more coat after the first coat.
One Coat of Chalk Paint
After about 15 minutes, the entire frame was dry. I applied a second coat.
Second Coat of Chalk Paint
After the second coat was dry, I used my rag to apply Annie Sloan's clear wax. The clear wax applied very easily. The wax isn't necessary, but it does help cure your paint job. It takes several weeks to dry completely.
After the clear wax settled in, I decided to add some texture and depth to the project. I took the same rag and applied Annie Sloan's dark wax to the inner layer and outer layer of the mirror frame. You can achieve different looks with this wax. I wanted a very subtle look, so I didn't apply too much wax. But, this is a great way to bring out any texture you have in your project. I like the faux patina the wax created for my mirror frame.
*Sidenote: I would like to take some time to thank my little helper, Baby A.
You can see the finished product below. I am happy with my first attempt, and excited for more projects with Annie Sloan.
After: Annie Sloan Chalk Paint


